
Sometimes, just a simple corner of a house or a part of a stair can be used to create an aesthetically impressive result of design and visualization. Many 3d modeling tips, a possible way of illuminating interior scenes, and many other tricks to produce a balanced result without post-production in Photoshop. Enjoy!
About me.
Hello everyone,
First of all, we would like to thank RebusFarm and VWArtclub for inviting us to create this ‘Making of’ and for also providing us with this opportunity to share our work and processes on their respective platforms. We really appreciate initiatives such as these which help to promote 3D visualisers and artists alike and believe that these efforts are not only commendable but as well vital to pass on the knowledge and tips allowing the development of the 3D community as a whole. During our careers as 3D artists have personally read many ‘Making ofs’ and it can be said that they have considerably helped us as artists whether it was to achieve the perfect lighting or to discover a terrific plugin.
Sueños del Mar is a studio founded in Portugal comprised of 3D Visualisers from New Zealand, the UK, and Russia, given a strong standing passion for creating beautiful and photo-realistic visual imagery and (virtual) photography. Inspired by Iberian, traditional, and modern architecture we created Suenos to bring to life the next wave of architectural images. Some of our inspirations include Pedro Ramirez Vasquez, Fernando Romero, Luis Barragán, and David Chipperfield.
About The Project.
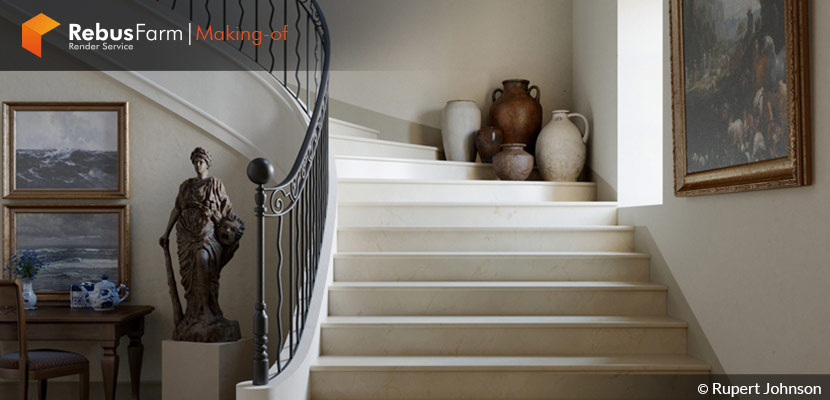
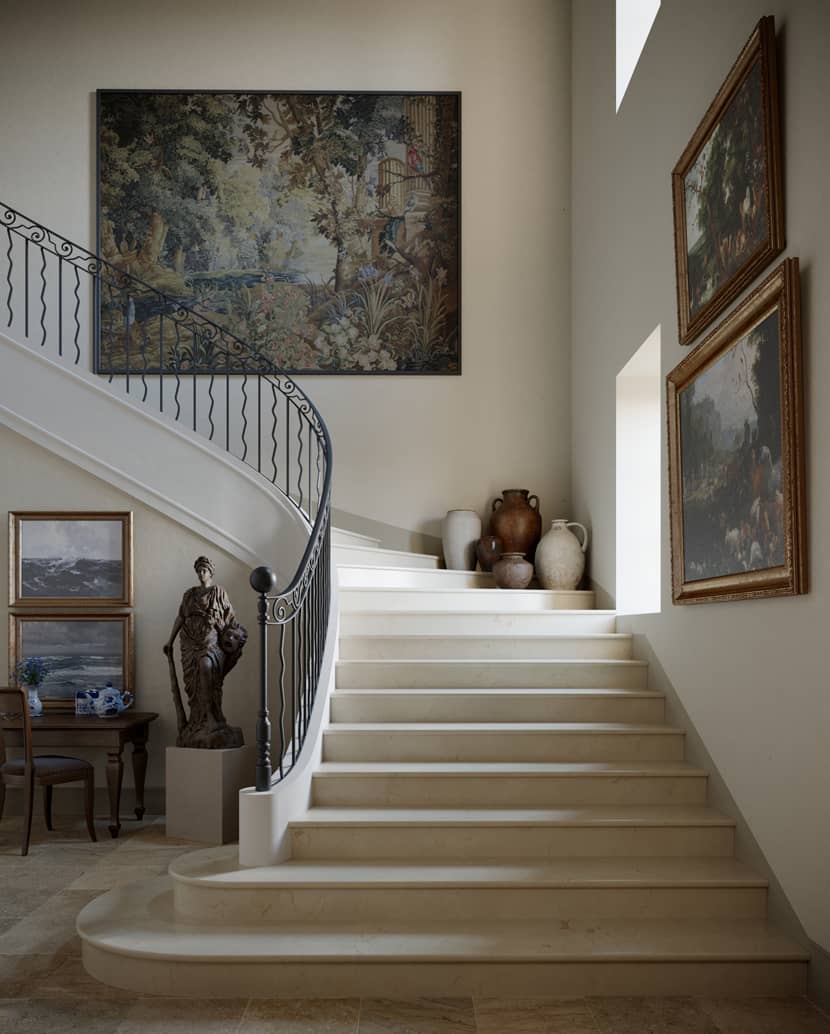
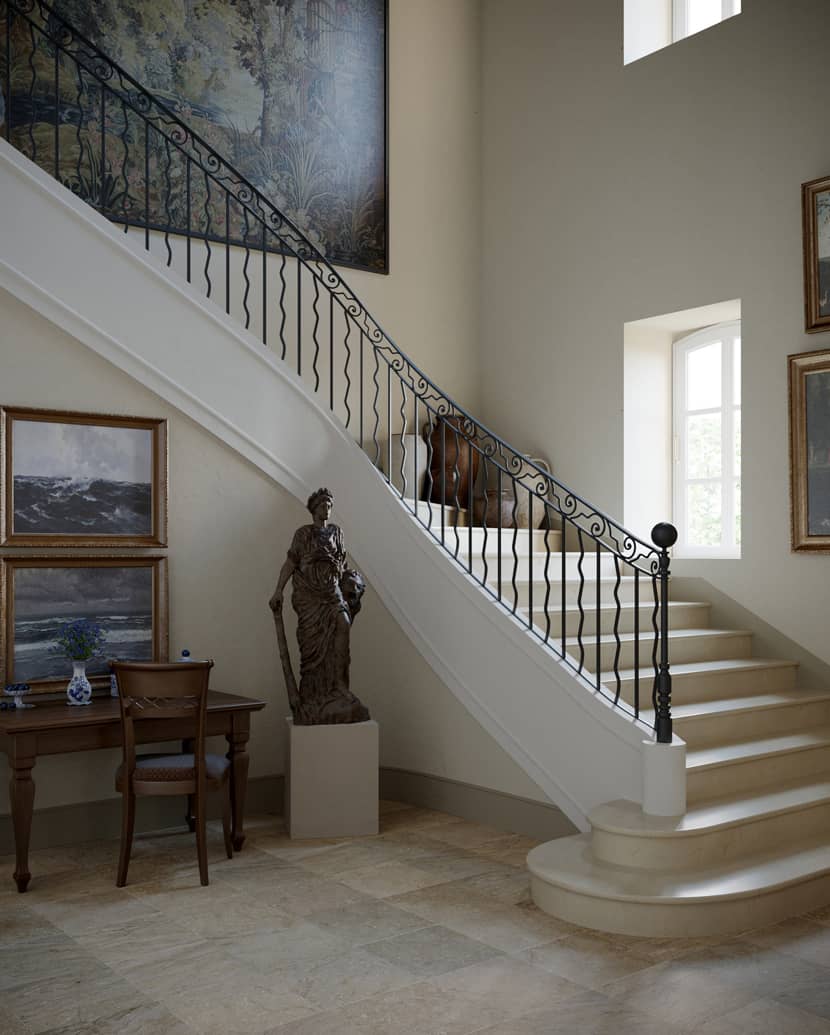
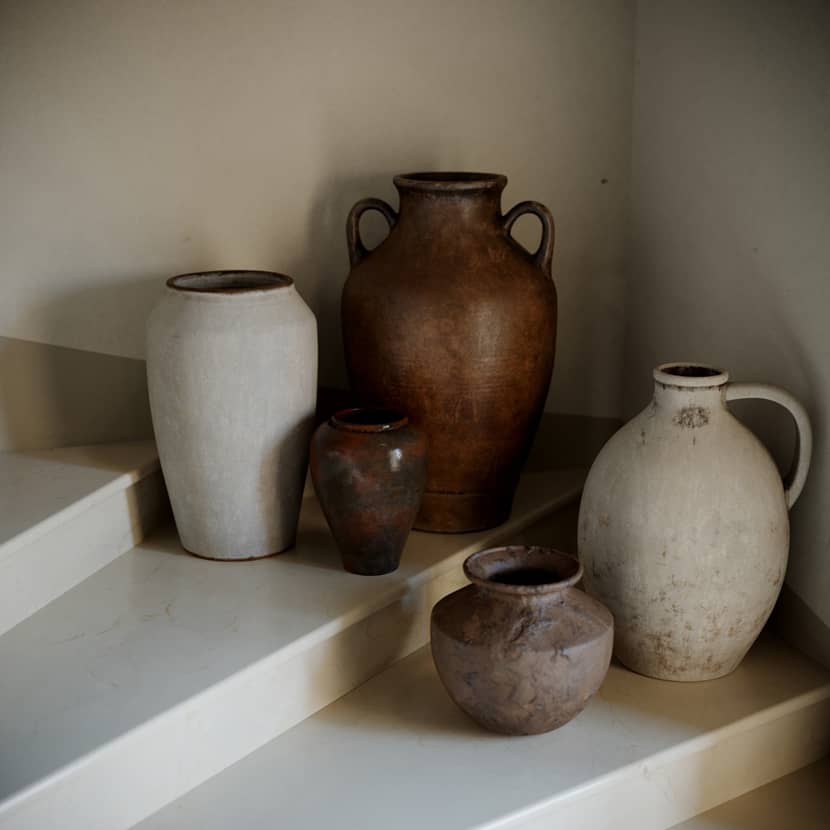
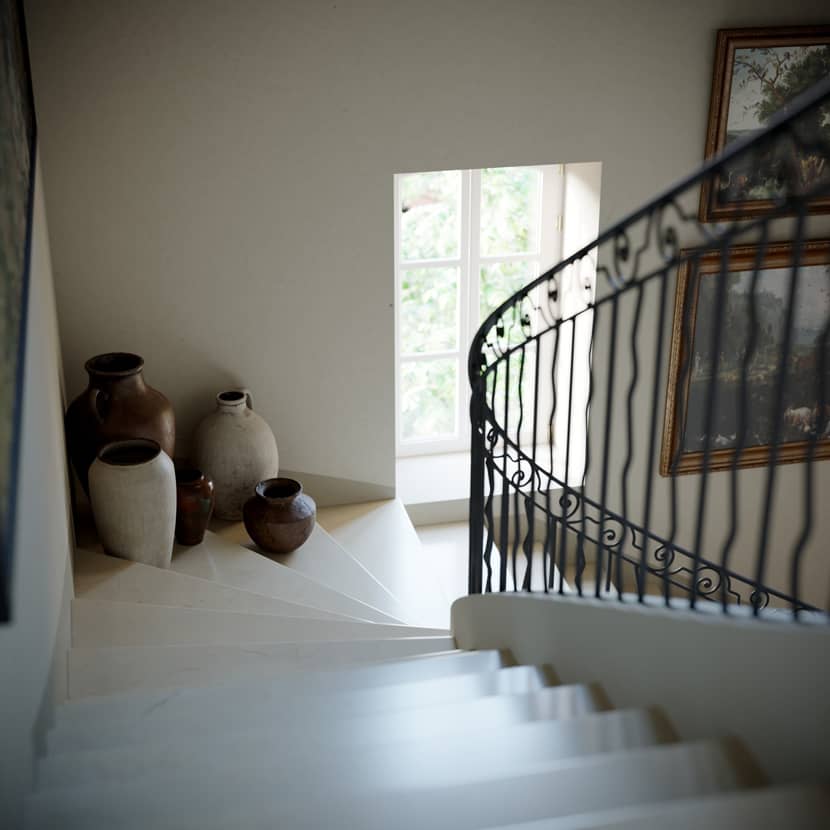
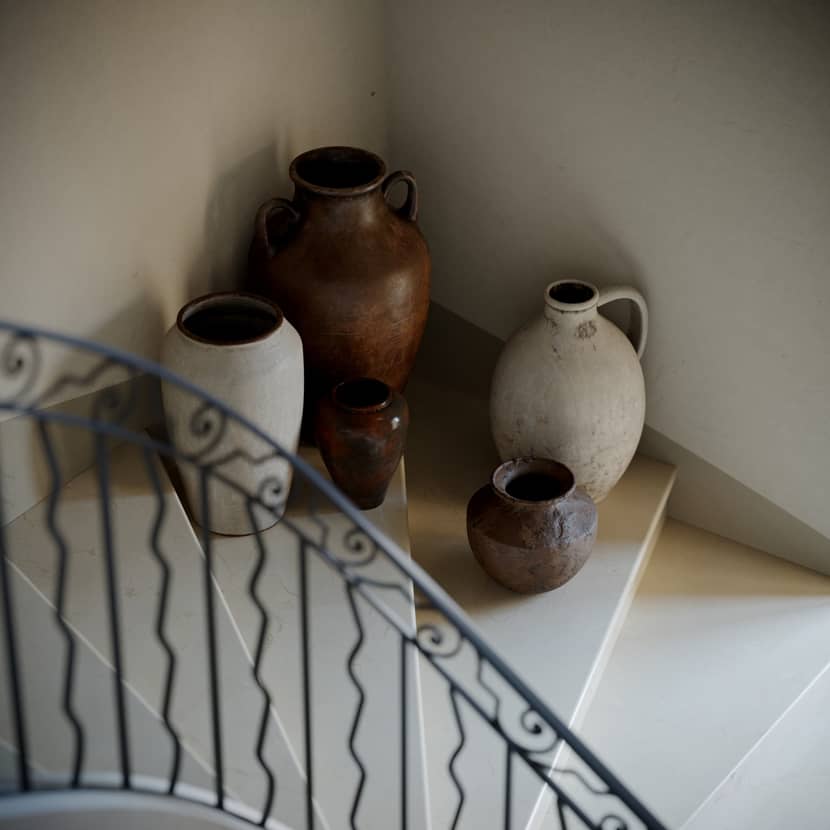
Being captivated by Iberian and Mediterranean architecture, considering our inspirations and interests, when we stumbled upon the image of an 18th-century villa in France that had a modern, clean renovation we were impressed by the beauty and elegance but were left wanting more. We were enthralled by the history yet the refined details and aesthetic and really wanted to create more views of such an atmospheric space, especially the stairs which we would consider the true heart of the building, complemented by its Mediterranean pots, classical paintings, and sculpture.
After being influenced by the undeniable appeal of the project, as many images possible regarding the building were gathered so that the building would be able to be accurately replicated and their conditions in 3D.
Software Used.
The software I used, as usual, was 3ds Max, Corona Render & Photoshop.
Modeling.
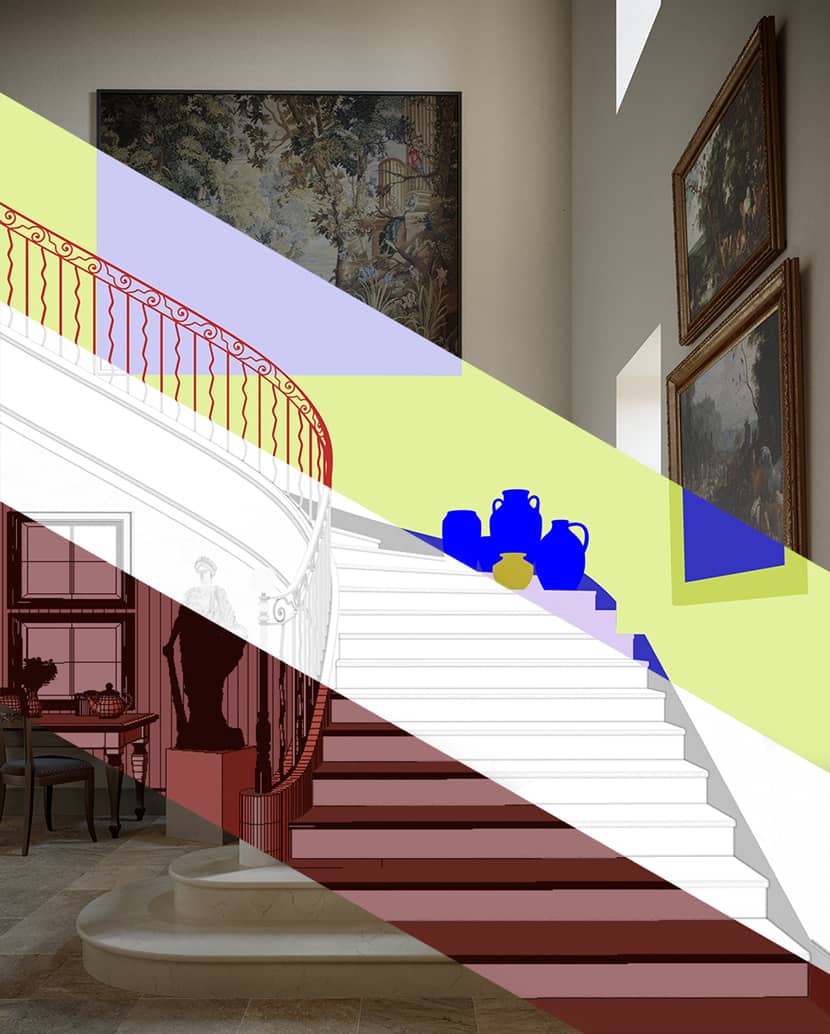
As there were no plans available the geometry needed to be recreated by eye and estimation, to do this one of the reference photos was set as the viewport background and the geometry started to be built by eye. The geometry would then be cross-referenced using the other camera with a different reference image to ensure that it would be correct.

To model the geometry by eye, it is useful to check the average/standardized sizes of objects and adjust the model in the scene so that everything is the correct size. In this case to create the steps the approximate height of the step in that region was taken into account and was used.

The modeling of the large part of the geometry was relatively simple, the majority of which was made up of simple splines and boxes. More attention needed to be given to some of the minor elements present in the scene such as the rail for example.
When the rail was being made it needed to be made up of a spline with a sweep (with banking off) and meshsmooth modifiers, during the process this was done so that when looking at the image through the camera (with the reference image the background) the vertices could be manipulated and the modeling process could be done with ease.
After the spline had been moved into its final position, it was converted into an editable poly, the element had been copied, moved down, and then flipped, the bridge was then made by joining the two parts together. Using this method provided us with the ability to create a well-positioned and proportional wall.
From the edges of the editable poly, splines for the railing and decorative elements were made.
Both the curved and straight banisters as well as decorative details were built using a spline and the 3DS Max spacing tool to align them. Using this method, if it doesn’t align perfectly, it can be done with ease manually later by slightly adjusting their position.
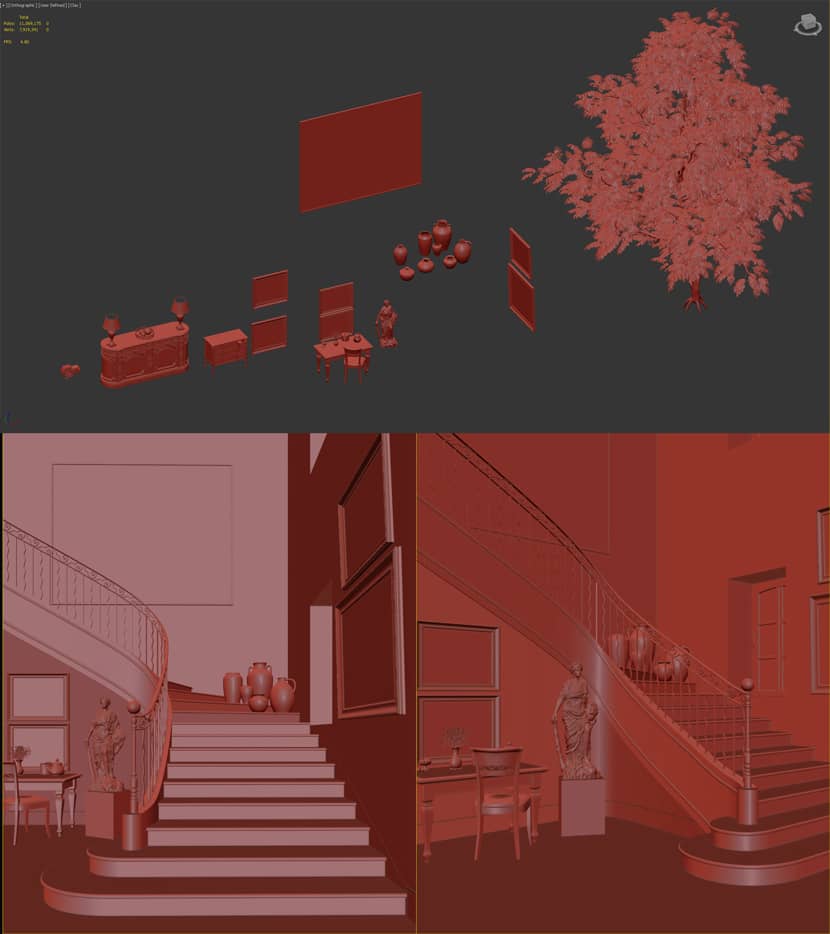
After the main space geometry and the geometry of the stairs were finished, then started the collection of scene assets. Some of the assets included, painting frames, sculptures, vases, and furniture which were sourced from 3DSKY, other models such as the tree for the background were sourced from Evermotion. The tree was added to soften the direct light and to make it more indirect.
Here can be seen the completed scene with all the scene assets located inside, ready to move on to the next stage.
Lighting & Atmosphere.
When working with scenes, usually the lighting is set up first on clay renders.
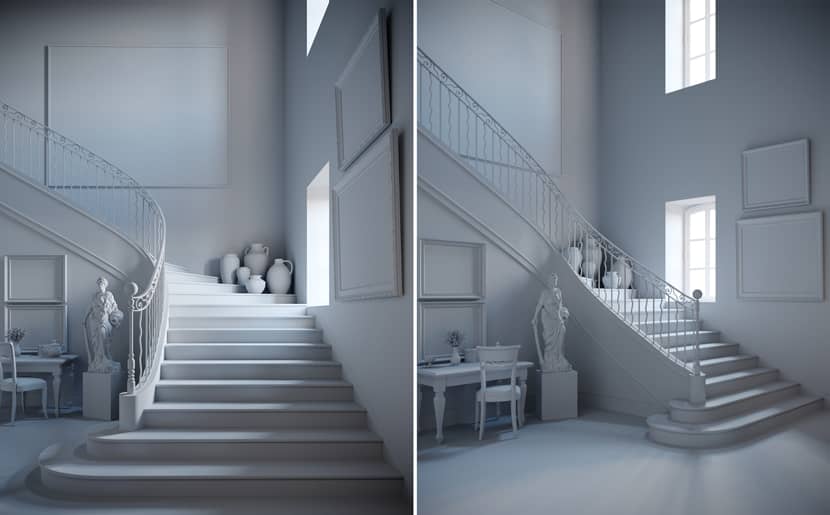
As lighting is one of our primary focuses when creating a photorealistic image, it was important to us that we had some soft semi-distinguishable rays flowing into the room. To achieve this result, only an HDRI was used to create the lighting and no corona sun.
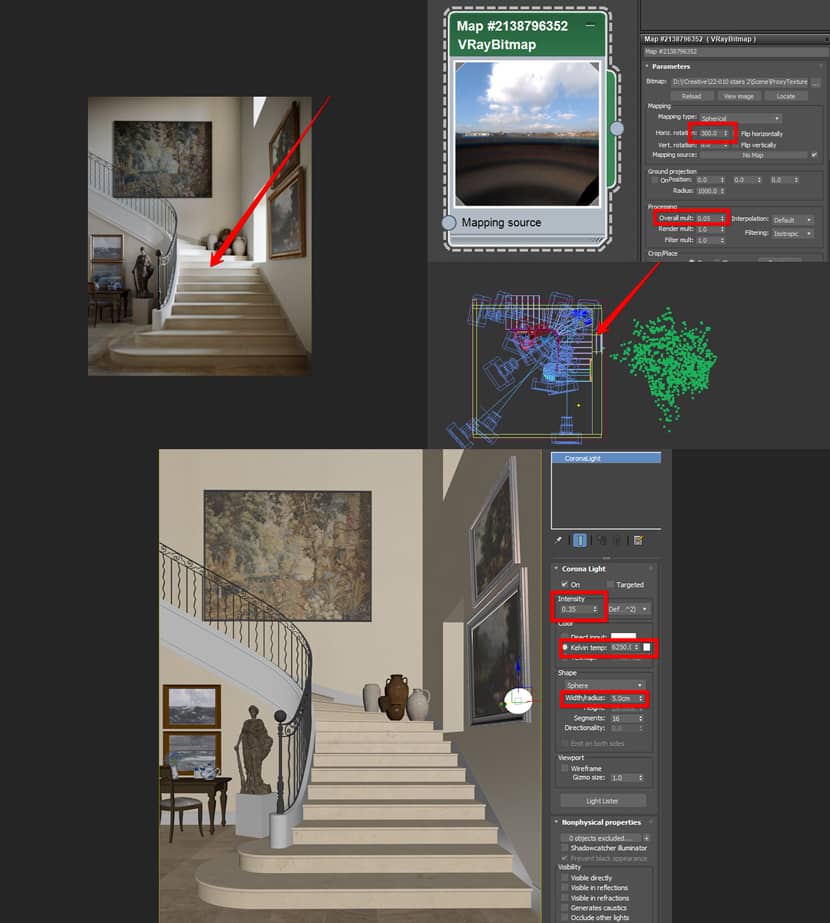
The HDRI in question was a basic blue sky with clouds. If you would like to achieve similar results on your own we would suggest doing the same, try it out and keep rotating and altering the intensity until the HDRI light enters to your liking. This method should work well with most daylight HDRIs.
In this instance, the HDRI was rotated so that the light enters the room at an approximate angle of 60 degrees.
To complement the image a small corona light to the right in front of the steps was added to complement the lighting and a slight warmth to the environment.
Materials.
After the lighting is ready, the main materials need to be set up so that it can be seen how they will react to the general lighting of the scene. The materials are then adjusted accordingly so that they look photorealistic and harmonious.
Most materials used in this environment were sourced from Quixel Megascans and exported into 3DS Max using Bridge.
The scene contains 4 main materials: Wall plaster, Tile floor, Marble steps, and Metal, all sourced from Quixel. The metal, however, was a Corona-layered material that was made with a dirt mask added.
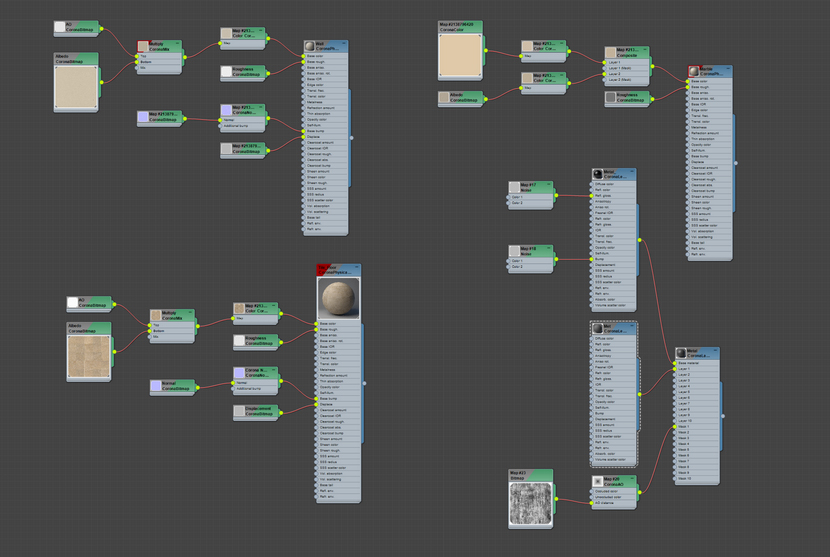
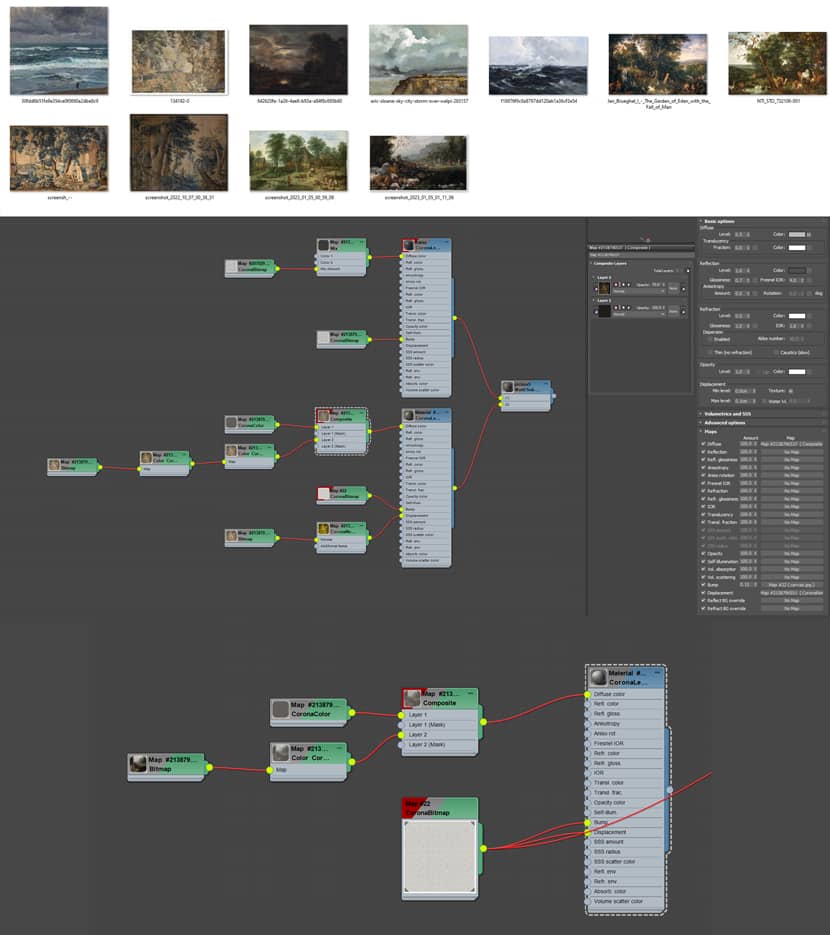
For the paintings, it needed to match the aesthetic of that of the reference so the decision to make the paintings, not stick out too much and look photo-realistic was made. It was necessary to use Corona-Colour correction on the maps in combination with a composite map, mixing the painting with a dark grey color, this way it fits into the environment and looked native. To achieve the canvas look, bump maps were used.
An informative, short video tutorial below could probably help you to understand how to use it.
Composition & Camera.
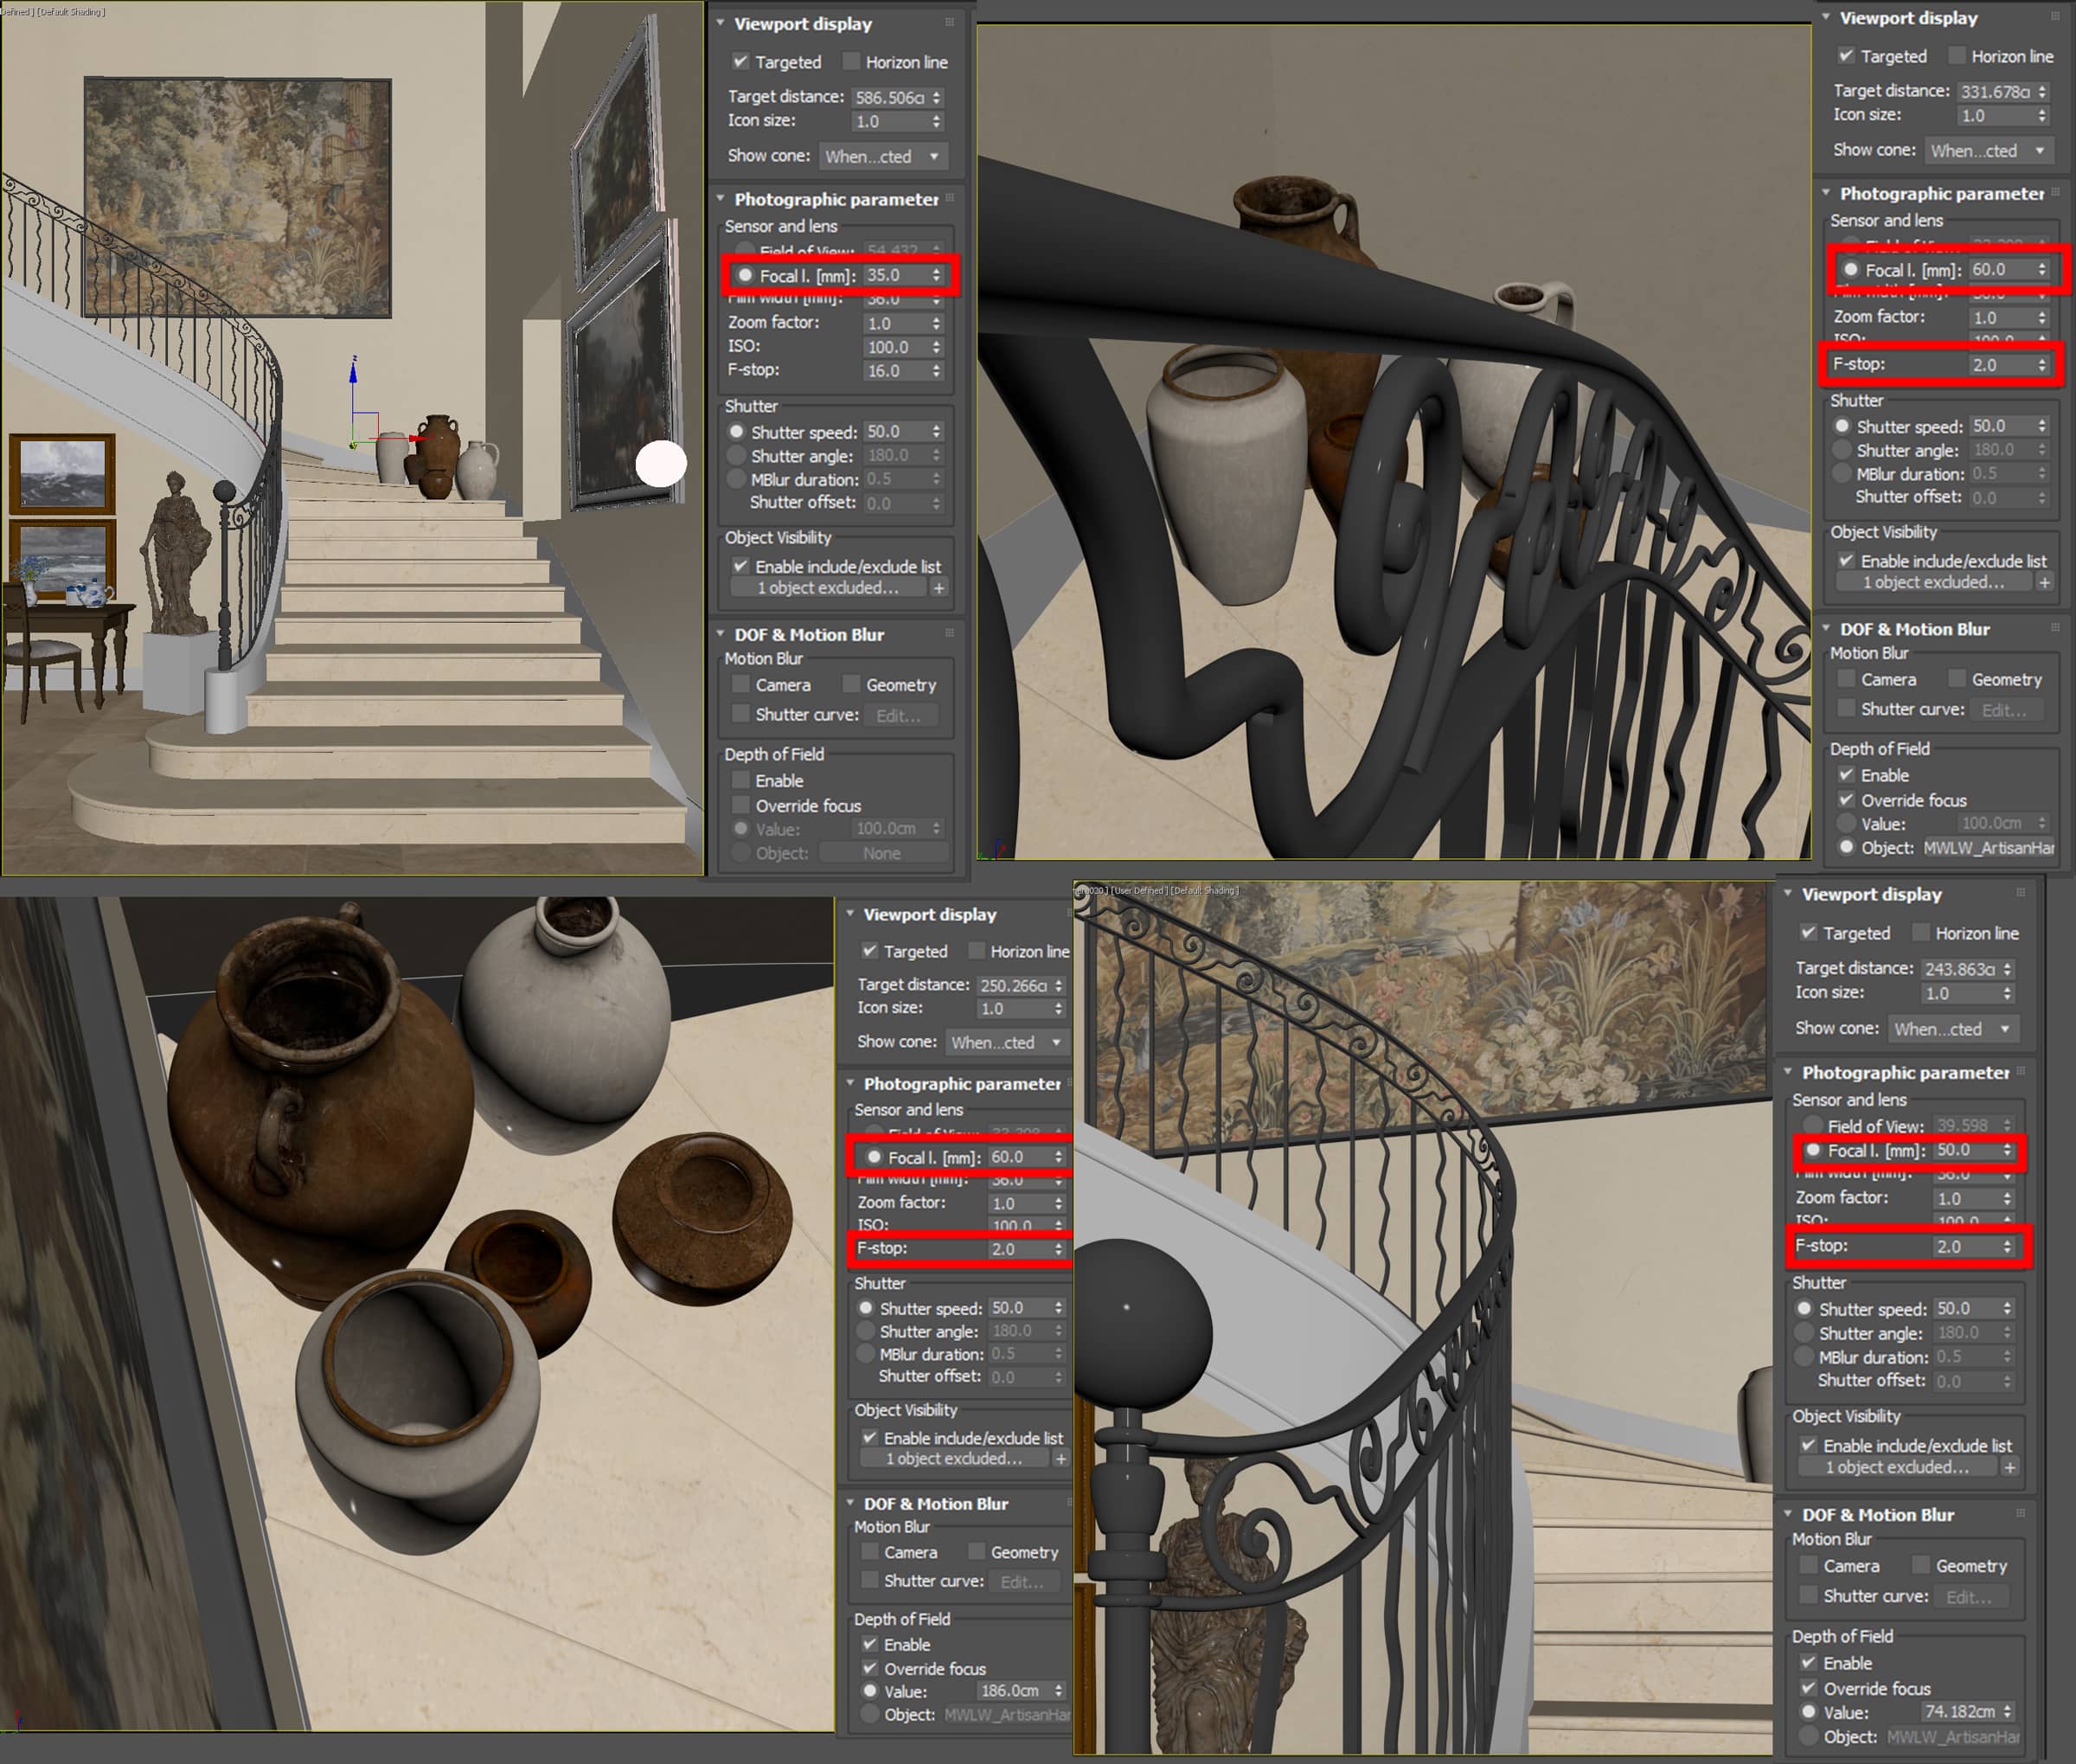
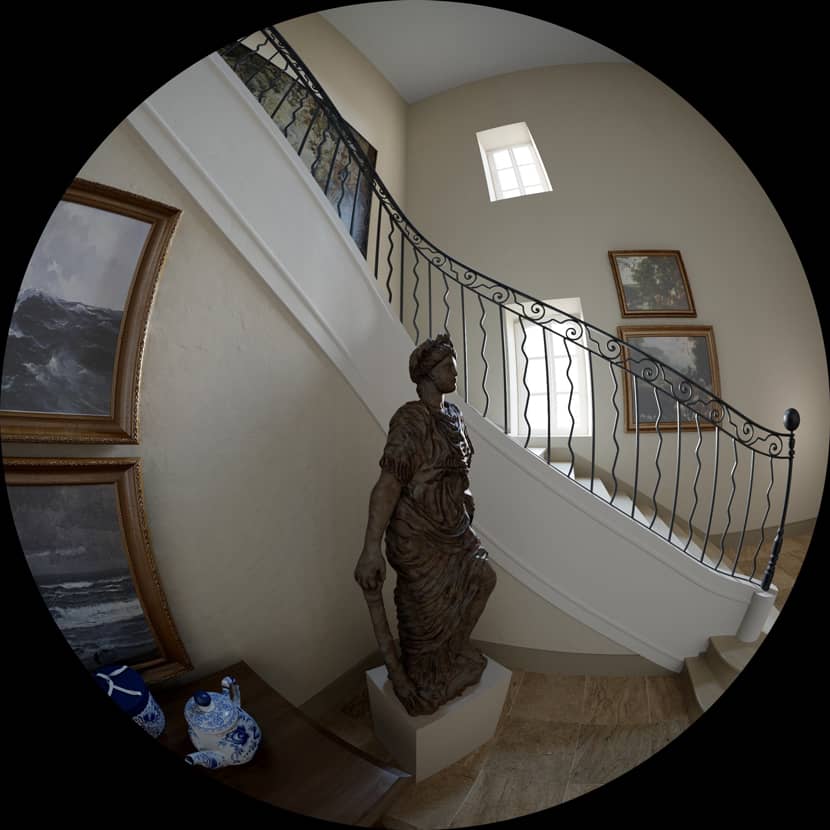
When we set up the cameras, this is usually when we let our real inspiration flow, choosing where to place them and being able to create all these different perspectives, emotionally or thought-provoking. We enjoy this process and the freedom it entails as the scene has already been completely set up.
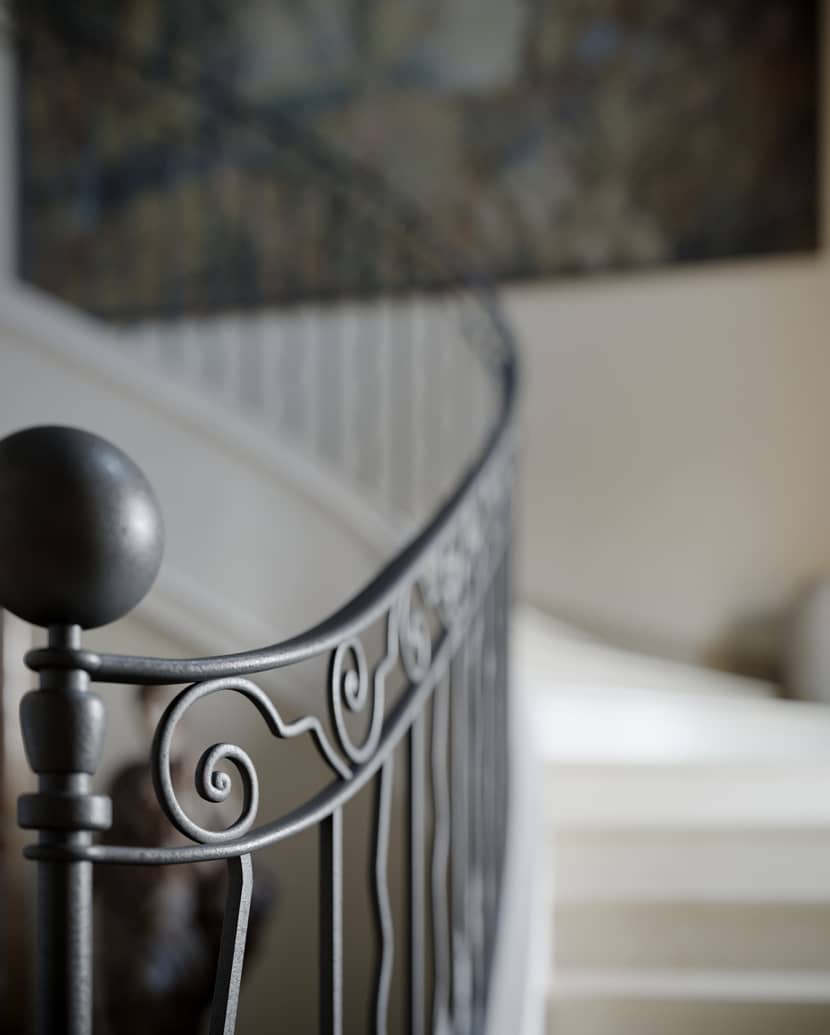
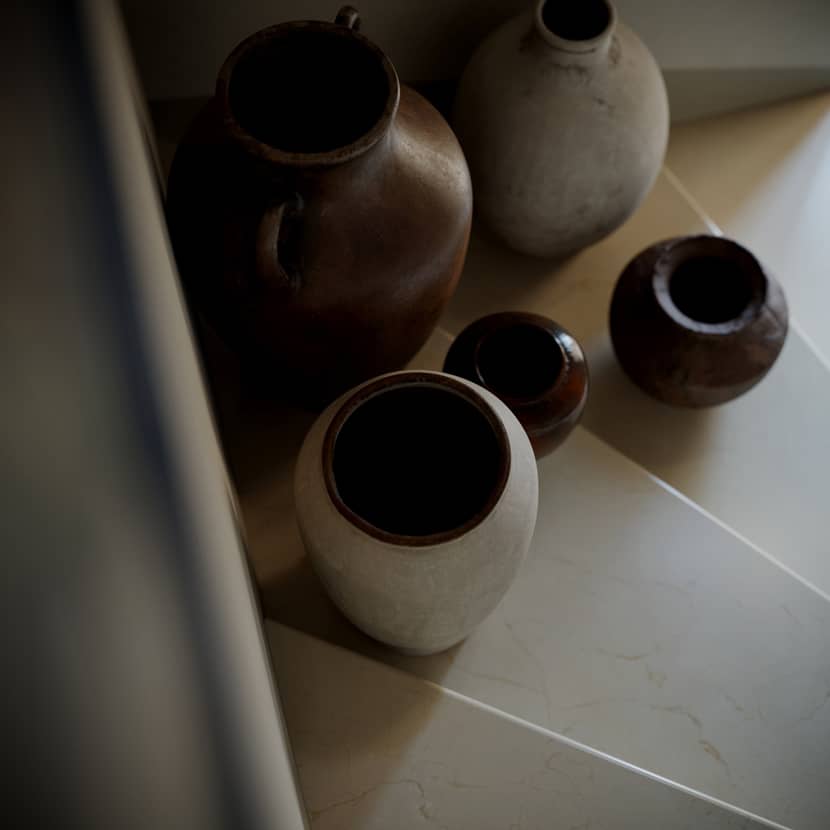
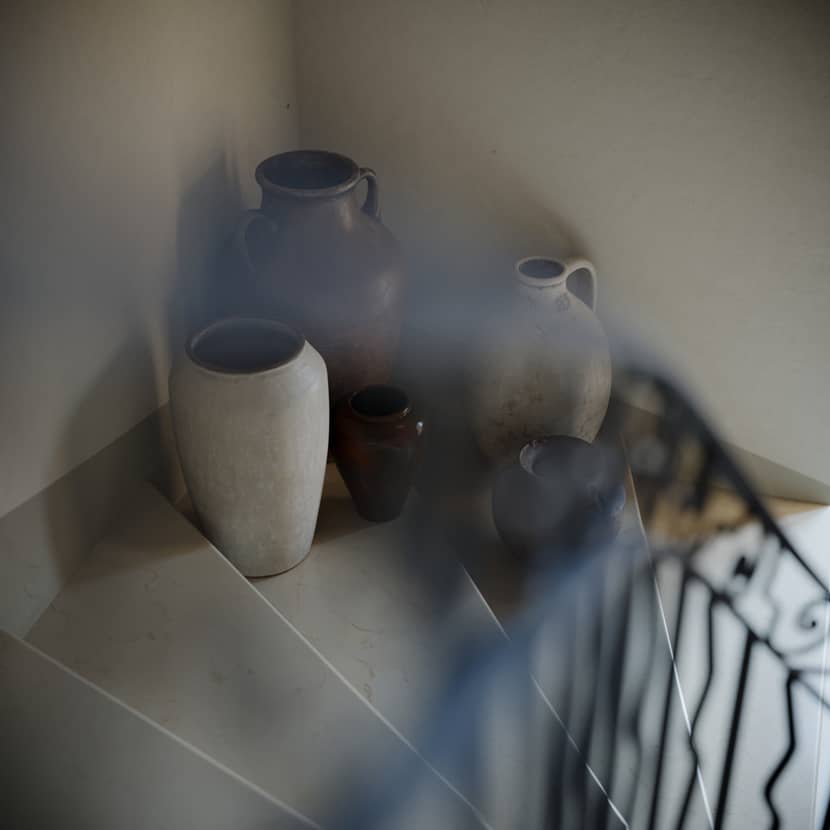
For the main images a focal length of 35 mm was used, the closeups 50-60 mm and F. 2. Though some of the images may seem blurry or out of focus, this is done with the purpose to provoke emotion and make the image more visually appealing.
Another very helpful tutorial below related to professional interior photography:
Post-Production.
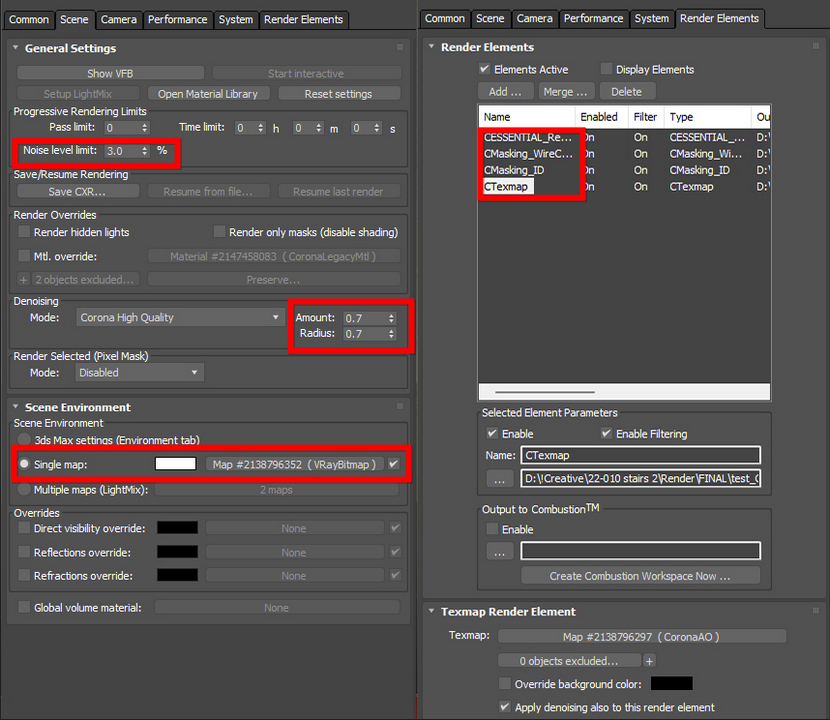
Here the general settings for rendering can be seen, though not overly complex, in some instances simplicity is bliss, and not overcomplicated the process often can help to achieve a more photo-realistic image.
It was rendered with 3% noise and the elements rendered were MaskingID, WireColour, Texmap, and Reflect.
Here can be seen the tone-mapping settings. The corona post settings as well as the lighting are all the same for all the images and close-ups. For this project, there was no Photoshop or post-production used.
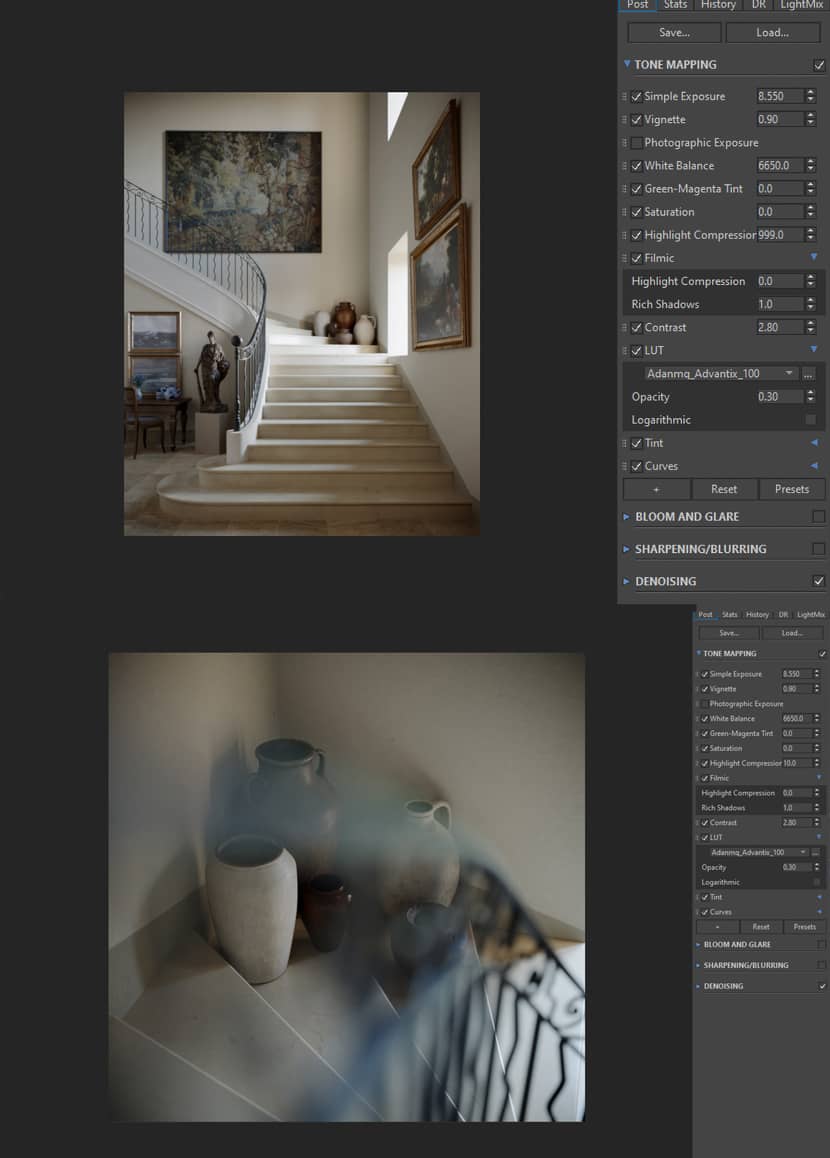
The (3000px long side) images without DOF took 1.5 hours to render, and the (2500*2500 px) closeups with DOF took 2-4 hours to render.
Final Images.

Conclusion.
Thank you for taking your time reading this article.
We really hope that at least one person who reads this article benefits from our explanation and walk-through and can use the same methods or learn from them to improve their work.
Sometimes it can seem impossible to achieve the perfect lighting or config and overwhelming to look at all the different information, so thanks again to RebusFarm and VWArtClub for providing us with this platform and opportunity to not only present our work but to help the 3D community grow.
Kind regards,
Rupert Johnson & Olga Johnson.Check more of Sueños del Mar's work on these channels:
Want to share your work with our community too?
Contact us at This email address is being protected from spambots. You need JavaScript enabled to view it. and tell us about your favorite project.