
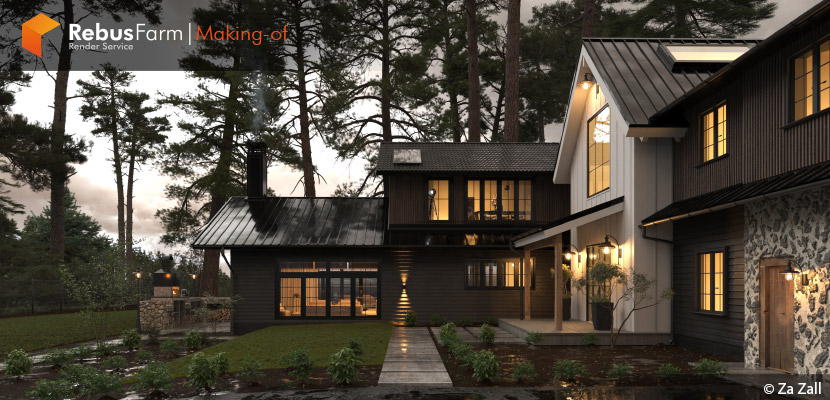
Crafting emotionally evocative environments takes more than just technical skill. It requires an eye for mood, detail, and storytelling. In this making-of feature, 3D artist Za Zall walks us through his reimagining of a garden villa on a rainy evening. Starting from a base model by Render Camp, he transformed the scene using Corona Renderer, capturing the glistening aftermath of a storm with wet asphalt, damp vegetation, and a soft sunset glow. Join us as we explore how Za balanced light, texture, and atmosphere to bring this photorealistic vision to life!
Introduction.
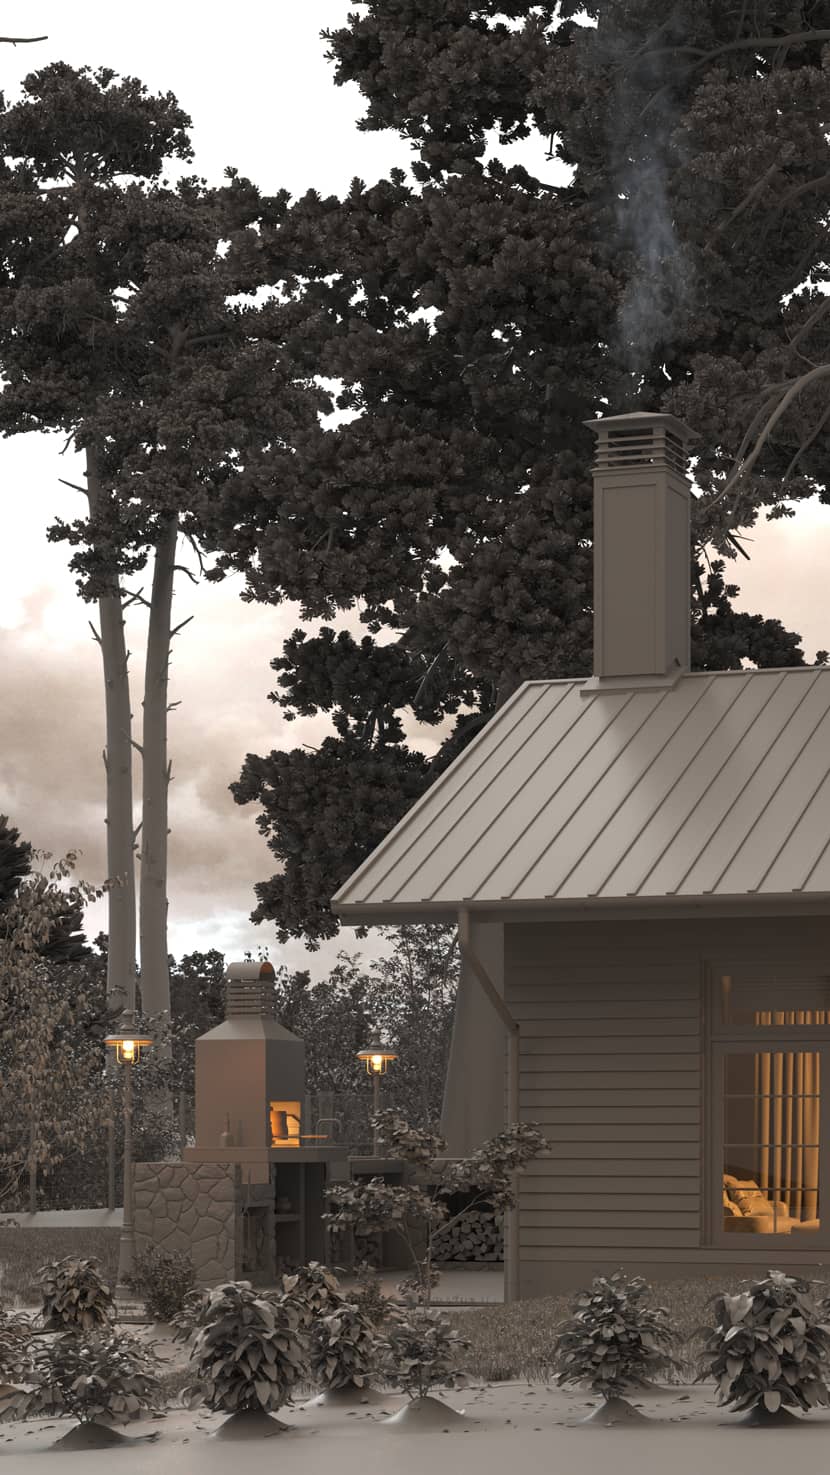
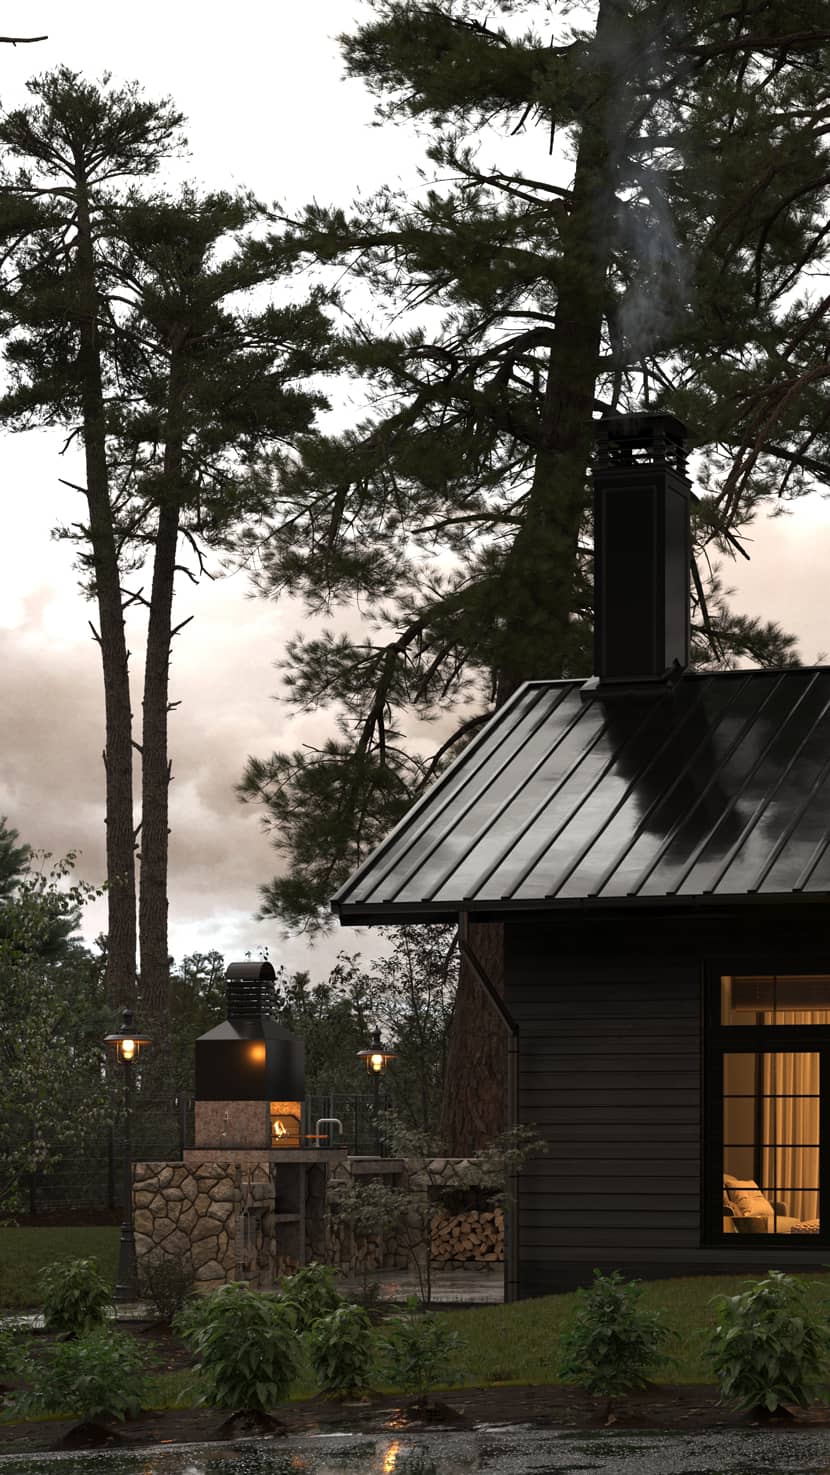
In architectural visualization, few settings are as captivating as a meticulously crafted rainy day. This project reimagines a garden villa model originally provided by Render Camp, transforming their base design into a photorealistic depiction of a serene post-rainstorm evening. My focus was on remodeling the villa and its landscaping to mirror reality—wet asphalt, shimmering surfaces, and the gentle glow of sunset piercing through heavy clouds. This article explores the techniques, challenges, and tools, with a special emphasis on Corona Renderer's capabilities, to create an immersive and lifelike scenes.
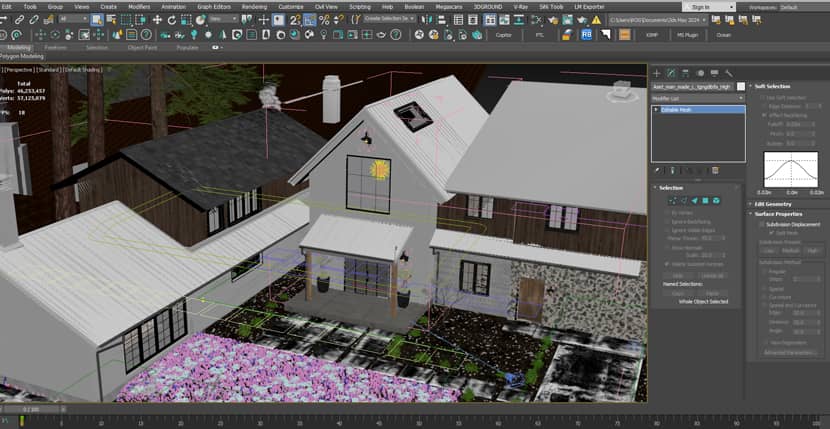
1. Redesigning the Core Model.
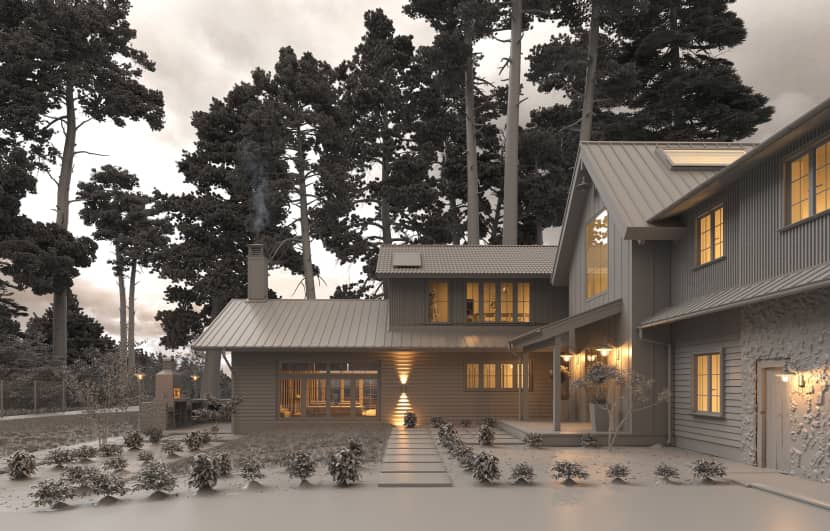
Render Camp's initial villa model offered a solid foundation, but achieving the photorealism required for this scene demanded a complete overhaul. I refined the building's proportions, adjusted its geometry, and reworked materials to align the 3D representation with the real-world structure, drawing inspiration from their work while elevating it with greater detail and precision.
2. Creating Realistic Wet Asphalt.
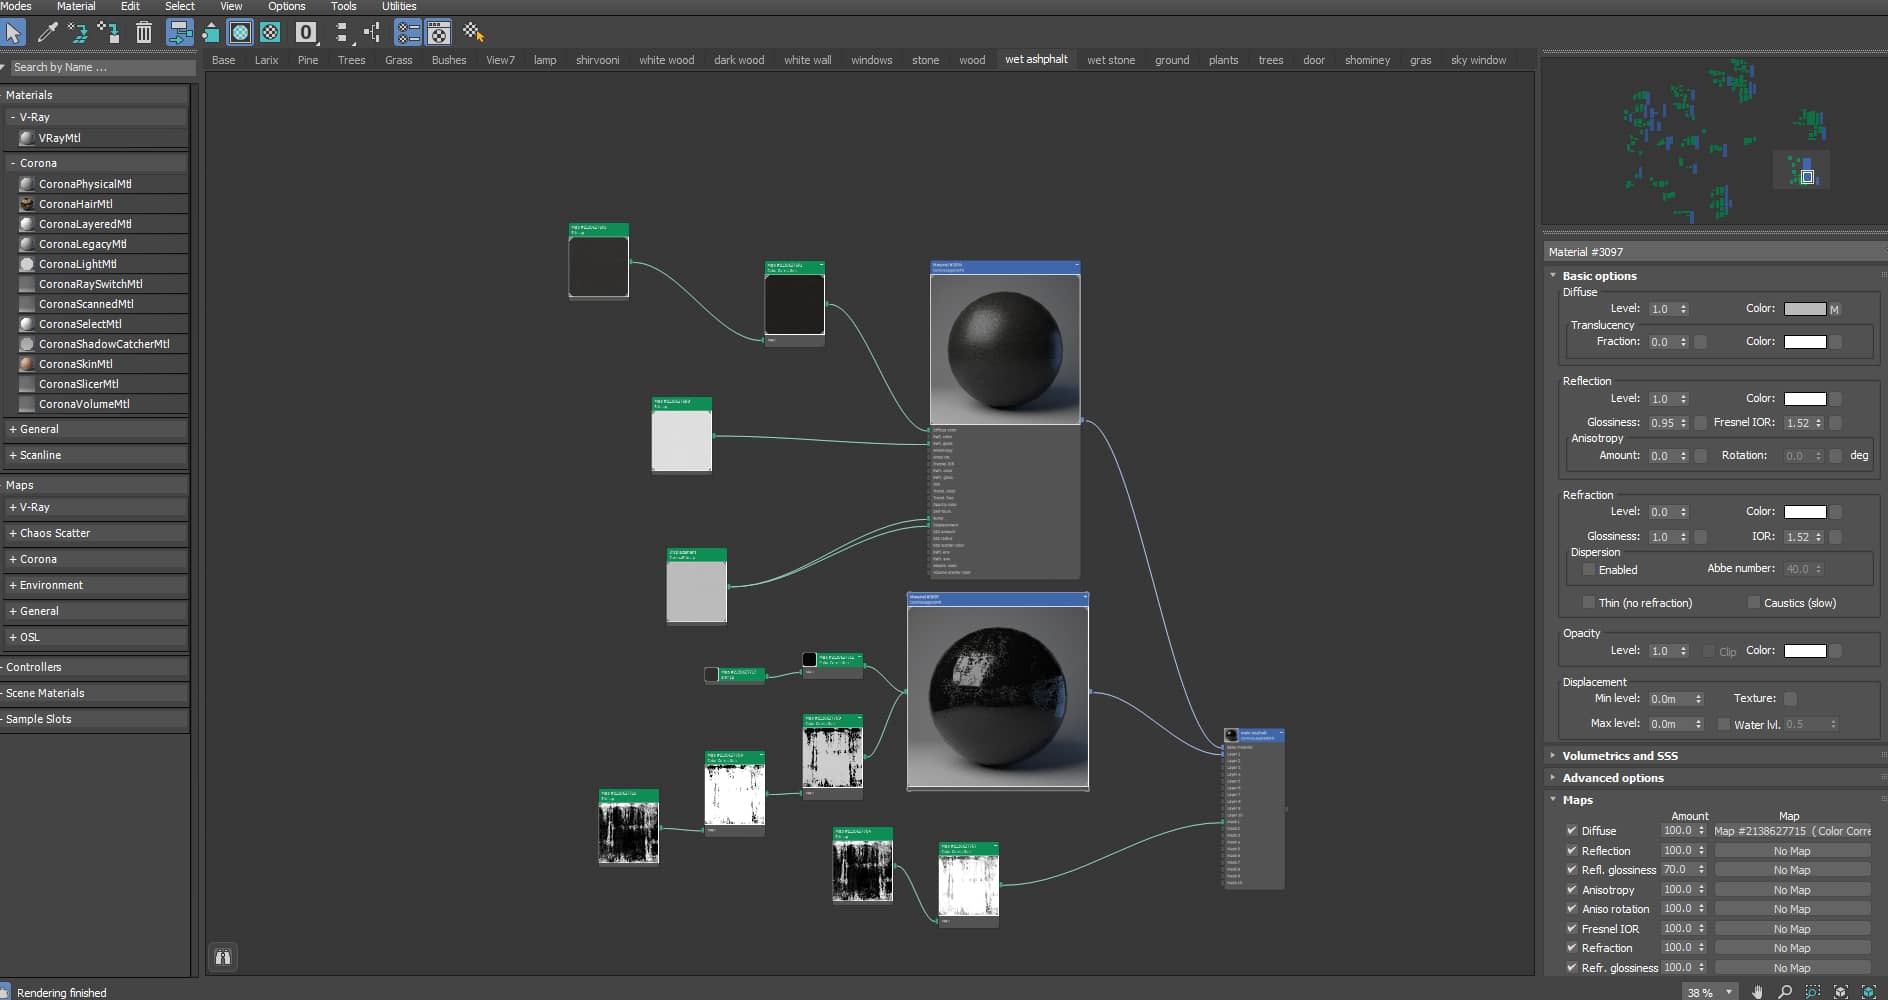
A hallmark of any rainy-day scene is the authentic portrayal of wet asphalt. In Corona Renderer, I achieved this using reflection glossiness maps and bump maps. My process included:
- Material Setup: Starting with a base asphalt texture, I ensured its color and bump details matched real-world references.
- Wetness Effects: I applied the “Reflection Glossiness” map to simulate uneven wetness, blending dry patches with puddles via a noise map for organic, random shapes.
- Refinement: I fine-tuned IOR (Index of Refraction) values to replicate light's interaction with water on asphalt, drawing on YouTube tutorials to perfect the immersive realism of the final render..
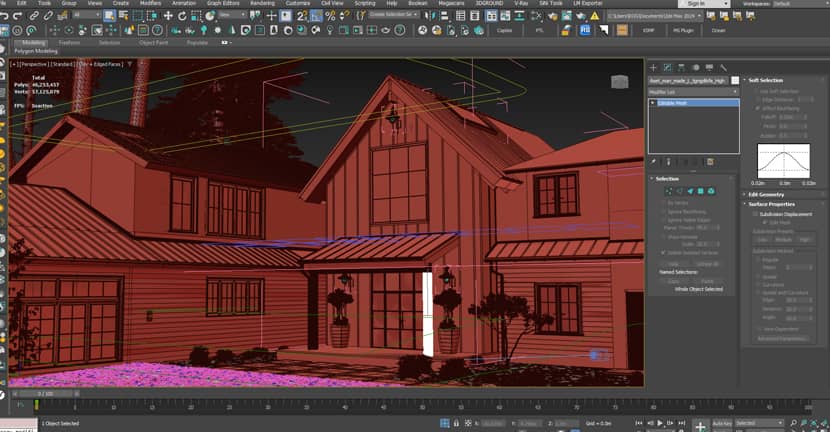
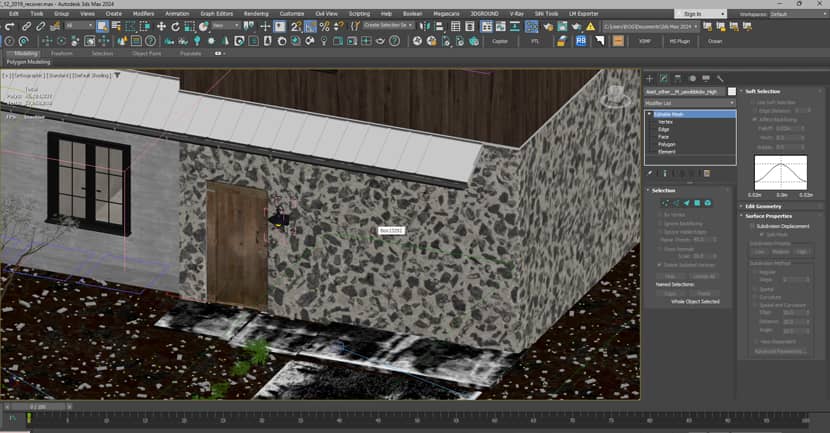
3. Enhancing Wall Textures with Quixel Bridge and Corona Tools.
To elevate the villa's walls, I leveraged Quixel Bridge's high-quality assets, starting with a simple surface covered by a basic texture. The transformation involved:
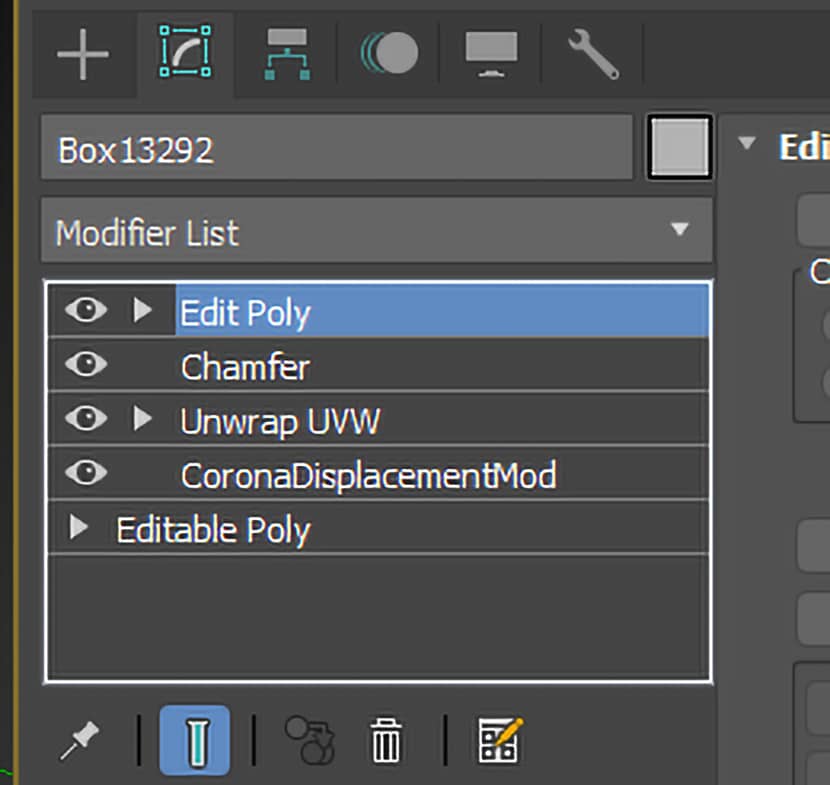
- Optimizing the geometry with Editable Poly in 3ds Max for seamless texture integration.
- Applying Corona Displacement Mod with these settings:
- Min Level: 0.0m
- Max Level: 0.15m
- Displacement Map: A high-quality Quixel texture (Subdivision Quality: 779) - Using Unwrap UVW for precise texture placement, with:
Map Channel: 1
Threshold: 0.0m
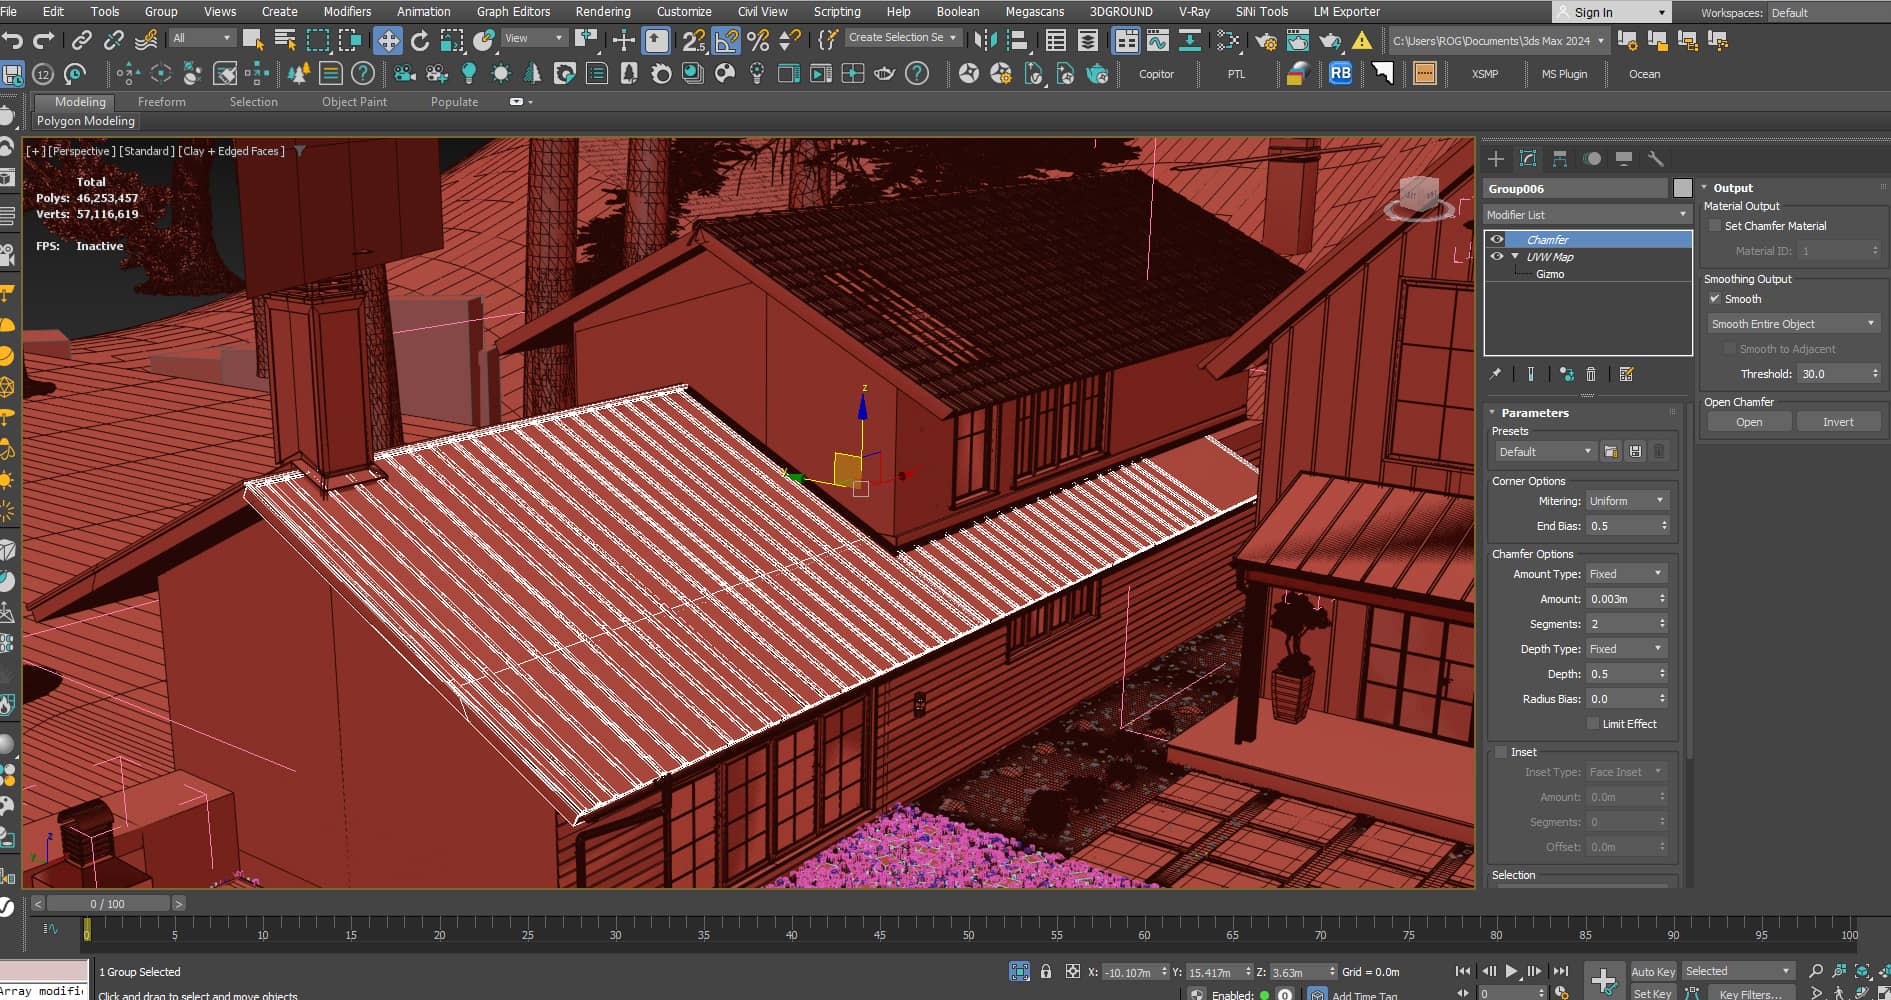
Peel Seams: Enabled for perfect alignment - Softening edges with Chamfer, configured as:
- Amount Type: Fixed
- Amount: 0.5m
- Segments: 6
- Depth Type: Fixed
- Depth: 0.5m|
- Radius Bias: 0.0 - Final tweaks in Editable Poly resulted in photorealistic walls that added depth and authenticity, showcasing the synergy of Quixel Bridge and Corona Renderer.

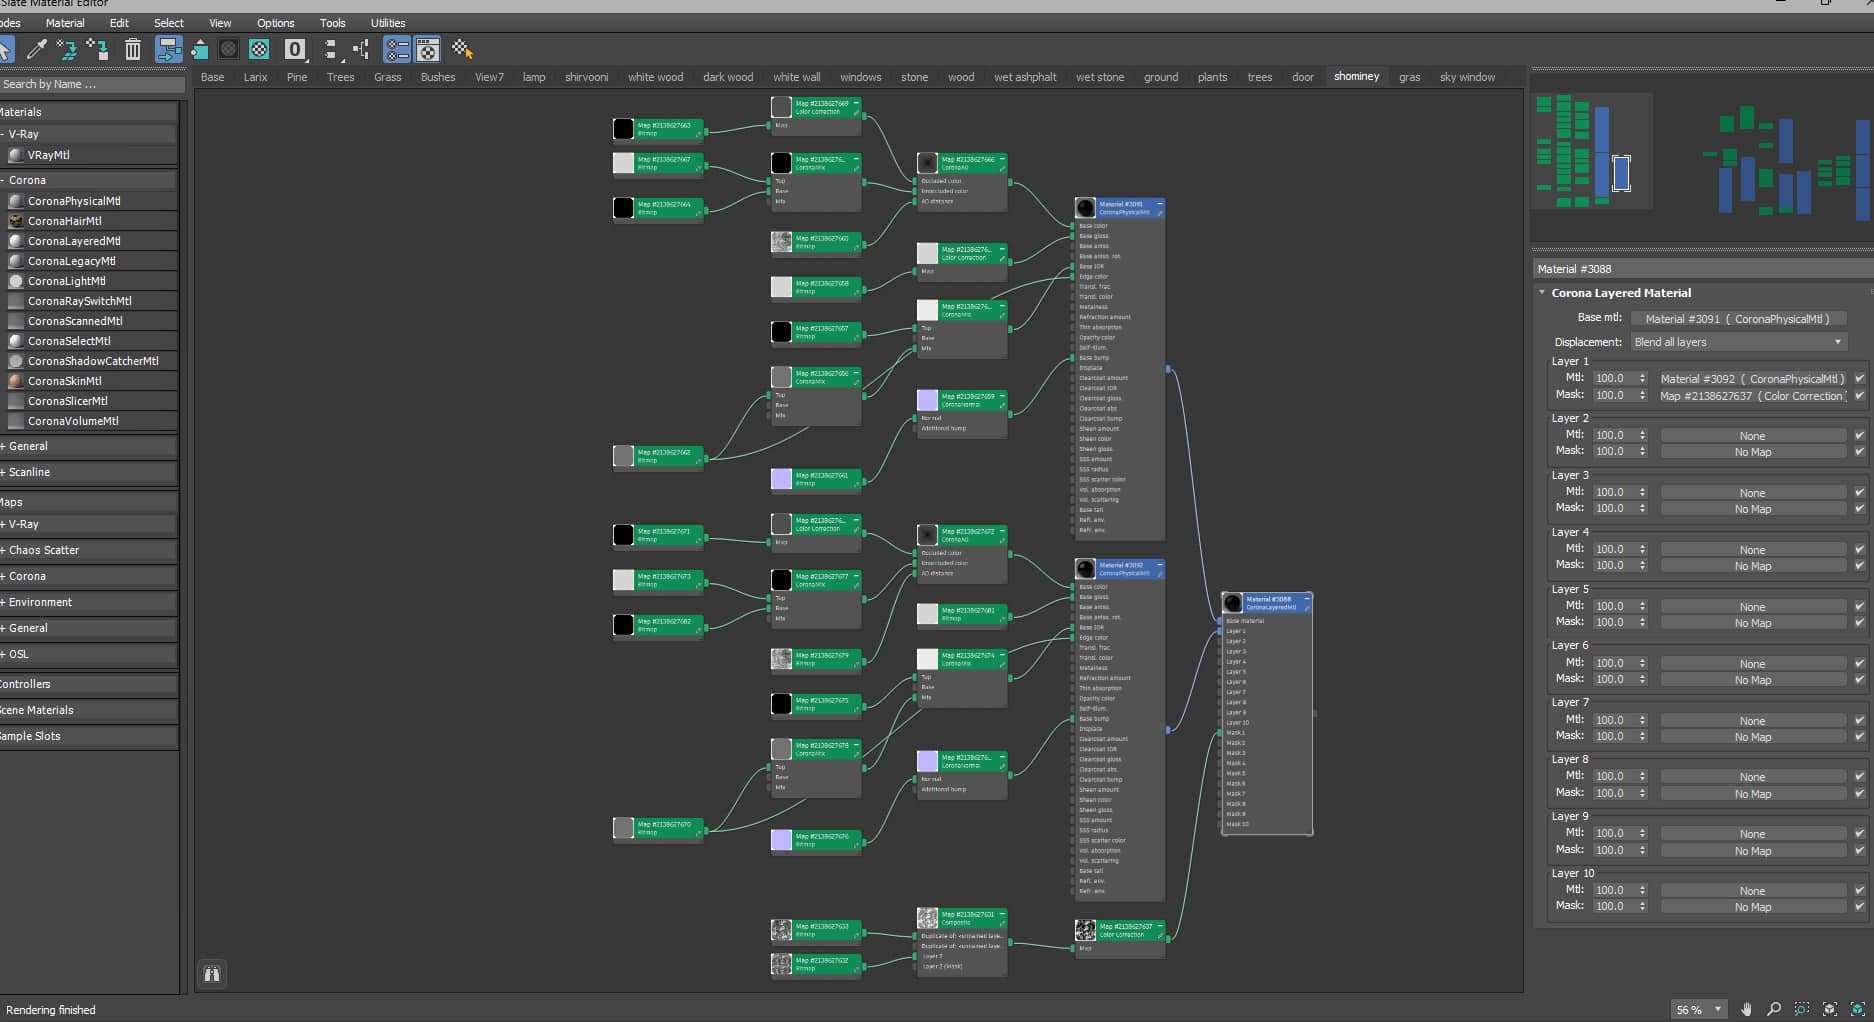
4. Detailing Damp Soil and Garden Elements.
The garden required a realistic depiction of damp, rain-soaked soil and vegetation. I used Corona's Layered Material to merge soil textures with wet patches, adding reflective properties for glistening areas. For plants, I applied subtle translucency to leaves to enhance light interaction and increased reflectivity to simulate raindrops, crafting a natural, wet garden scene.
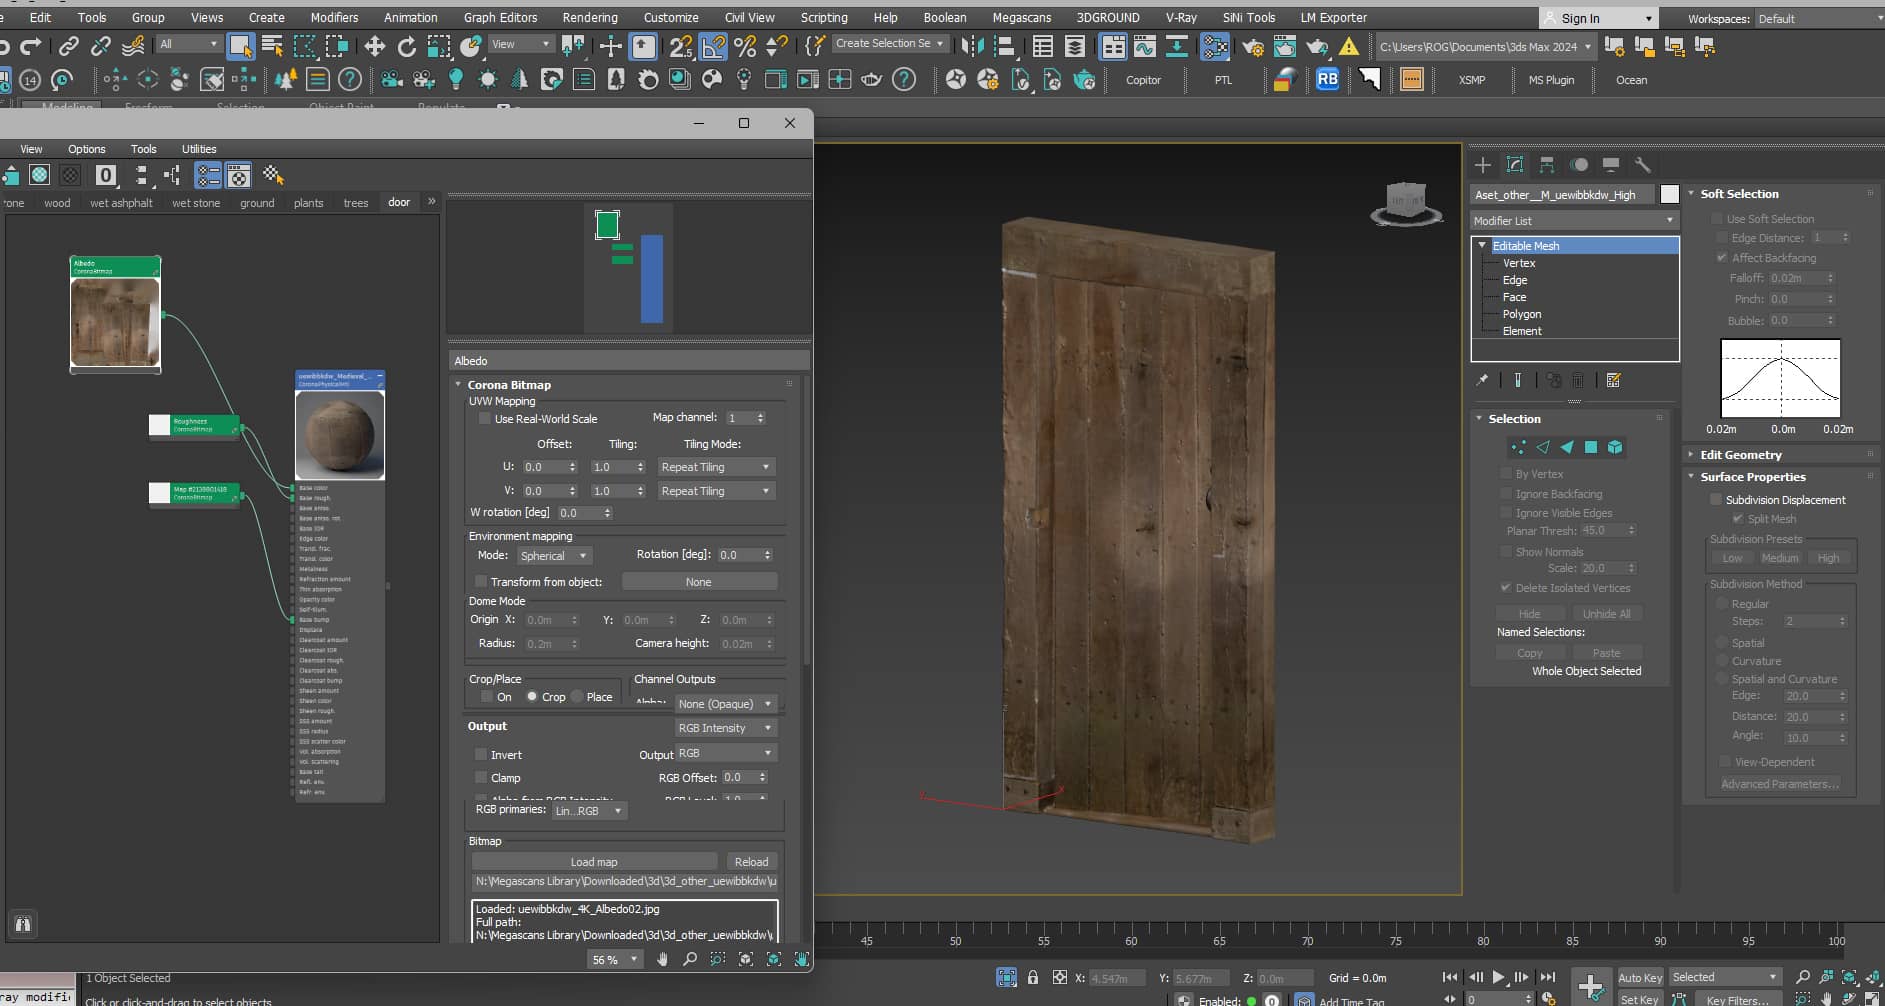
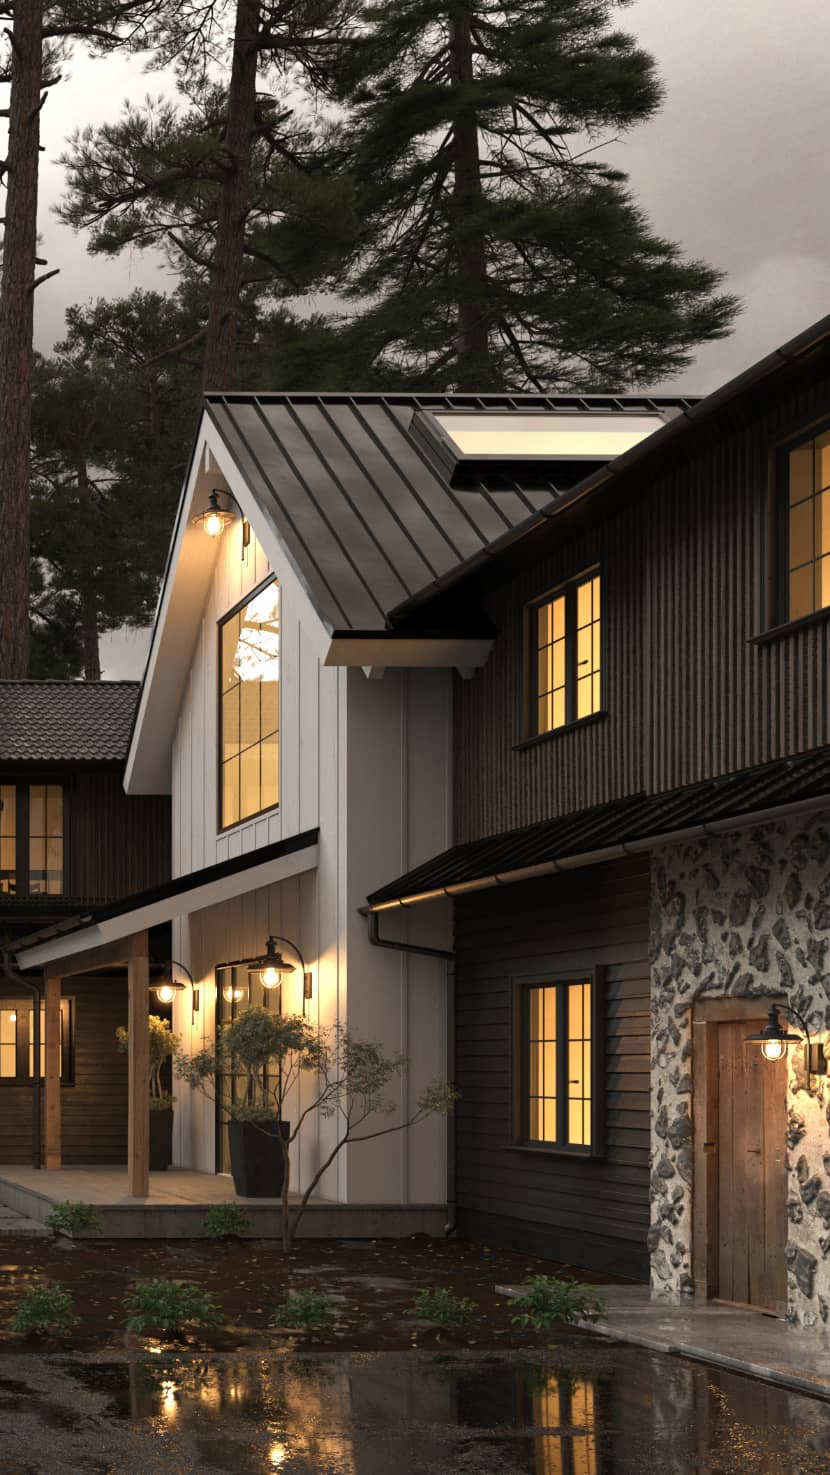
5. Crafting Photorealistic Old Doors with Quixel Bridge in 3ds Max.
A striking feature of the villa was an authentic old door, created using Quixel Bridge's premium assets in 3ds Max. Designed to exude rustic charm, the door leveraged Quixel's baked objects and 4K textures via their specialized plugin for efficiency. I imported the object with pre-baked albedo, roughness, and normal maps, refining in Corona:
- Albedo Map: A 4K texture capturing the aged wood's rich hue.
- Roughness Map: Adjusted for the weathered, uneven surface.
- Normal Map: Enhanced to highlight wood grain and imperfections.
This streamlined workflow ensured the door's photorealistic integration into the rainy-day scene, enriching the villa's exterior.
6. Rendering Wet Roof Shingles.
Achieving a realistic wet roof involved detailed work with high-resolution shingle textures, enhanced by bump and displacement maps. I used masks to blend dry and wet areas, simulating water pooling in grooves, and boosted the specular layer for lifelike reflections, perfectly complementing the rainy atmosphere.
7. Perfecting HDRI for Post-Rain Lighting.
Selecting the ideal HDRI was crucial for capturing the soft, diffused lighting of a post-rainstorm evening with a warm sunset glow. I tested various HDRIs, prioritizing overcast skies with subtle sunlight, then adjusted:
- The HDRI's rotation and intensity for accurate light positioning.
- Corona's Sun and Sky system for precise control, balancing the scene's illumination naturally.
8. Adding Atmospheric Depth with Corona's Volume Material.
To deepen the rainy ambiance, I incorporated subtle volumetric fog using Corona's Volume Material. I calibrated density and distance settings to maintain realism without overpowering the scene, ensuring the fog interacted seamlessly with the HDRI lighting for an atmospheric effect.
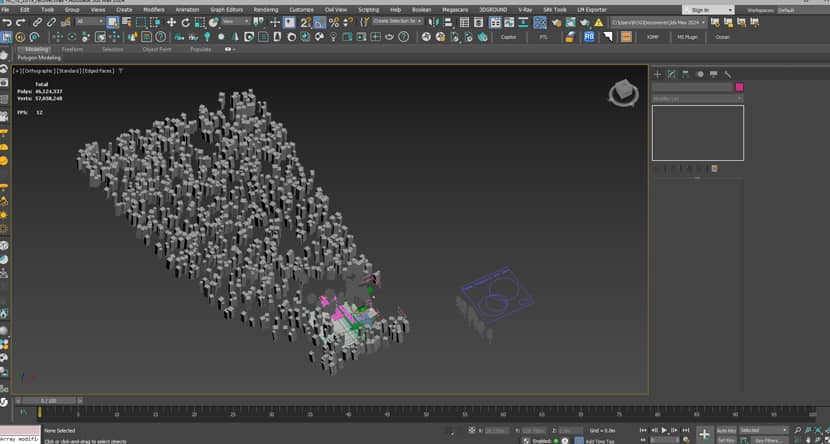
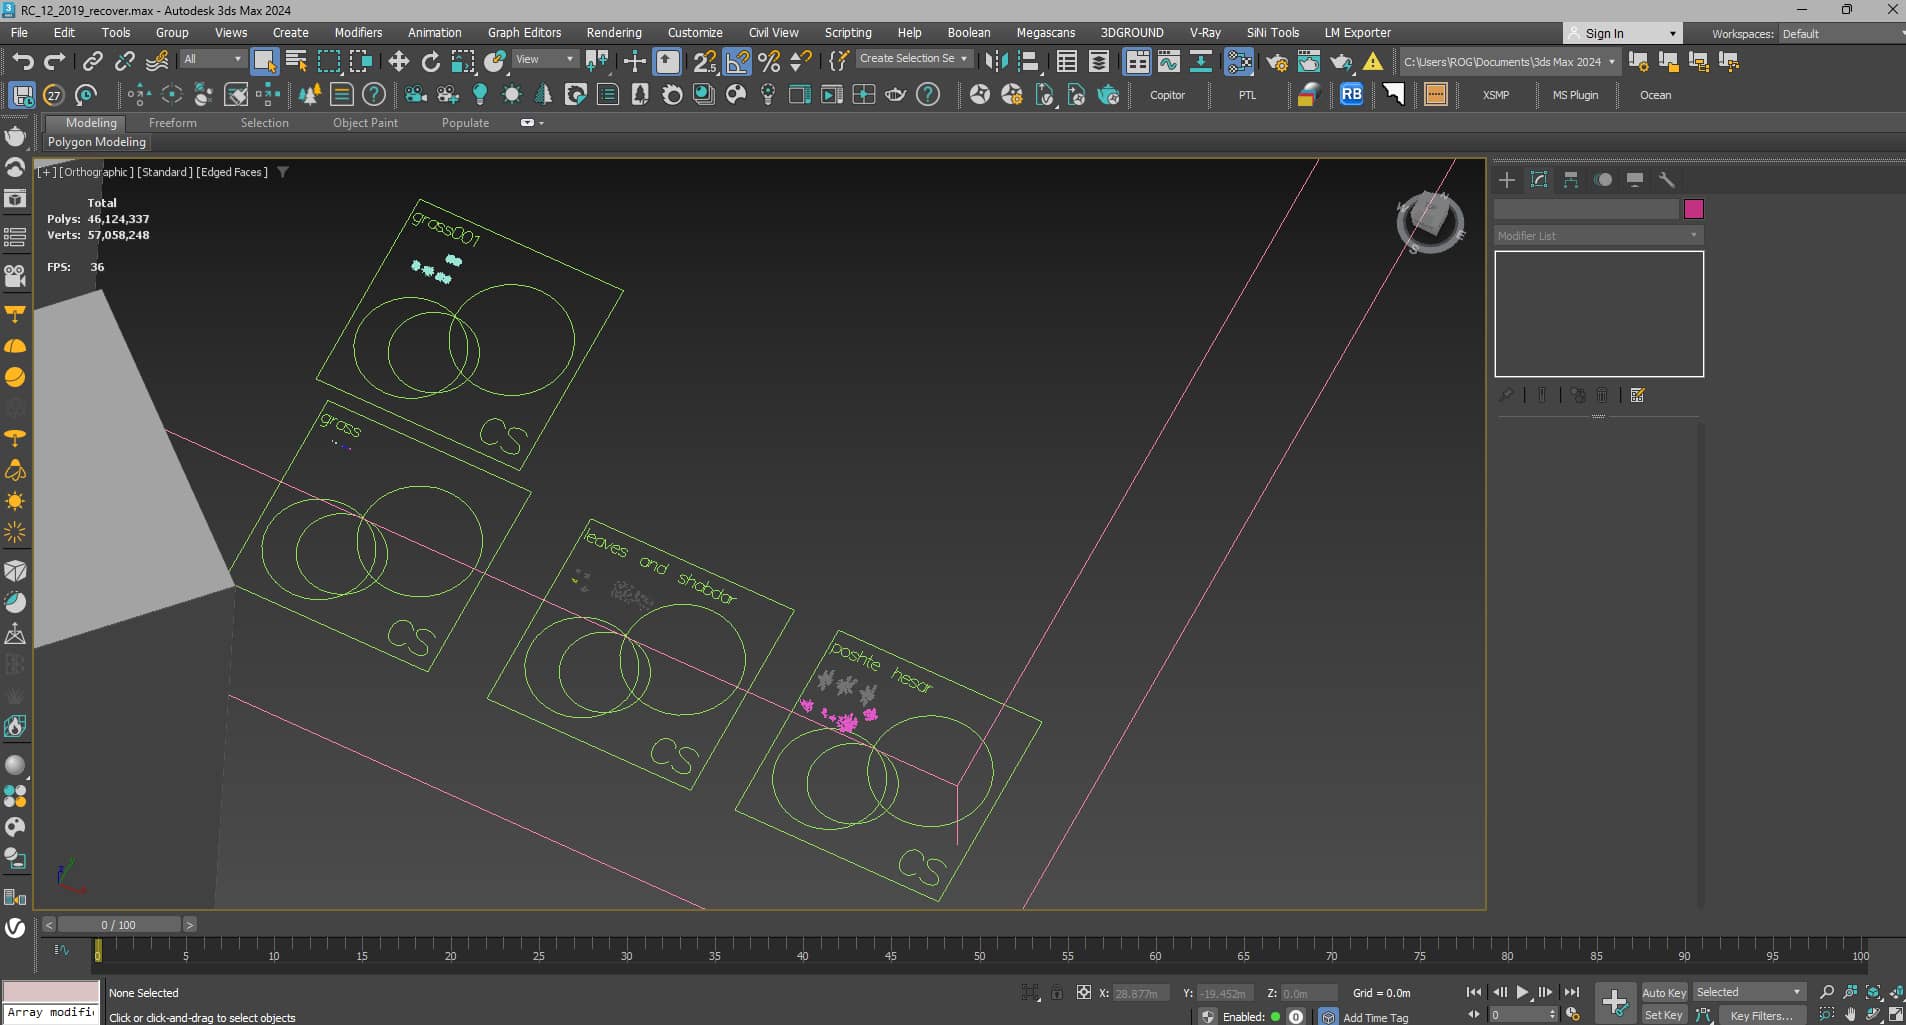
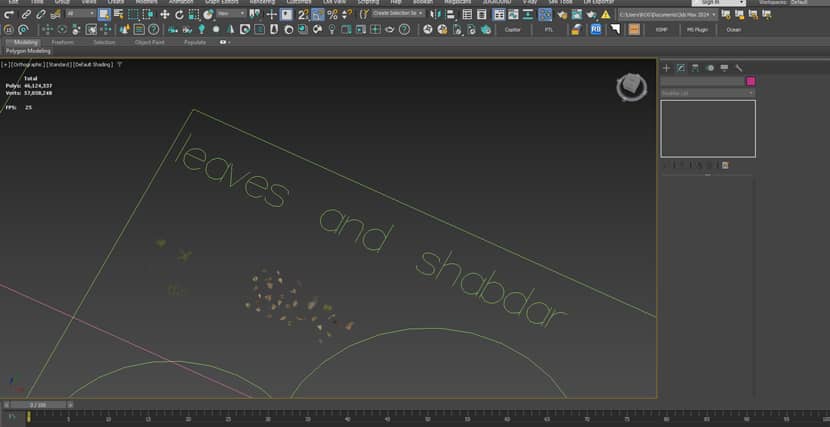
9. Simulating a Wet Forest Ground with Corona Scatter.
The wet forest ground was essential to the scene's realism, reflecting a post-rain environment where fallen leaves scatter densely and small stones emerge from mud. With Corona Scatter, I recreated this natural distribution through multiple layers:
- Grass Scattering: Distributing lush, vibrant grass evenly in clean areas.
- Leaf Scattering: Adding leaves to muddy patches for a wet, organic look.
- Shrub Scattering: Placing shrubs behind the fence for depth and density.
- Tree Scattering: Positioning trees for realistic reflections on glass.
- Fine Grass and Tiny Shrubs: Filling gaps between grass and mud for seamless detail.
Using Corona Scatter's “Excluding” feature, I drew precise lines to control placement, hand-painting the distribution for a natural, artistic result that enhanced the scene's photorealism.
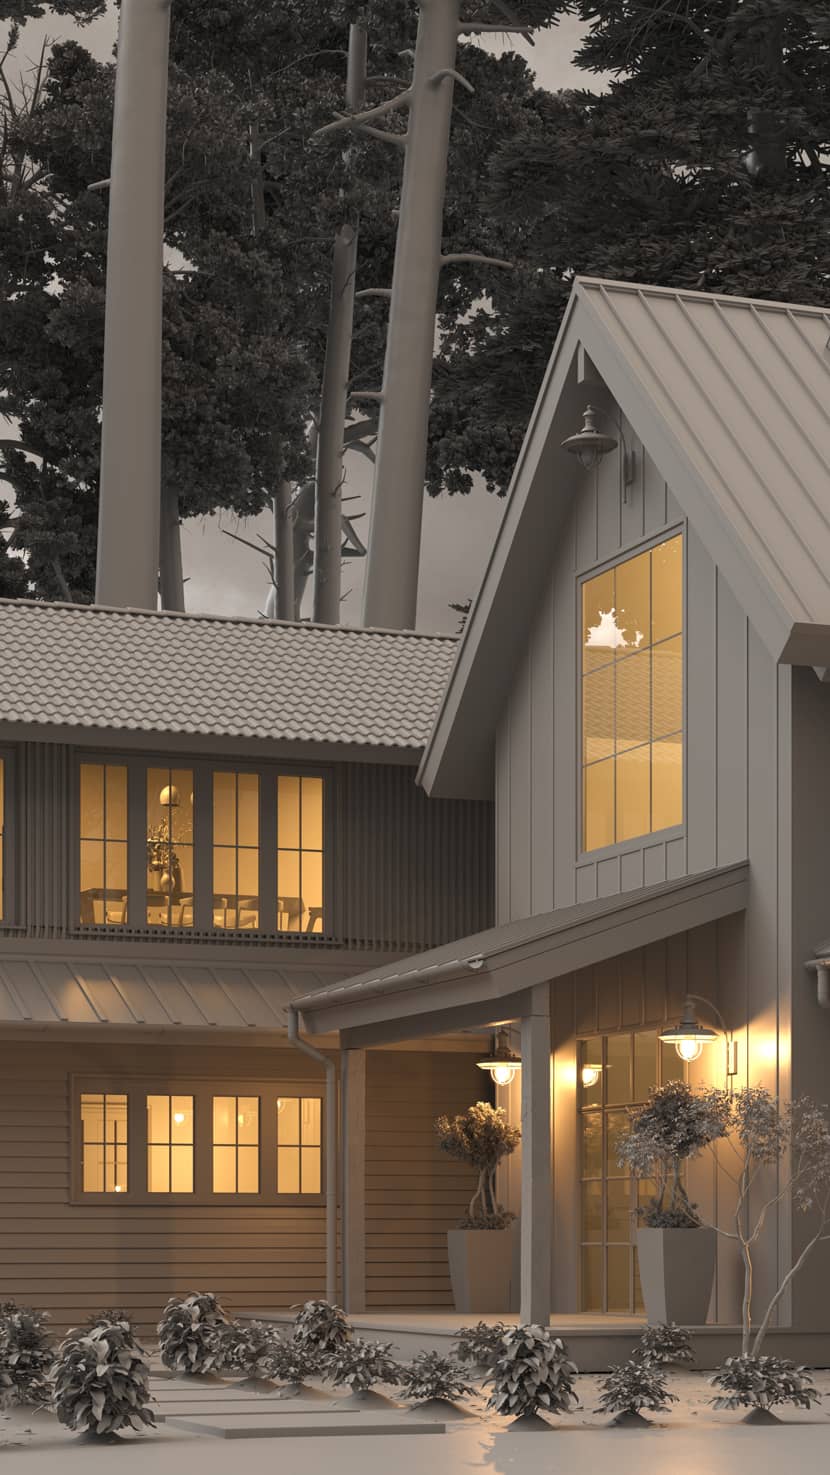
10. Contrasting Warm Interiors with Cool Exteriors.
The villa's warm interior lighting stood in sharp contrast to the cool, wet exterior, creating an inviting post-rain atmosphere. I placed Corona Light objects to mimic practical light sources, adjusting their temperature for a cozy, warm glow. This juxtaposition drew viewers in, emphasizing the serene tranquility after rain, with the interior offering a retreat from the damp outdoors.
11. Refining Reflections and Refractions.
Reflections and refractions were key to conveying wetness. I used Corona's material editor to adjust glossiness for realistic water reflections on surfaces and added subtle refraction to puddles, elevating the scene's photorealistic quality.
12. Optimizing Render Quality.
High-quality results required fine-tuned render settings in Corona:
- I applied the built-in denoiser to preserve detail while minimizing noise.
- I rendered multiple passes (e.g., reflection, refraction) for enhanced control during post-production.
13. Enhancing Mood in Post-Production.
Post-production in Photoshop was vital for refining the scene's mood. I applied subtle color grading to emphasize the contrast between warm interior lights and cool exterior shadows, and added fine rain droplets on windows and surfaces for extra realism, completing the rainy-day effect.
14. Key Insights from Online Tutorials.
This project benefited from lessons learned through YouTube tutorials, including:
- Perfecting Wet Materials: Using Reflection Glossiness and noise maps to create realistic, uneven wetness for asphalt and soil, significantly enhancing the scene's authenticity.
- Lighting Mastery: Understanding the importance of HDRI selection and Corona Sun and Sky adjustments, where a soft, overcast HDRI with subtle sunlight captured the perfect post-rain glow.
- Lighting Balance: Balancing warm interior lighting with a cool, damp exterior for a welcoming contrast.
- Atmospheric Fog: Leveraging Corona's Volume Material for subtle fog to add depth without overwhelming the scene.
- Render Optimization: Using denoising and multiple render passes for fine detail and post-production flexibility.
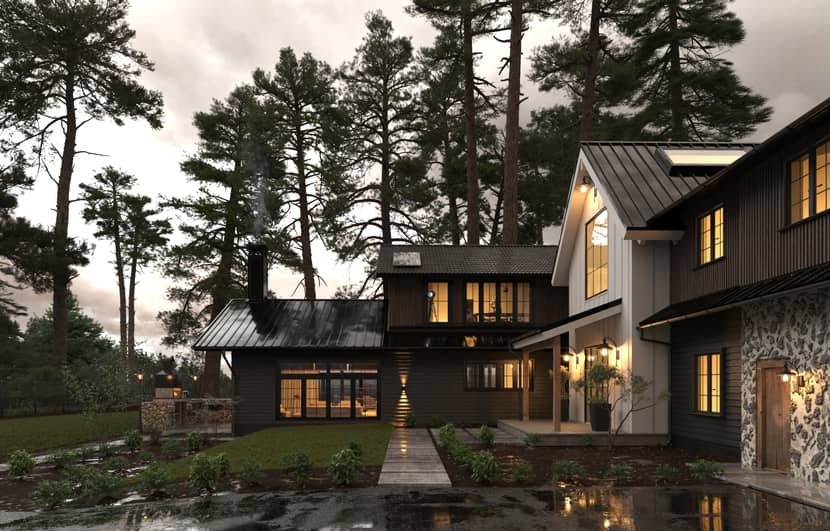
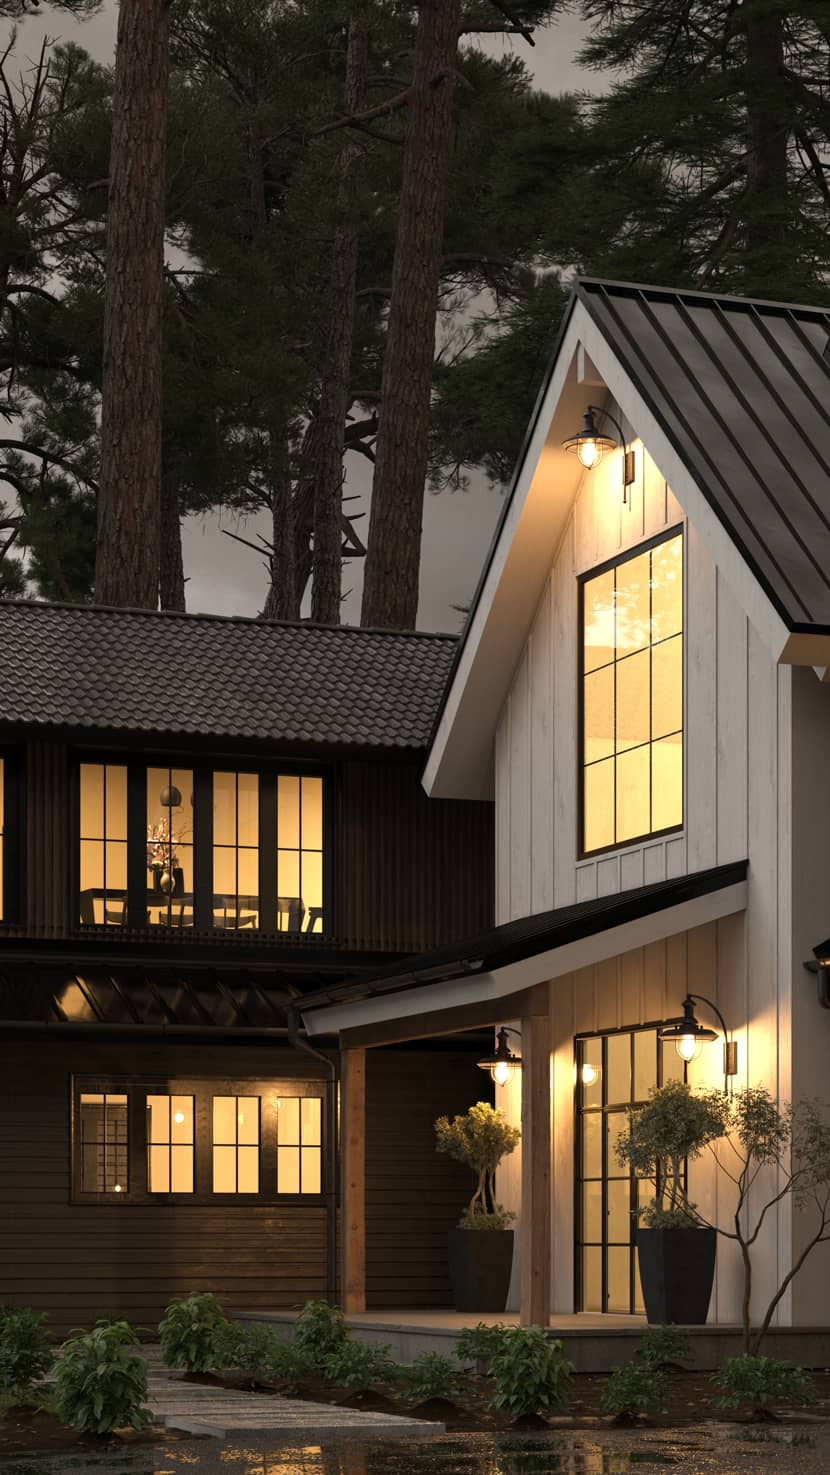
15. Final Outcome and Reflections.
The final render beautifully captures the tranquil, rainy-day atmosphere I envisioned. Corona Renderer's powerful features, combined with a disciplined approach to materials, lighting, and post-processing, transformed this scene into a photorealistic masterpiece that invites viewers into its peaceful world.
Conclusion.
This project illustrates the transformative potential of meticulous detail and Corona Renderer's capabilities in crafting lifelike rainy-day scenes. By building on Render Camp's foundational model and integrating advanced techniques—such as Quixel textures, Corona Scatter, and strategic post-production—it demonstrates how architectural visualization can push the boundaries of realism and immersion to new heights.
I'd like to extend my sincere thanks to Rebus Render Farm for the opportunity to share this project. For more updates, behind-the-scenes content, and future works, feel free to connect with me through the links below!
Thank you for reading!
Za Zall.

About the artist
Za Zall is a senior 3D visualization artist with over 10 years of international experience. He specializes in photorealistic renderings, immersive animations, and VR tours, transforming architectural concepts into captivating visual stories. With a strong passion for design and a commitment to excellence, he helps clients around the world bring their visions to life.