5. How to use the ControlCenter?
In the ControlCenter you can manage your account, all your jobs in the render cloud and your payments. There are several ways to open the ControlCenter: via the Rebus Setup, directly via the website or through the RebusDrop application.
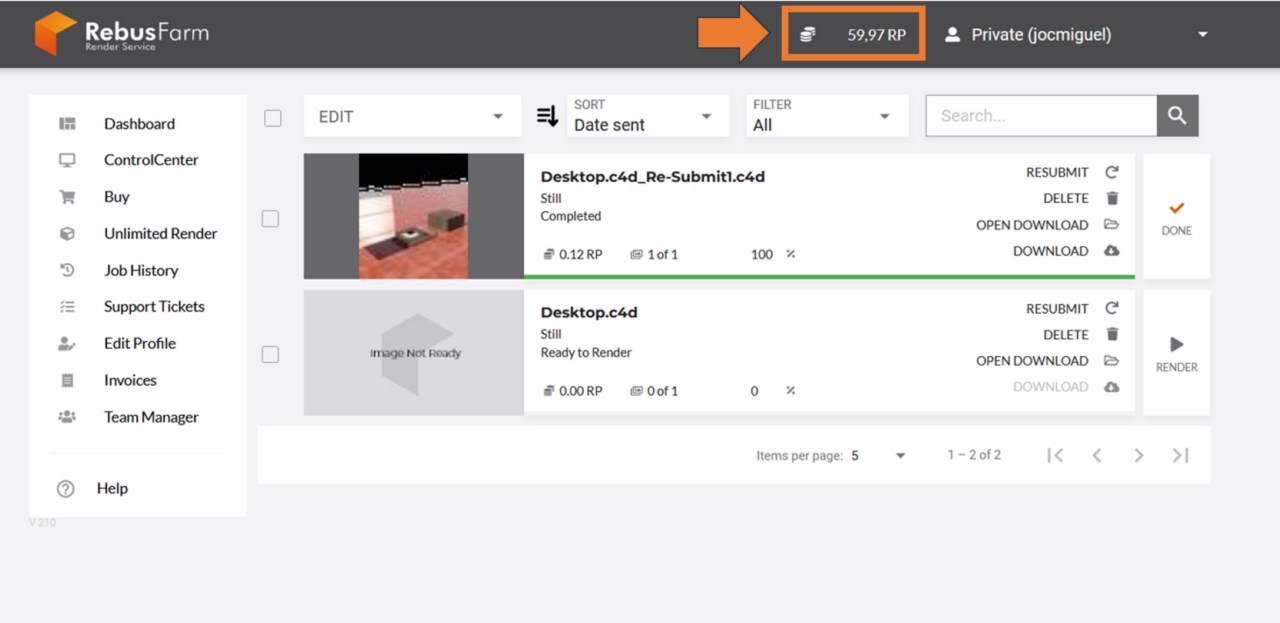
In the gray bar at the top of the site, you see your current RenderPoint balance.
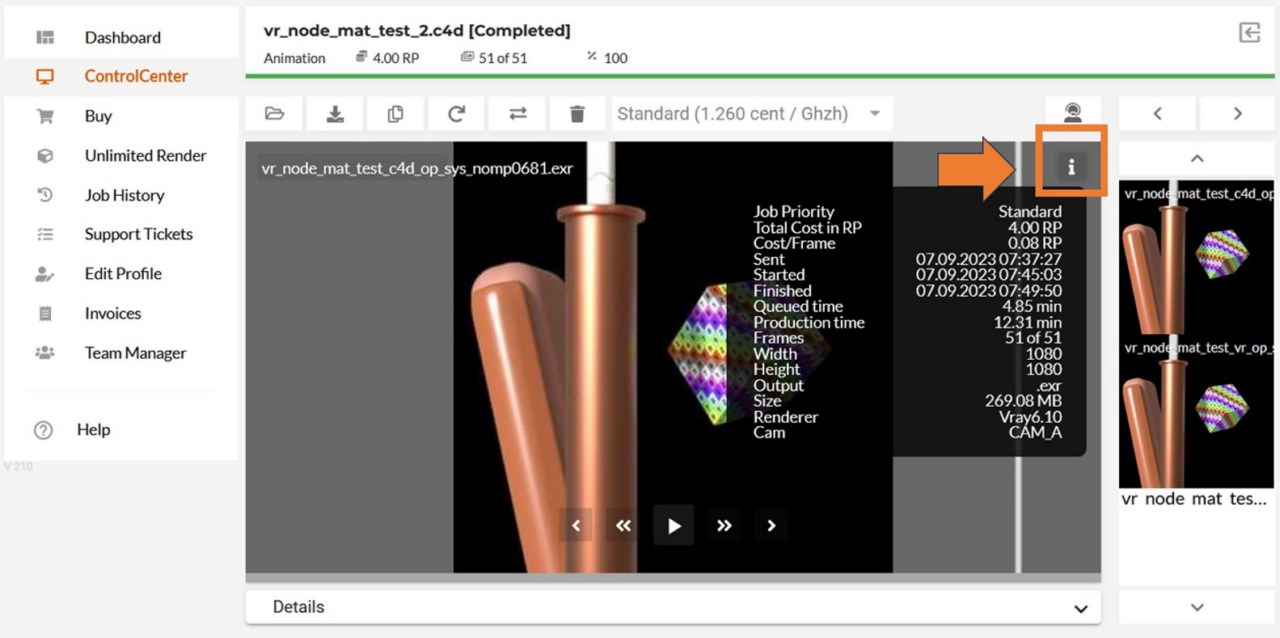
Click on the job name to display the preview area and more setting options.
In the preview area, in the top right corner, click on the information icon to see all the general information about the job.
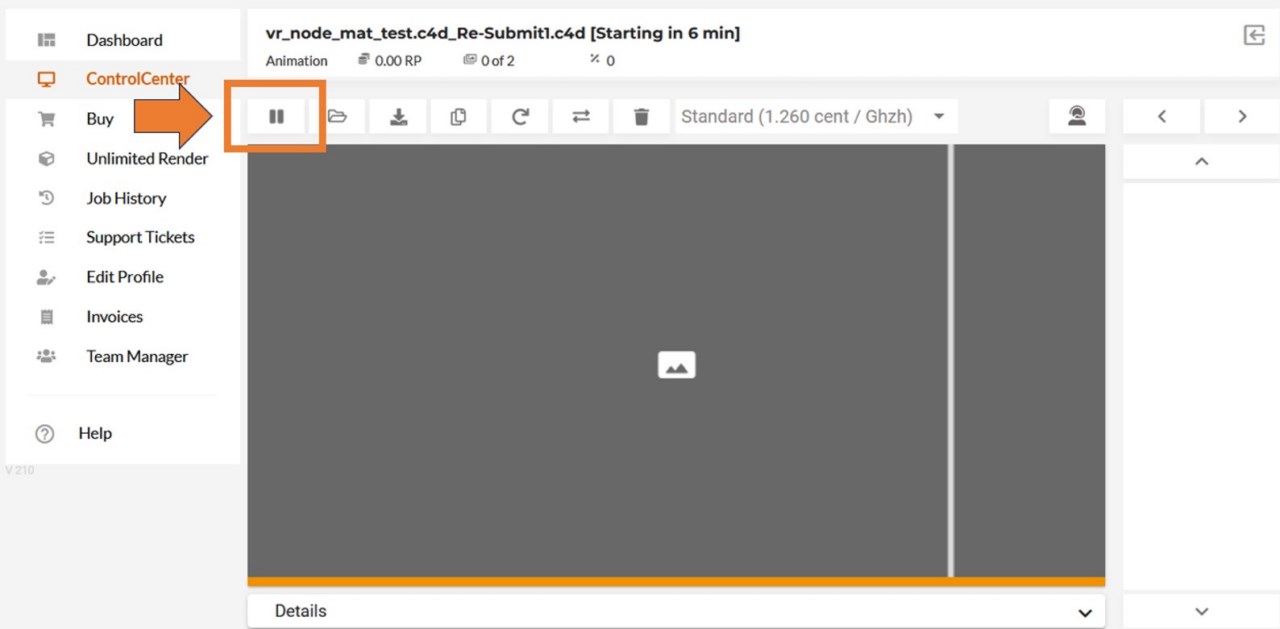
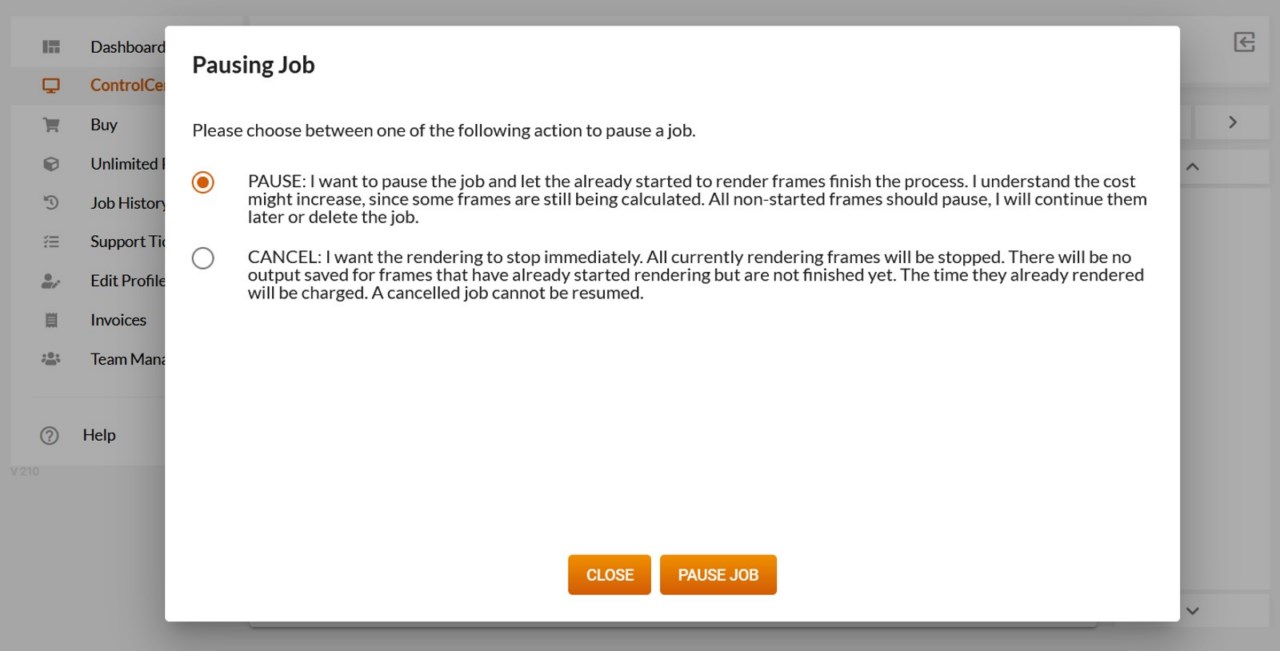
To stop a job, use the pause button. A new window will appear, allowing you to either pause or cancel a job.
Pause: It will pause the job and let the already-rendering frames finish the process. The cost might increase since some frames are still being calculated. All non-started frames will be paused and can be continued later.
Cancel: The cancel option completely stops the whole rendering process of the job in the render cloud and cannot be undone. The already-used RenderPoints will not be reimbursed. If you notice a problem, please contact the RebusFarm support before canceling your job.
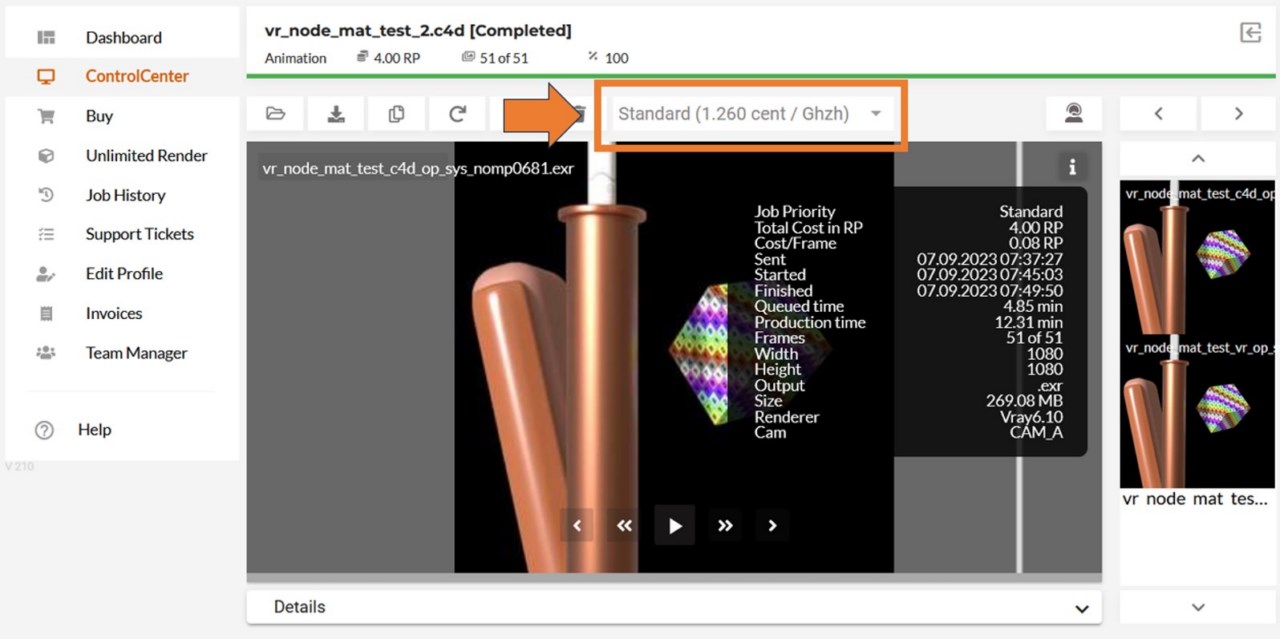
You can change the priority in the queue as long as the rendering process has not started in the render cloud (this will not affect the render speed).
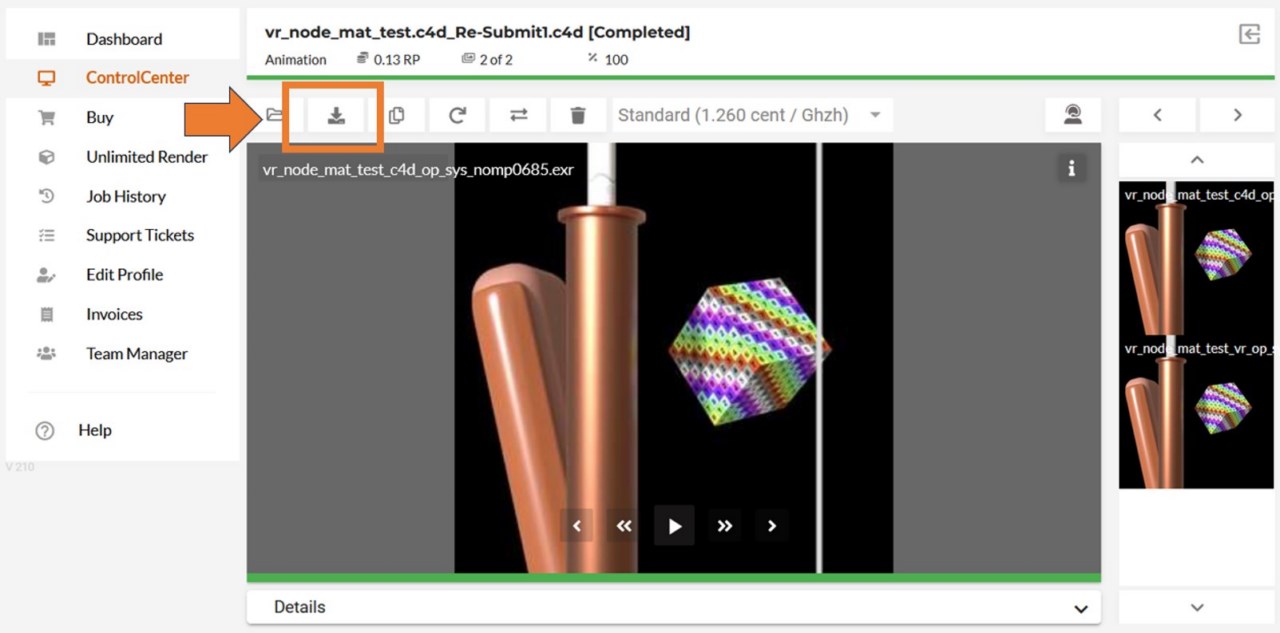
Via the download button, you can start or restart the download of a completed job to your computer.
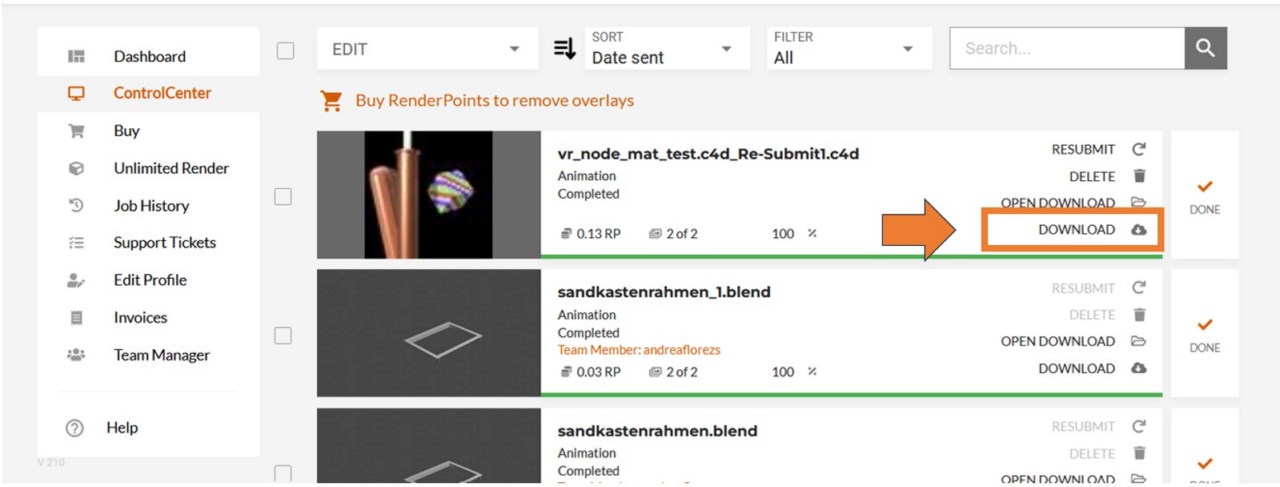
The download button can also be found next to each render job in the main overview of the ControlCenter.
With the show "texture files" button, you can check all the uploaded files/assets of the job.
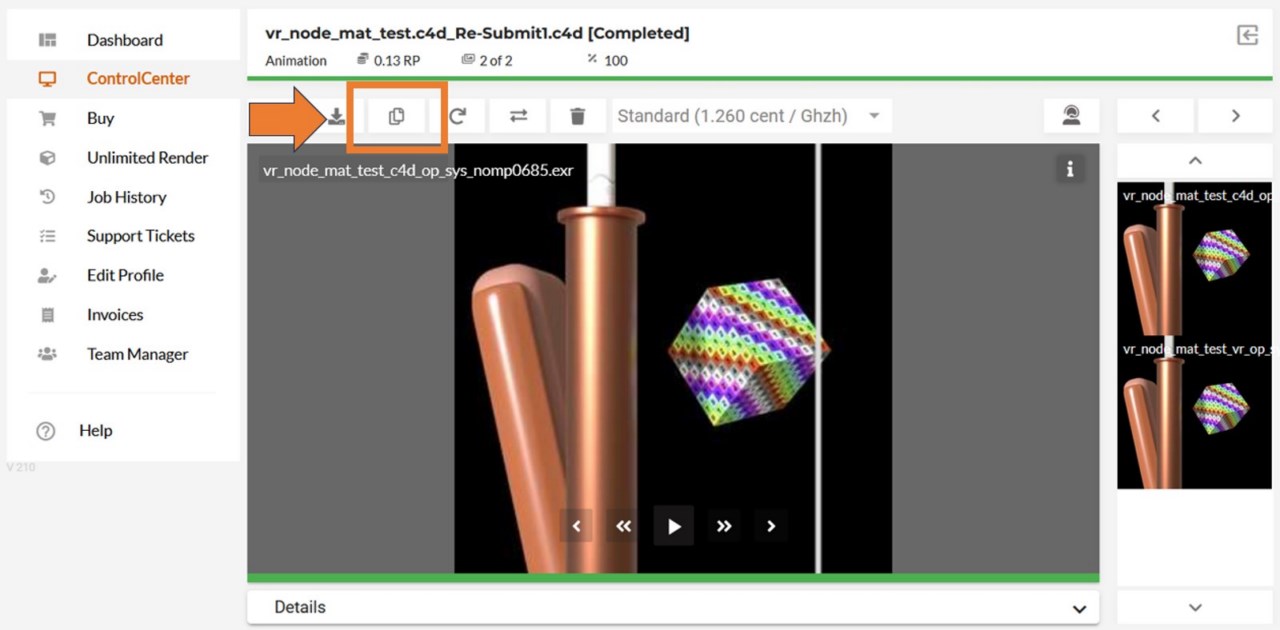
With the resubmit option, you can start to render a copy of the job with different settings like camera, resolution, name, and frame range, without having to upload the job to the render cloud again.
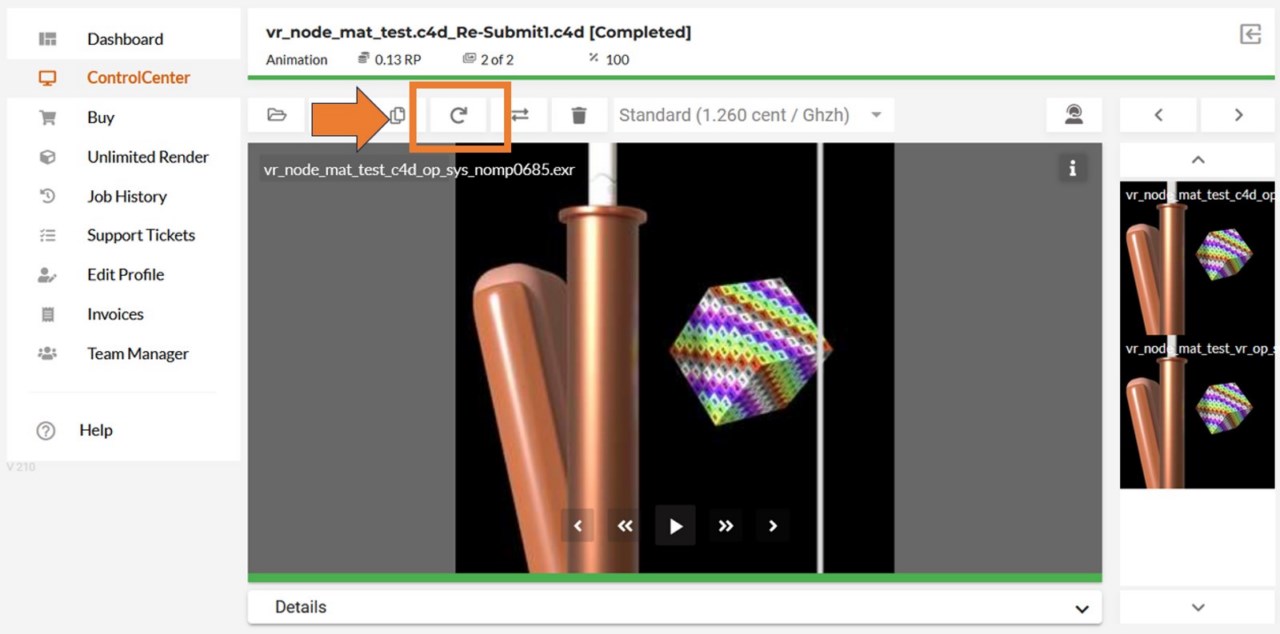
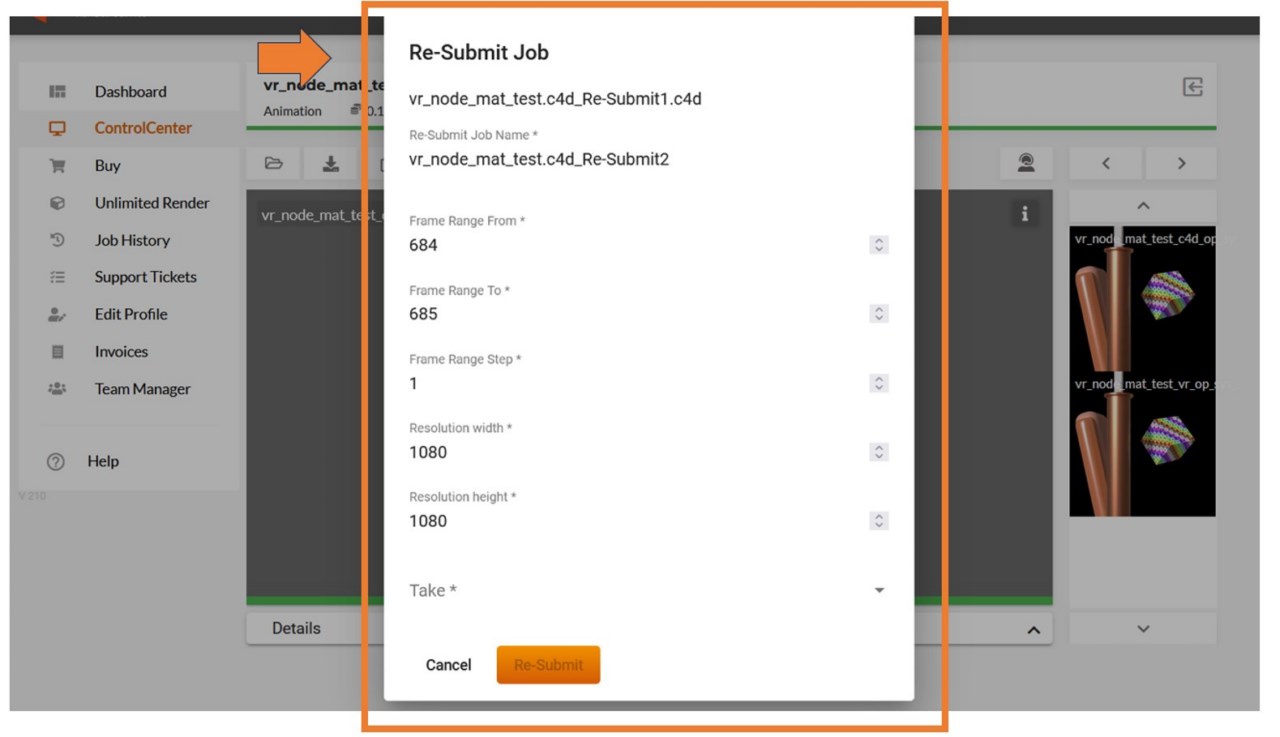
The resubmit button can also be found next to each render job in the main overview of the ControlCenter.

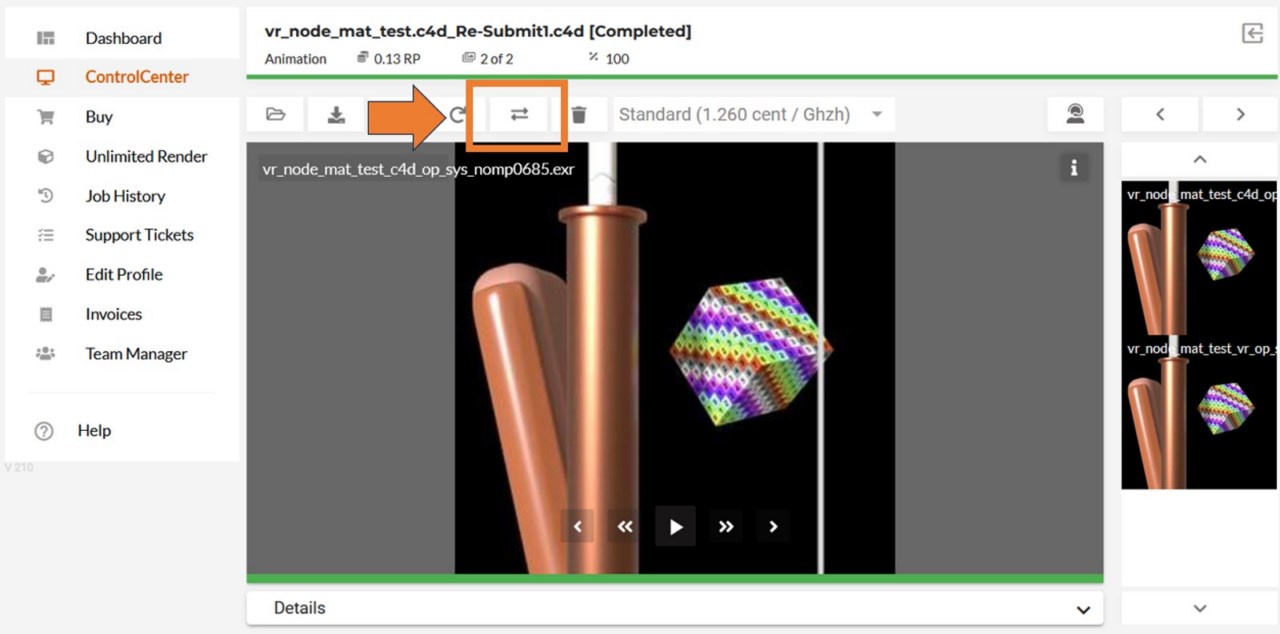
With the "move render job" button, you can move the job from your private ControlCenter to one of your teams' ControlCenters, so that your team members can also see and download the job. For further information about the team feature, read our “How to use Team Manager” guide.
Use the option 'Delete job' option to delete your old jobs from the render cloud. Please make sure that you downloaded all your results first, as this cannot be undone.
If the job you are planning to delete has any issues or was rendered incorrectly, please contact our support team before deleting it.
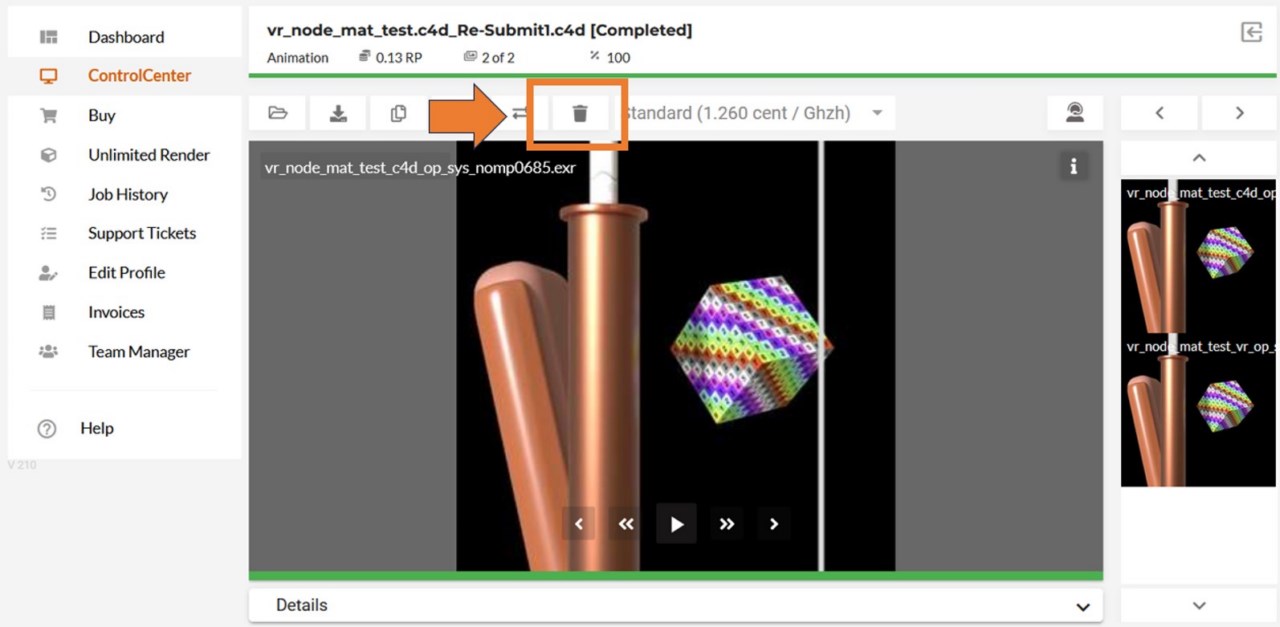
The delete button can also be found next to each render job in the main overview of the ControlCenter.

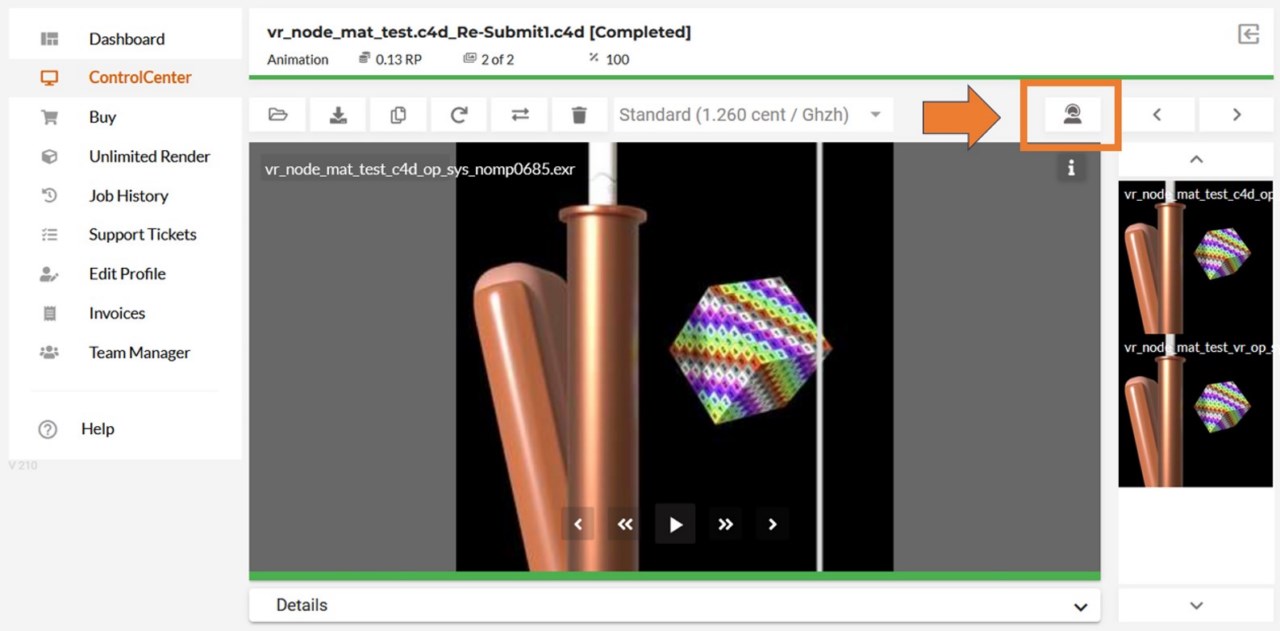
Use the support option if you have any issues regarding your render job, your account or if you have any questions about the service. You can send a support ticket, open a live chat session or request a call-back and our support team will get back to you as soon as possible.
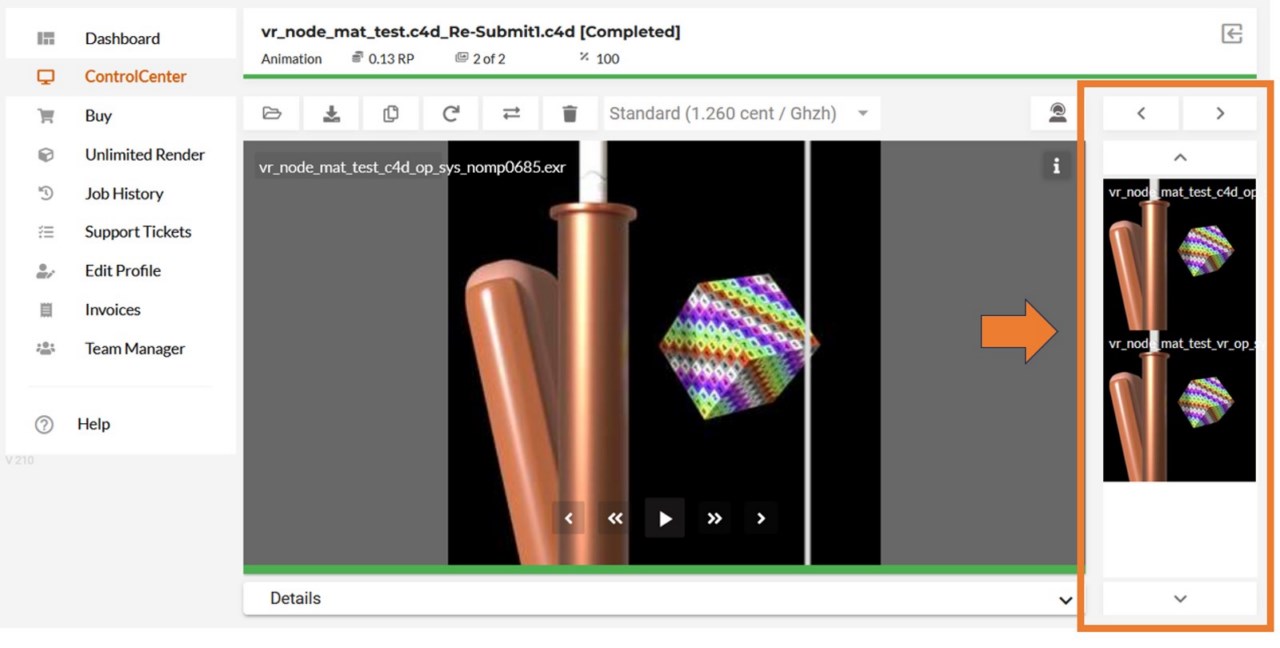
On the right side of the site, you are able to review the rendered elements, or AOVs, in your project.
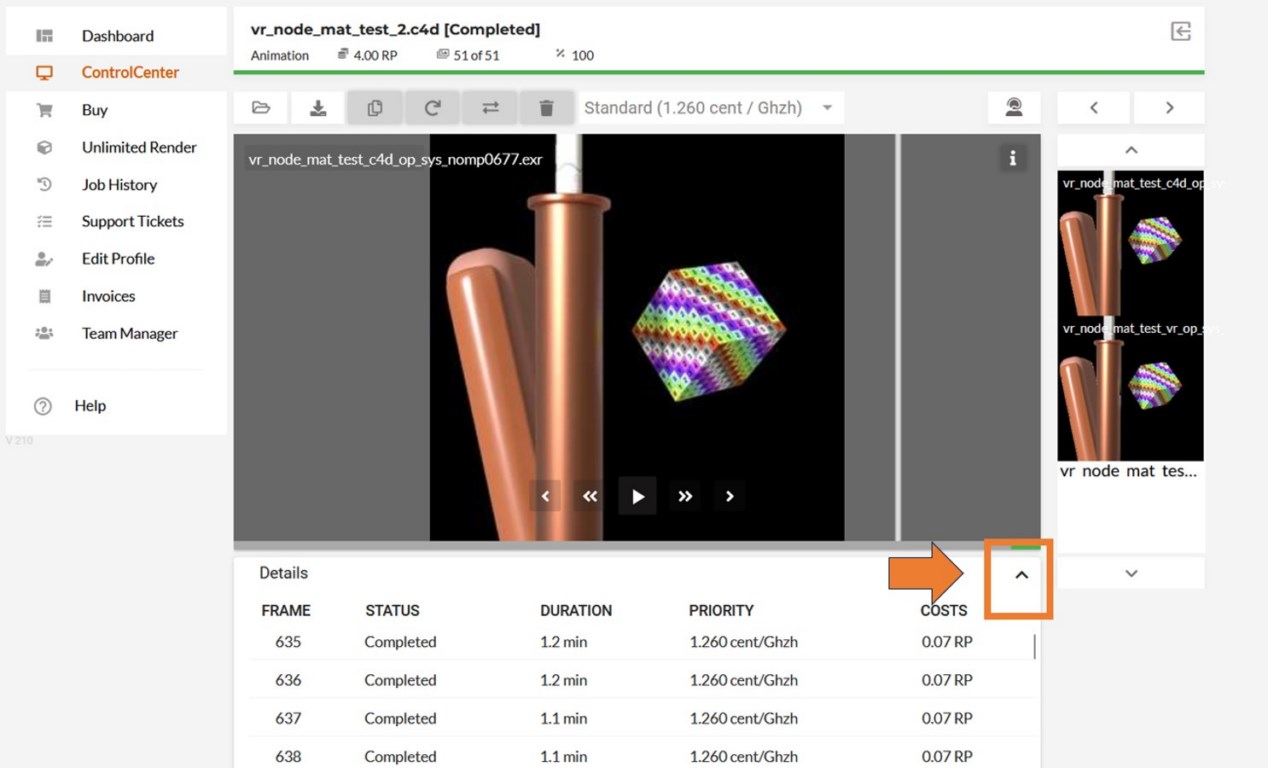
Click on the arrow on the detail bar to expand the detail view of the job and see a list of the job's frames with their respective status, render time, selected priority and cost.
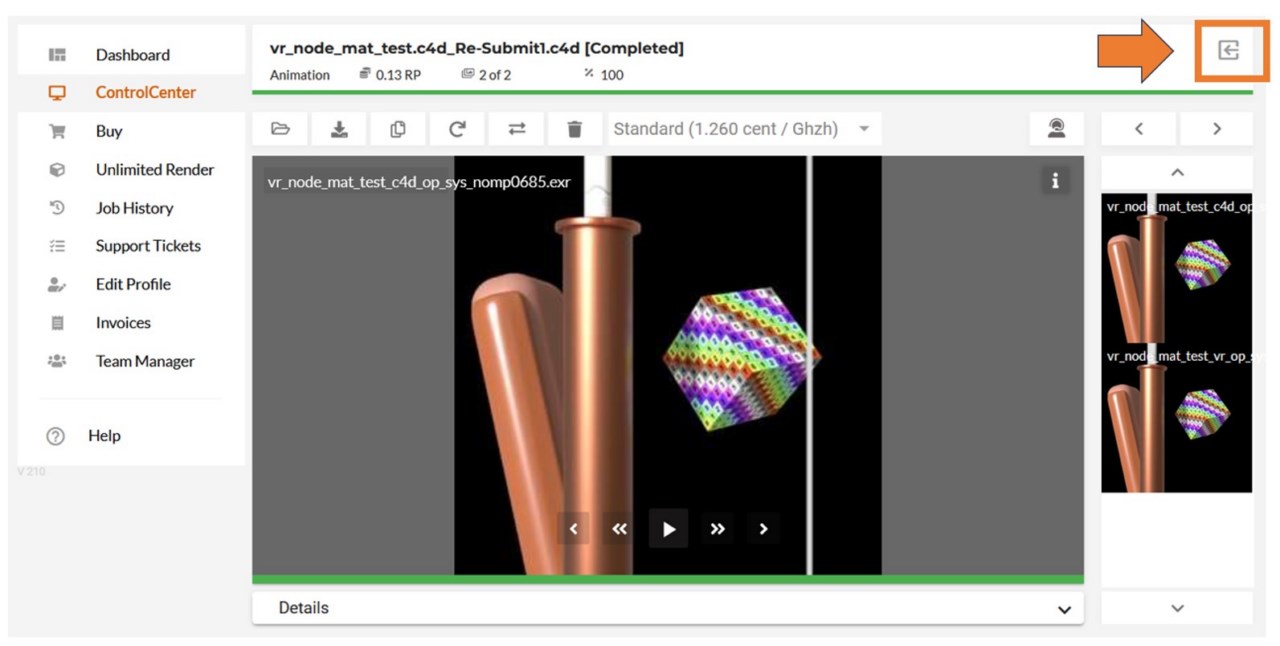
If you want to return to the main overview of your ControlCenter, click on the button with the arrow in the top-right corner.
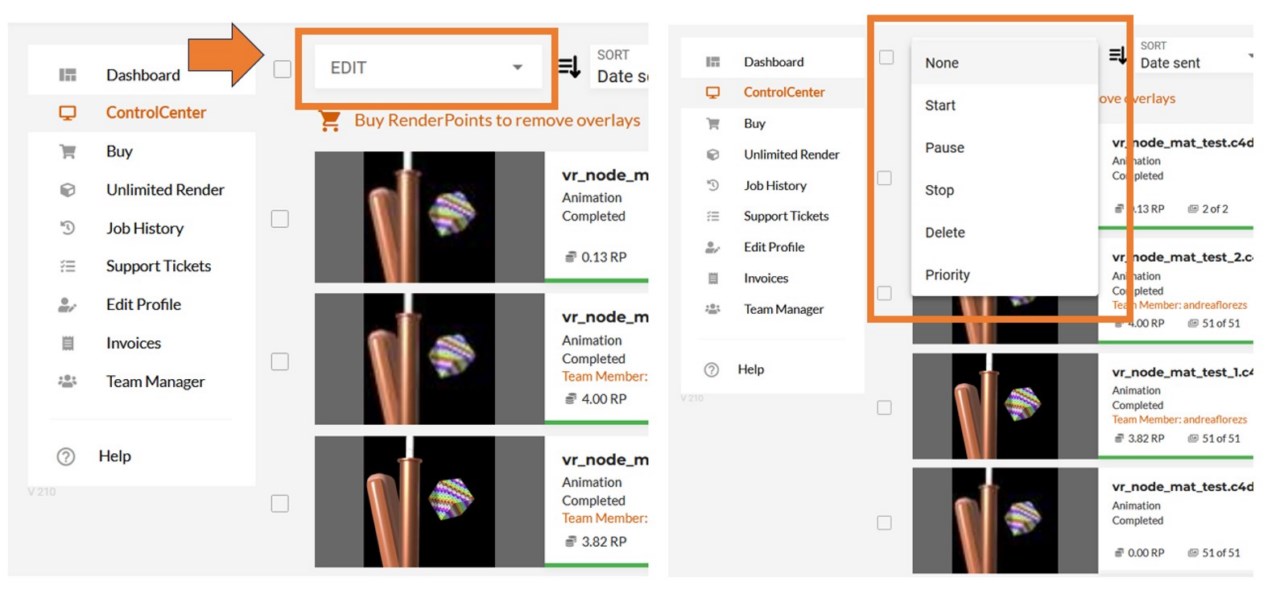
In the overview of your ControlCenter use the drop-down menu labeled "Edit" to perform batch actions on multiple jobs at the same time. You need to choose them first by ticking the small squares on the left side of the jobs, and then execute the action.
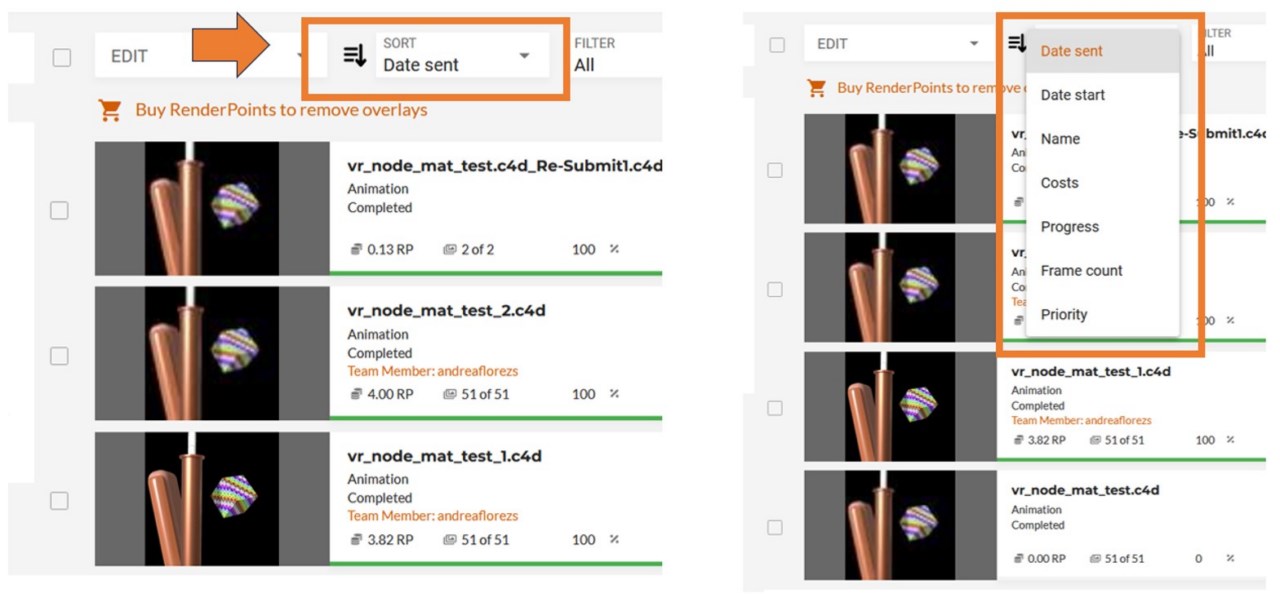
Use the drop-down menu labeled "Sort", to sort the jobs in the list by start date, submission date, name, cost, progress, frame count or priority.
Use the drop-down menu labeled "Filter", to filter the jobs on the list according to their status.
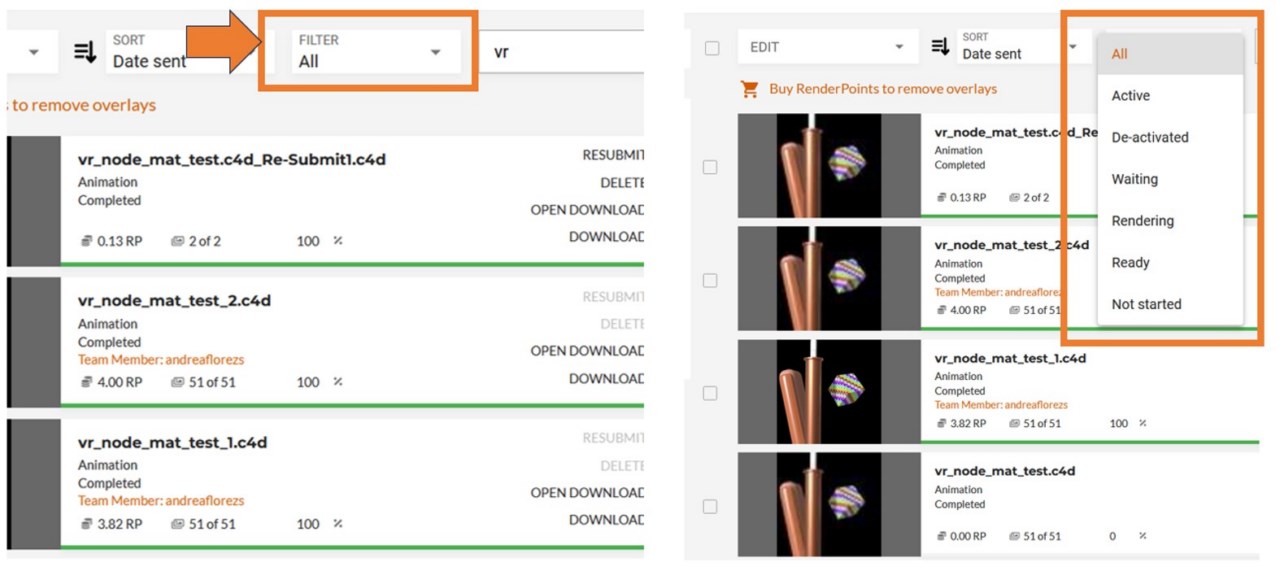
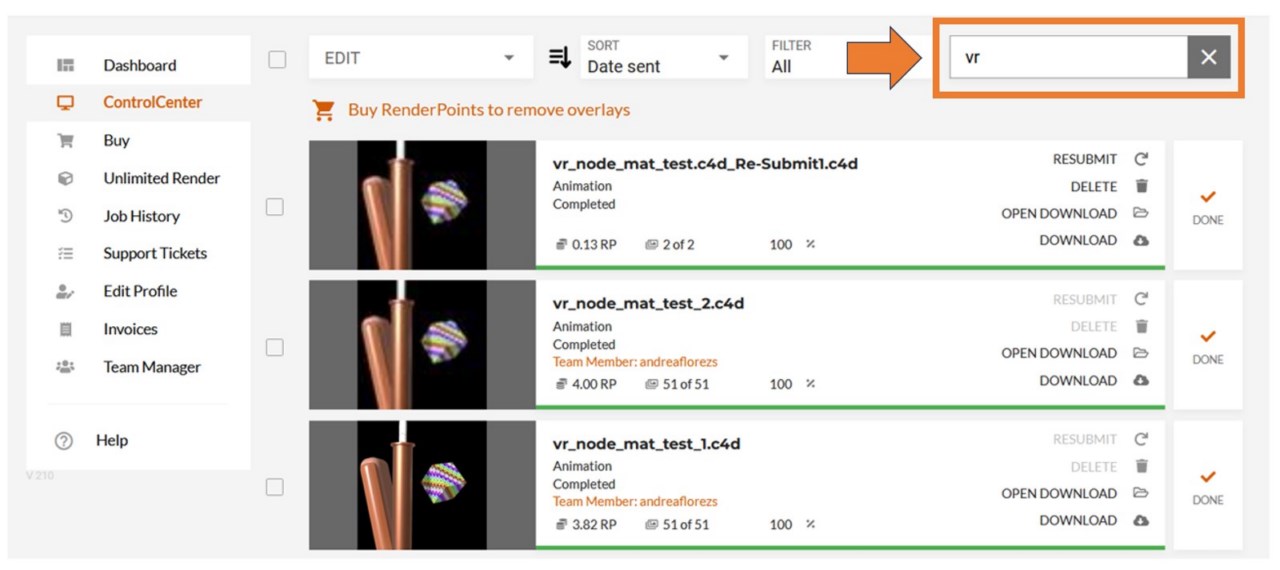
Use the search box to search and filter the jobs displayed in the list. Making visible the jobs whose names contain the characters entered in the search box.
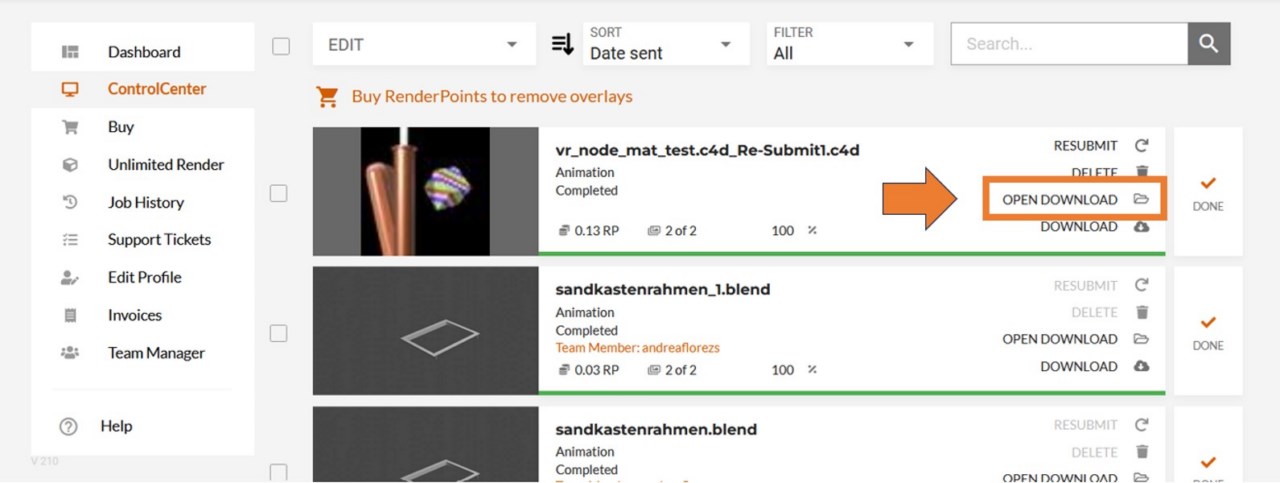
Use the "open download" option to open the download folder with your job on your computer.
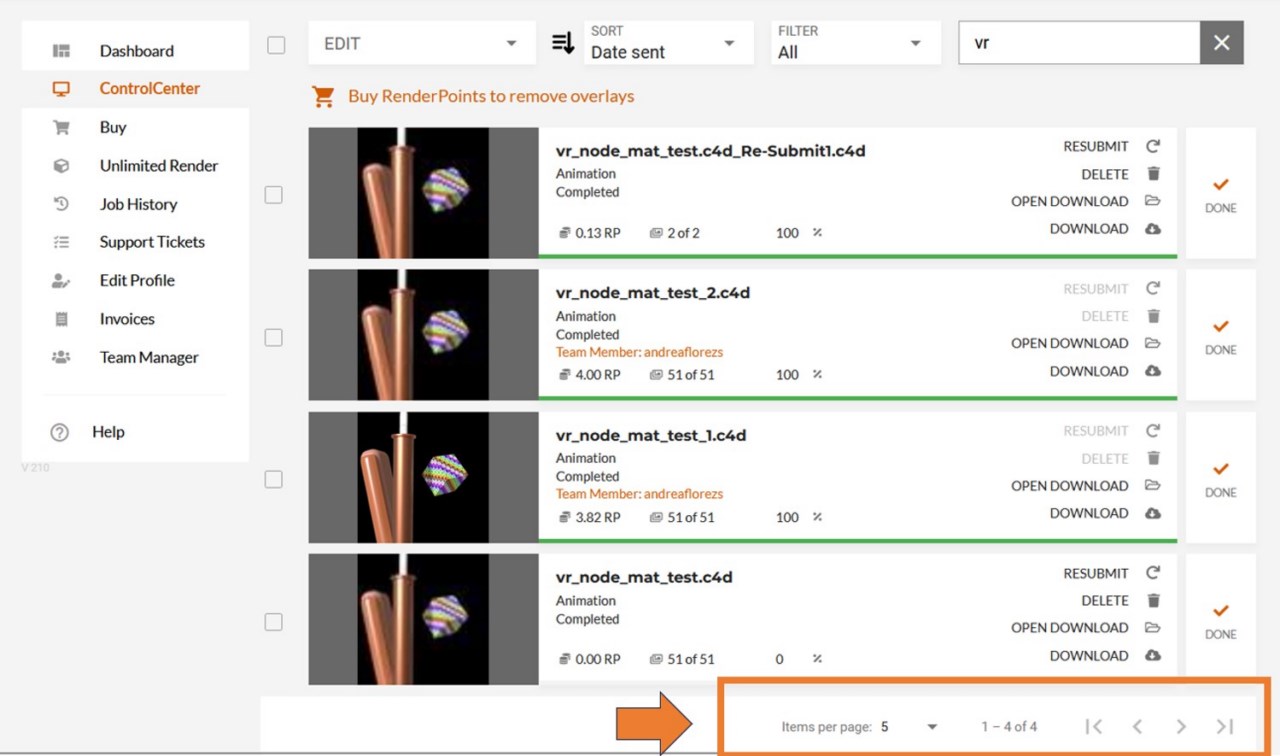
Use the buttons in the bottom right of the ControlCenter overview to define the number of jobs displayed per page and to change pages.
