
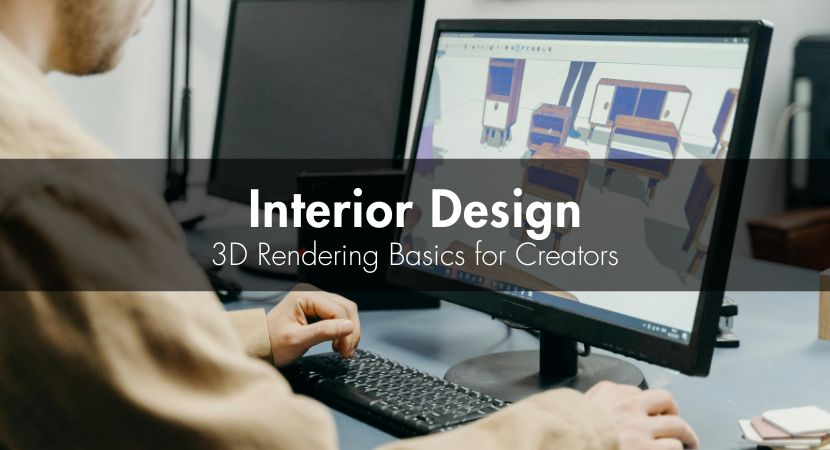
The computer revolution in interior design has made 3D rendering for interior design a skill that interior design experts need to learn. The technology bridges the gap between imagination and reality, allowing designers to create unbelievable visualizations that allow clients to see spaces without any construction ever taking place. As an architect, interior designer, or real estate expert, learning interior design 3D rendering could transform the face of your presentations, speed up approvals, and avoid expensive revisions.
This complete guide will teach you how to do 3D rendering for interior design, from a beginner to an advanced software. We'll find out the best 3D rendering software for interior design, maximum workflow, and business applications that can take your design firm to the next level.
What Is Design Rendering?
Design rendering is the process of turning a digital model into a realistic 2D or 3D image of an interior or architectural space. It converts plans and structural drafts into vivid visualizations, letting you accurately test materials, colors, lighting, and spatial layouts before construction begins.
How Do Interior Designers Use 3D Rendering Tools?
Interior designers nowadays incorporate 3D interior design rendering services in novel and innovative ways to quicken workflow and client presentations.
Virtual Interior Visualization (3D Home Design)
This software enables designers to develop precise digital representations of spaces prior to implementation. The main advantages are:
- Efficient testing of various furniture plans
- Computerized creation of color palettes and materials
- Early detection of defects in the design ahead of time
- Accurate spatial planning with real-world measurements
- Virtual staging for real estate marketing purposes
- Client-approved design validation before execution
Model always in 1:1 scale to provide accurate spatial relationships within your renders.
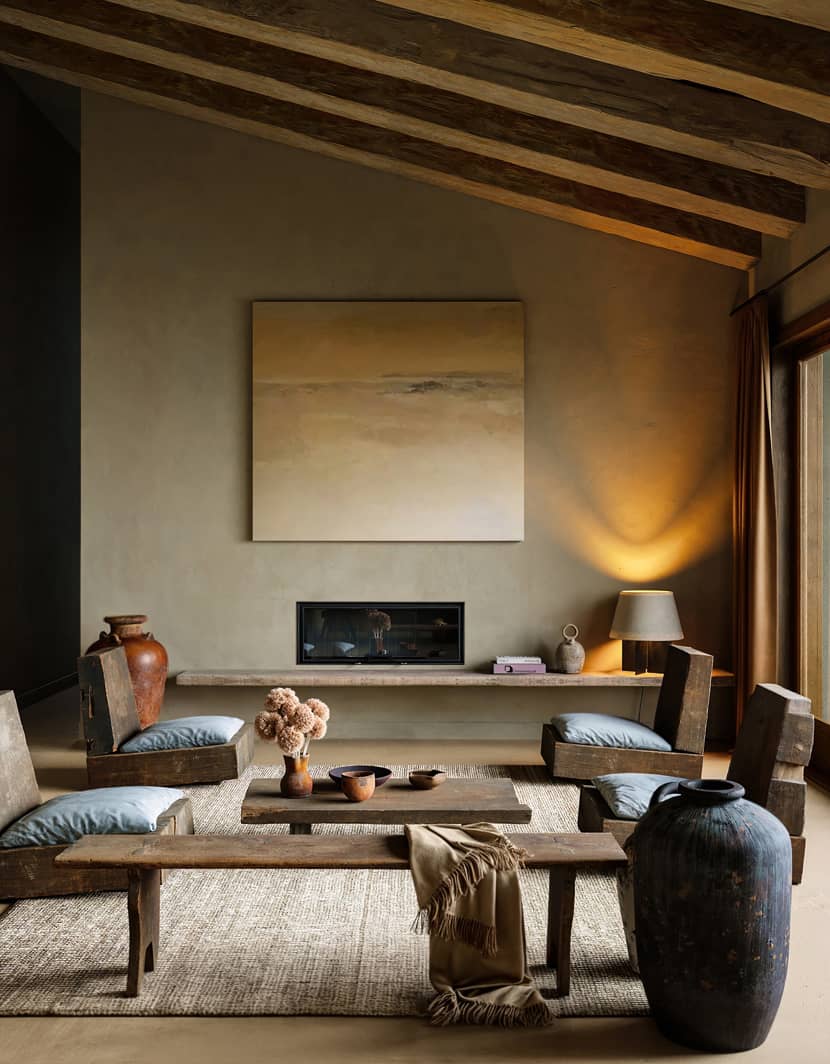
 Interior Design Project "Terra Cotta" by Weronika Blitek.
Animated 3D Walkthroughs
3D visualizations are more captivating than photographs because:
- Illustrating natural movement within spaces
- Demonstrating the change of light throughout the day
- Highlighting key design features step by step
- Showing smooth transitions between different functional zones
- Revealing spatial relationships that static images cannot capture
Use a consistent camera height (typically 5'7") for natural perspective.
Interactive 3D Floor Plans
Advanced visualizations that combine the elegance of ancient blueprints with current technology by:
- Enabling clients to change between various design options
- Providing space planning measurement tools
- Enabling virtual test placement of furniture
- Visualizing traffic flow and circulation patterns
- Demonstrating clearances and functional space requirements
- Integrating real-time material and finish selections
Enhanced Client Communication
3D rendering services for interior design produce professional renders that improve client communication by:
- Preventing miscommunication of design intentions
- Facilitating faster decision-making
- Raising confidence in proposed solutions
- Allowing for easy design modifications during review sessions
- Creating a shared visual language between designers and clients
- Providing a tangible reference for contractors and builders
 Interior Design Project "Cabin" by Diego Drews.
Step-by-Step: How to Render a 3D Interior Scene
Learning how to learn 3D rendering for interior design is a matter of taking a step-by-step approach. This is how it's done professionally:
Step 1 – Sketch the Design Concept
Starting with simple visualization techniques:
- Make hand drawings or computer concept sketches
- Make mood boards using sample material and color palettes
- Note down main sight lines and focal points
Digital tools: Procreate, Adobe Fresco, or Morpholio Trace for digital sketching
Step 2 – Model the Room in 3D Software
Professional industry practices include:
- Begin with simple massing (walls, ceilings, floors)
- Add architectural details (moldings, door and window surrounds)
- Must be an accurate scale and proportions
Common mistake: Neglecting ceiling details, which are crucial for realistic renders
Step 3 – Add Architectural and Decorative Details
Build realism through:
- Realistic material assignment
- Careful furniture and decor placement
- Attention to detail on the little things (outlet covers, light switches)
Pro tip: Utilize Substance 3D materials for photorealistic surfaces
Step 4 – Stage the Scene with Assets
Trained staging includes:
- Choosing suitable furniture models
- Positioning natural poses
- Placing "life" elements (books, plants, decor)
Time-saving solution: Employ asset libraries such as Design Connected or CGAxis
Step 5 – Render the Final Image or Animation
Obtain professional output by:
- Establishing proper lighting conditions
- Selecting optimal camera angles
- Selecting proper render settings
Render engine options: Use V-Ray for realism and Lumion for speed
The Four Main Types of Architectural Rendering
There are these four types that should be mastered in 3D rendering in interior design:
Exterior Rendering
- Creates building facades and landscapes
- Needs consideration of the surroundings' context
- Demands precise seasonal lighting simulations (sun position, shadows)
- Should feature contextual elements such as surrounding buildings and greenery
Interior Rendering
Interior rendering is the process of generating 2D or 3D visuals from a floor plan or model to present a room's design, lighting, and layout. Widely used across architecture and design, it typically relies on professional tools such as Blender, SketchUp, and 3ds Max paired with engines like V-Ray.
- Generates interior space and furnishing
- Needs material correctness and light correctness
- Appreciates imperfections for realism (fingerprints, fabric folds)
- Needs appropriate scale references (human figures, standard furniture)
3D Floor Plans
- Combining classic plans and 3D visualization
- Perfect for space planning presentations
- Must have a clear identification of rooms and dimensions
- Best used with semi-transparent walls to reveal spatial relationships
Virtual Tours / VR Scenes
- Provides an immersive experience
- Requires optimized models for easy use
- Requires careful attention to paths of navigation and views
- Benefited by interactive features (clickable info points, material selectors)
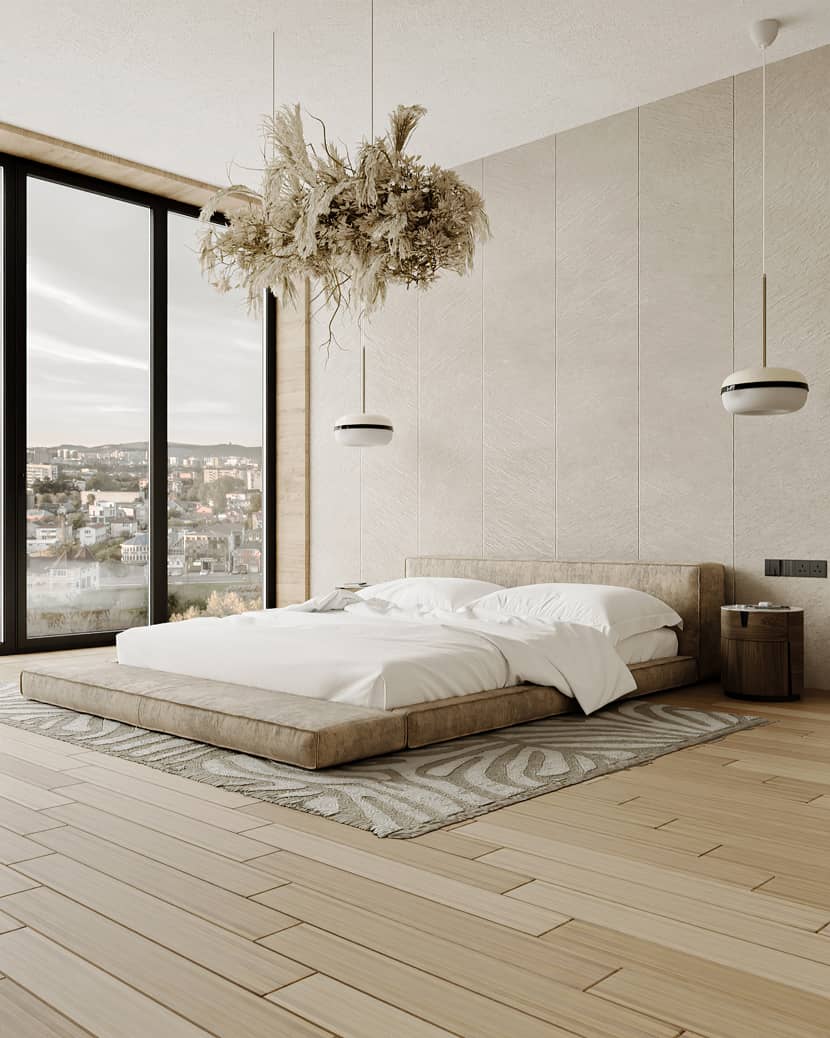
 Interior Design Project "Throne Of Serenity'' by Rita Nassour.
Key Benefits of Using Interior Rendering Software
Professional designers use 3D rendering interior design solutions because they:
Better Visualization and Planning
- Build photorealistic previews of the design work
- Experiment with a couple of alternatives for productivity
- Simulate real-world lighting conditions accurately
- Preview material interaction under different conditions
- Verify spatial proportions and ergonomics before implementation
Improved Client Satisfaction
- Present ideas more effectively
- Reduce approval cycles
- Evokes emotional responses through realistic images
- Allow side-by-side comparison of alternative designs
- Support remote collaboration with stakeholders
Faster Design Iteration and Testing
- Catch problems early
- Make more effective space planning possible
- Minimize material waste with accurate calculations
- Streamline the design iteration process
- Seamlessly integrate with BIM processes
Portfolio and Marketing Assets Creation
- Make portfolio pieces
- Create sales materials for developments
- Develop social media campaign content
- Create virtual showrooms for product displays
- Create interactive experiences for customer engagement
What You Need to Get Started
Choose a 3D Software That Matches Your Needs
Keep in mind these professional factors:
- Learning curve vs. project needs
- Rendering quality specifications
- Budget considerations
Industry standards: 3ds Max for studios, SketchUp for quick concepts
Set Up Your Hardware Properly
Professional workstation recommendations:
- CPU: Intel i7/i9 or AMD Ryzen 7/9
- GPU: NVIDIA RTX 3070 or better
- RAM: 32GB as a minimum for complicated scenes
Build or Import Supporting Assets
Assets needed:
- Material libraries (Substance, Poliigon)
- 3D model libraries (Turbosquid, Design Connected)
- Lighting presets (HDRI Haven)
 Hotel creation for "HoY Hotel" by Tom Tamayo.
Top 3D Rendering Tools for Interior Designers
Blender – Free and Fully Customizable
Professional benefits:
- Full creative freedom
- Growing architectural feature set
- Live evolution of the community
Autodesk 3ds Max – Professional Standard
Industry benchmark features:
- Solid modeling tools
- Large plugin library
- Pipeline integration
SketchUp + V-Ray – Beginner Friendly
Professional workflow edge:
- Fast creation speed of solid concepts
- Simple interface
- Simple interface Good rendering quality
Adobe Substance 3D – For Material Precision
Material creation ability:
- Physically accurate surfaces
- Smart material workflows
- Texture painting ability
Lumion, Enscape & D5 Render – Real-Time Speed
Professional uses:
- Client presentation
- Design iteration
- Virtual tours
Rendering Time and Project Timeline
Phase 1 – Concept & Modeling
Professional time consumed:
- Simple spaces: 8-16 hours
- Complex designs: 24-40 hours
Phase 2 – Material, Lighting & Camera Setup
Professional considerations:
- Material refinement: 4-8 hours
- Lighting design: 4-12 hours
- Camera composition: 2-4 hours
Phase 3 – Final Rendering and Feedback Cycles
Professional workflows:
- Test renders before final output
- Client review loops
- Post-production tweaks
Common Use Cases and Industries
Professional uses of 3D rendering services for interior design:
Interior Designers and Architects
Interior designers and architects use 3D rendering services for client presentations and design development, especially for material selection processes and space planning procedures.
Real Estate Developers and Agents
Estate agents use these services to market off-plan structures through virtual staging and interactive exhibitions that showcase surrounding amenities.
Furniture and Lighting Brands
3D visualization is applied by furniture companies to show products and design showrooms as a lifestyle presentation of personal arrangements
Marketing and Visualization Studios
Rendering is used in ad studios for ad campaigns and portfolio designs, such as interactive virtual event spaces and augmented reality applications.
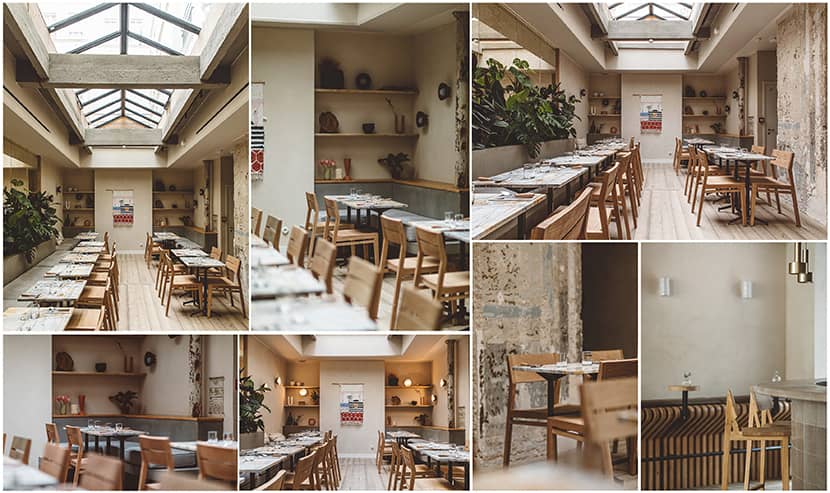
 Interior Design Project "Dining Room" by Mohammad Zafari.
How Much Does 3D Interior Rendering Cost?
What Affects the Price?
Several factors impact the final price when budgeting for interior design 3D rendering services. Some major factors are:
- The intricacy of the scene, where intricate spaces take more time to model.
- Rendering time and image quality primarily determine price.
- Rush jobs demand high-quality assets and fast processing.
- Other rework and customization needs drive total costs because every change request adds extra hours of labor.
Sample Cost Ranges by Project Type
Professional market rates for rendering services are:
- Residential interiors: Cost between $300 and $1,500 per room based on room size and level of detail.
- Commercial spaces: Cost more between $800 and $5,000 because the rooms are larger and high-end specifications are used.
- 3D floor plans: range from $150, and elaborate ones with furnishings from $600.
- Virtual tours: These are the priciest, with simple walkthroughs at $1,200 and totally interactive VR tours with special effects at $8,000.
Need Help Bringing Your Designs to Life?
Understanding the cost and complexity of interior 3D rendering is key to planning your project effectively. While the prices above reflect general industry standards, each project is unique, and finding the right balance between quality, time, and budget requires professional support.
At our render farm, we collaborate with interior designers, architects, and creative professionals to accelerate their workflows and deliver high-end results. Whether you're testing out ideas or building a full VR experience, we offer scalable solutions tailored to your needs.

About the author
Nicole Holt is an experienced 3D enthusiast with a career in marketing and content writing. Thanks to this unique combination, she is able to showcase the technical intricacies of 3D art and rendering while also making the subject accessible to a wide audience. When she's not immersed in the digital world, Nicole can be found in the great outdoors, most likely with her beloved dog, Sammy.
