Wednesday, November 24th, 2014 by Arash Saeidi
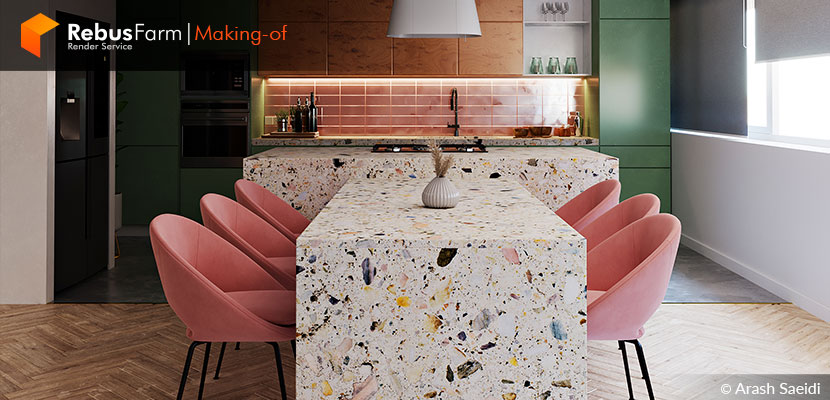
Bright colors make for bright places! What a better example of this than the 'Vibrant Apartment'? Arash Saeidi shares tips and tricks on the modeling, lighting, texturing and rendering of his amazing project for a family home which integrates vibrant pastel colors with exciting textures and materials.
Let's hear him out!
Some words about me
Hello everyone, I'm Arash, an architect and 3D visualization artist.
At first, I started in 3d with Rhino and Grasshopper. For at least three years I used V-Ray for Rhino until I realized that there were some limitations to my visualizations. Then I decided to jump into the 3ds Max to utilize V-Ray for 3ds Max and all its helpful plugins and scripts, which are so convenient for architectural visualization.
It's now been about five years that I'm a 3ds Max user, but I still use Rhino and Grasshopper for all my CAD works like Technical drawing, diagrams, and early design stages.
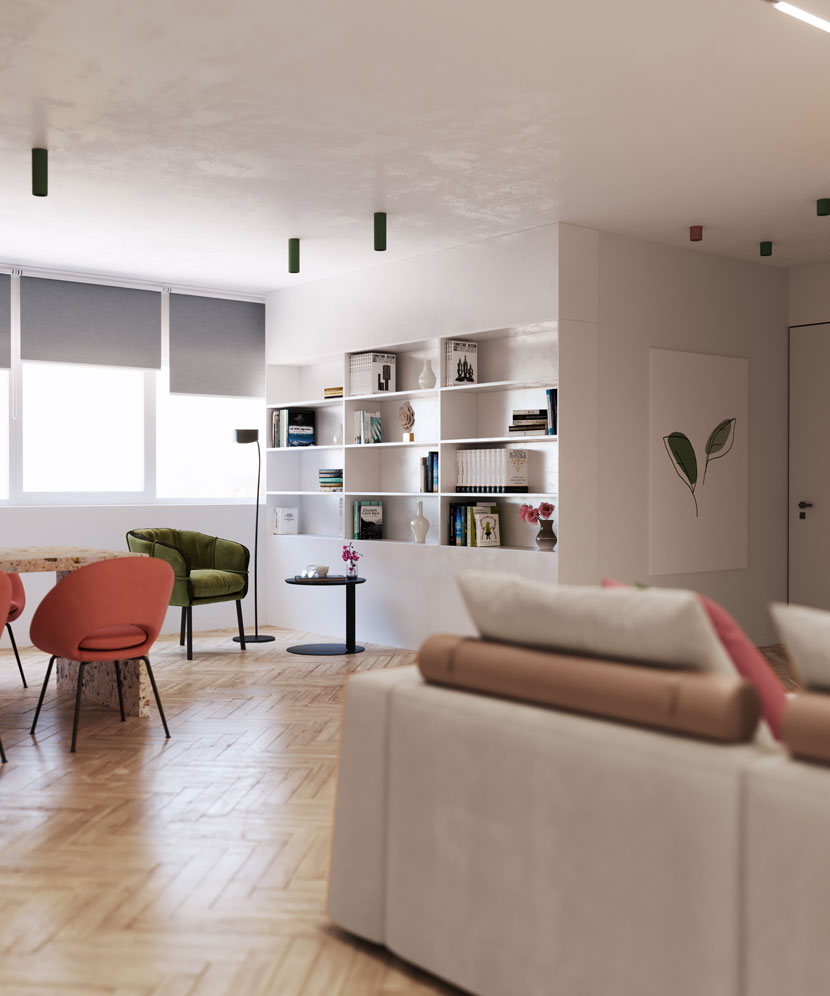 Example of visualization, 'Vibrant Apartment'.
About the project
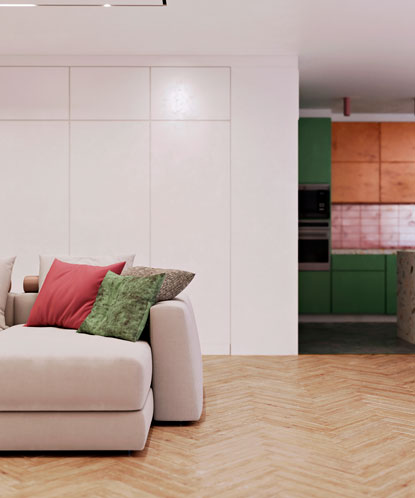
This is a renovation project to a home for a small family: parents and eleven-year-old twin boys. The area of this apartment is 150 square meters, both rooms have their bath and toilet. In this project, I try to use colors and natural lights to create a bright living space.
 |
 |
 |
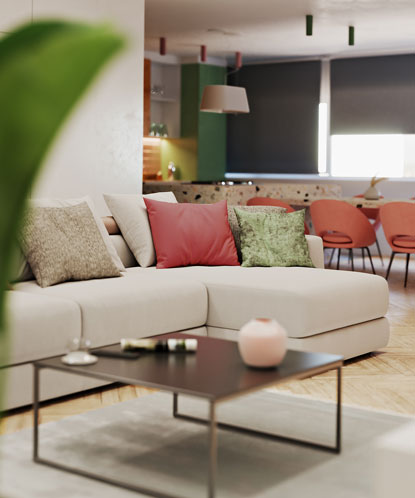 |
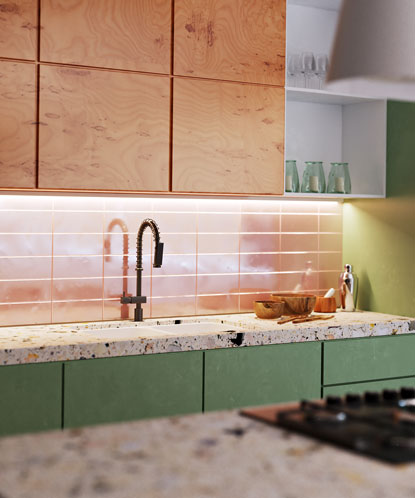
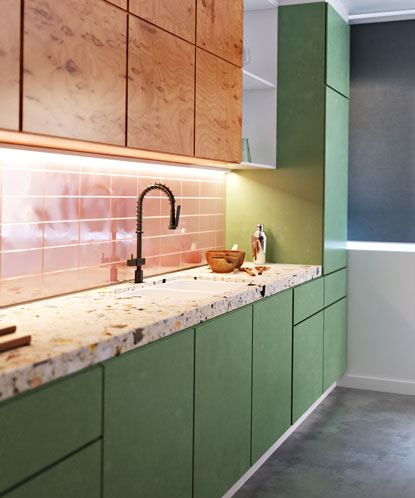
Different views of kitchen and living room.
Modeling
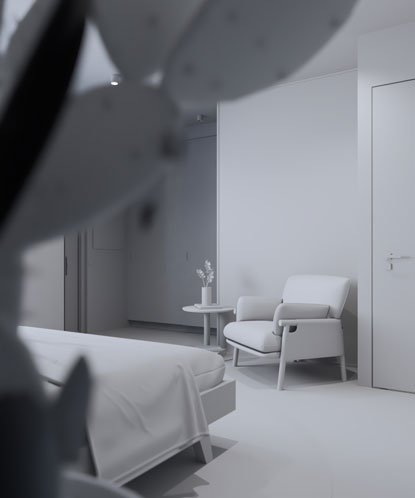
First I import the 2d drawings to 3ds Max, then extrude the walls and model the other elements as well. From the very early stages of modeling, we should be careful about the layers which are so crucial in order to manage the scene and hardware. Then you can do all the modeling and it's better to make the heavy V-Ray proxy as you model or import it from your library. Then assign V-Ray override material to all the scenes except the window glasses.
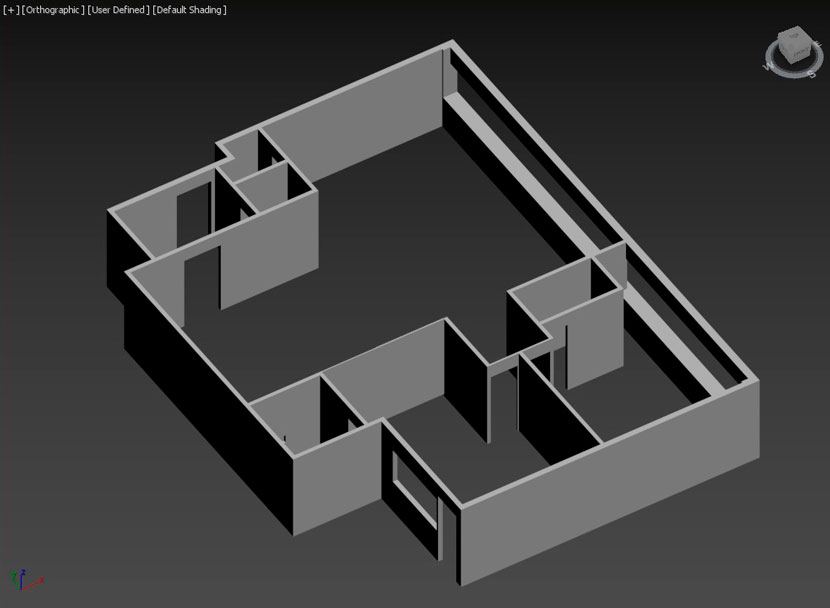 Modeling in 3dsMax.
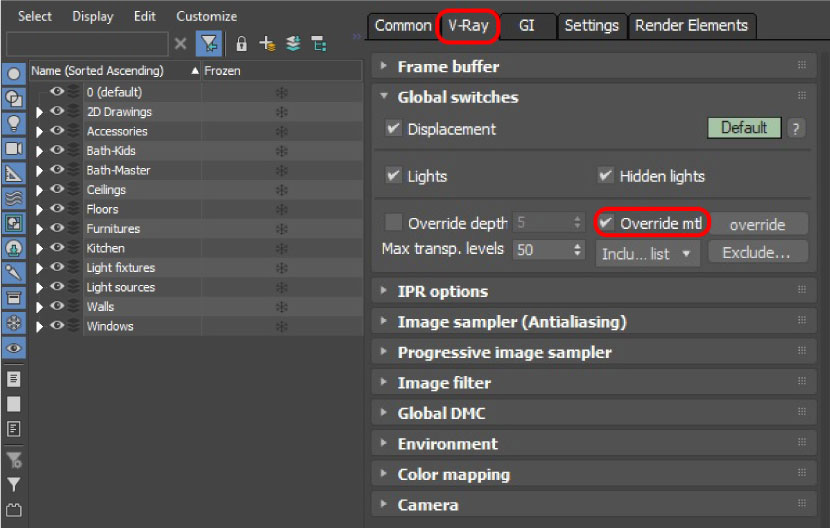 V-Ray override.
 |
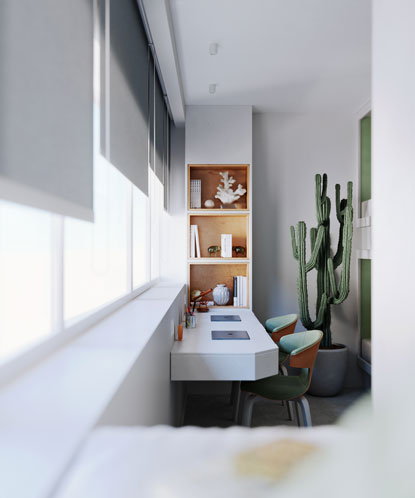 |
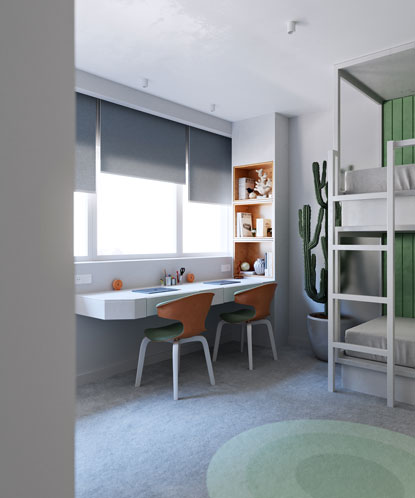
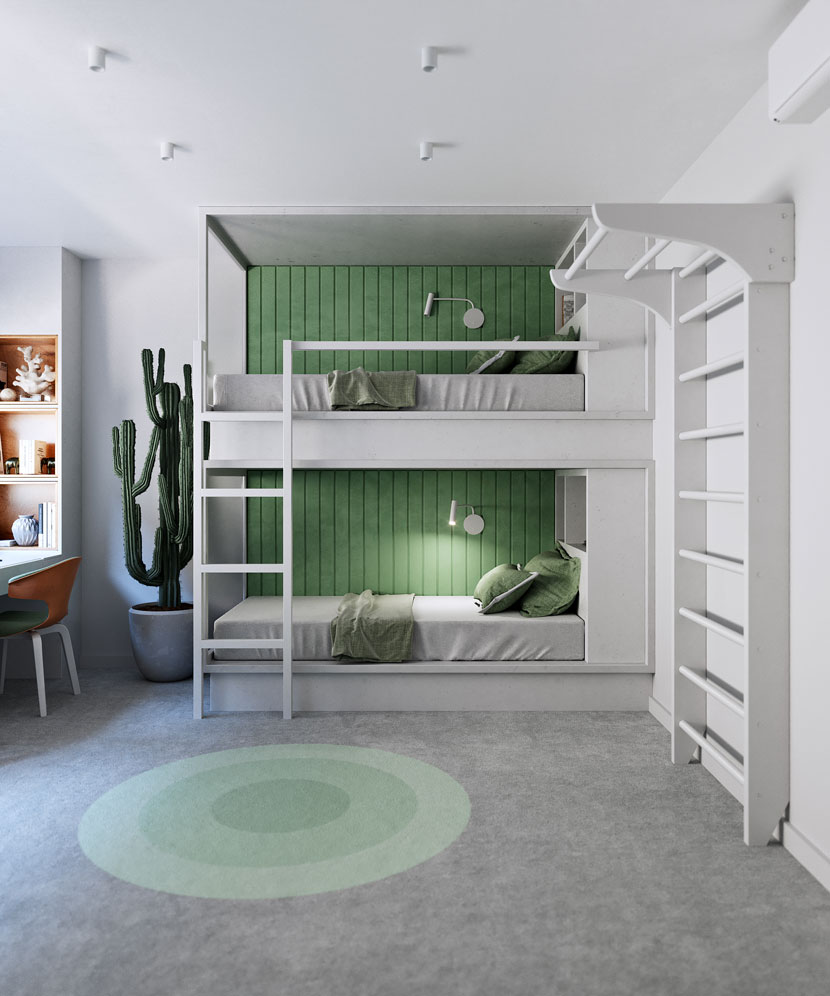 Kids bedroom design.
Lighting
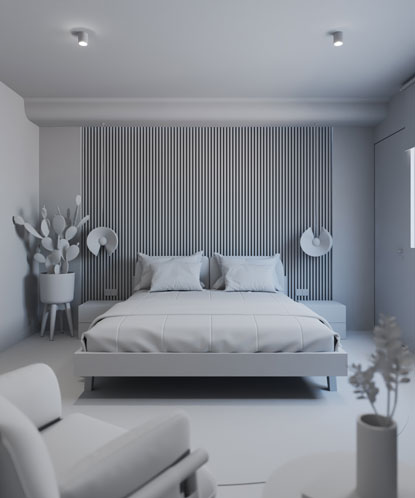
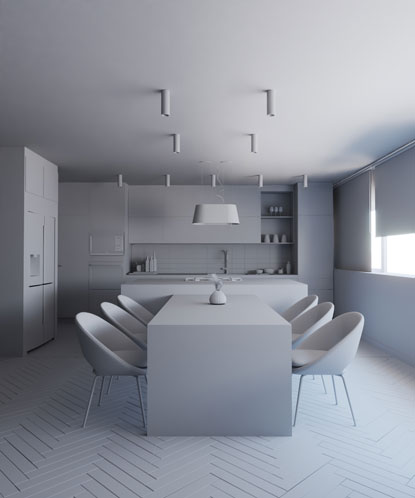
For lights add a standard V-Ray sun and sky to the scene and start test renders by adding a V-Ray physical camera. Then, add artificial lights and adjust the intensity and the temperature of the lights. As I said before about the importance of layers, giving the lights clear and proper names is a key to managing and speeding up the whole process.
 |
 |
 |
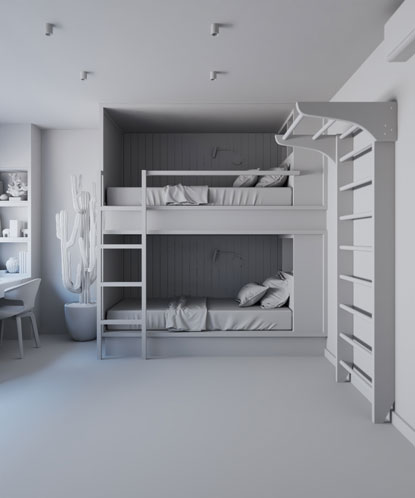 |
Lighting with V-Ray.
Camera settings
Add V-Ray physical camera to the scene and start to adjust the camera settings. For an aperture, I usually put 2, and for shutter speed 1/60 and the ISO of 100 in an exposure. Then for a future adjustment, we play with the shutter speed number. Higher numbers make the scene darker and vice versa, it is better to activate the auto vertical tilt correction to achieve much more professional frames. There is no need to use a camera setting to control the temperature of the image, do it later on in the frame buffer.
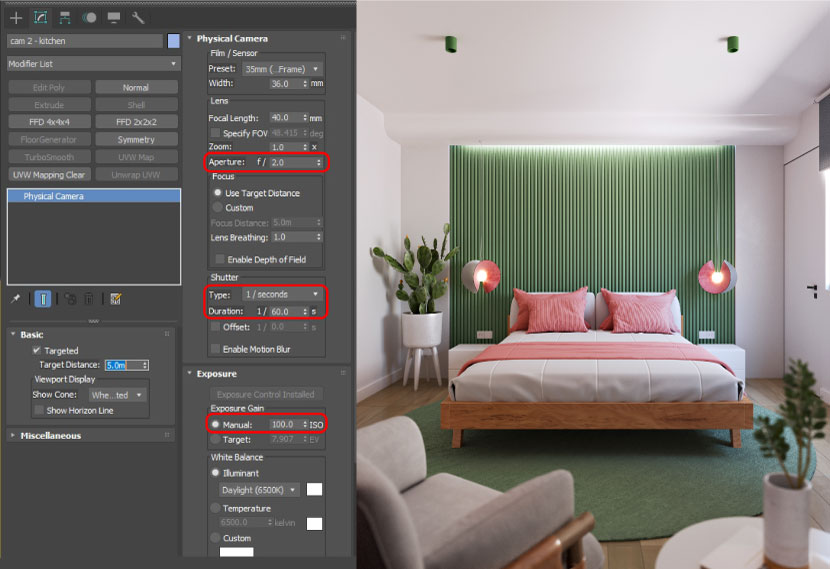 Light settings in V-Ray.
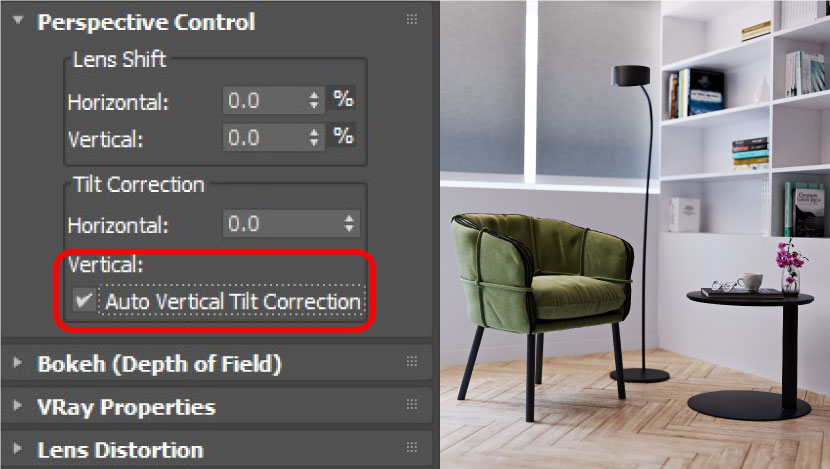 Camera settings.
Texturing and materials
I never use premade materials, I enjoy making materials and I think it is one of the most interesting parts of any project. Choosing proper texture size plays an important role due to hardware management, so it is not always necessary to use high-quality textures.
I use a floor generator and multi tex for the wooden floor and composite it with two other maps and a bump map and glossy map. For fabric material, I use a falloff map in defuse map bump and glossy map. And for the carpet as fabric material, a composite map and mix falloff map with some random alfa map to have some variation and randomness in the material.
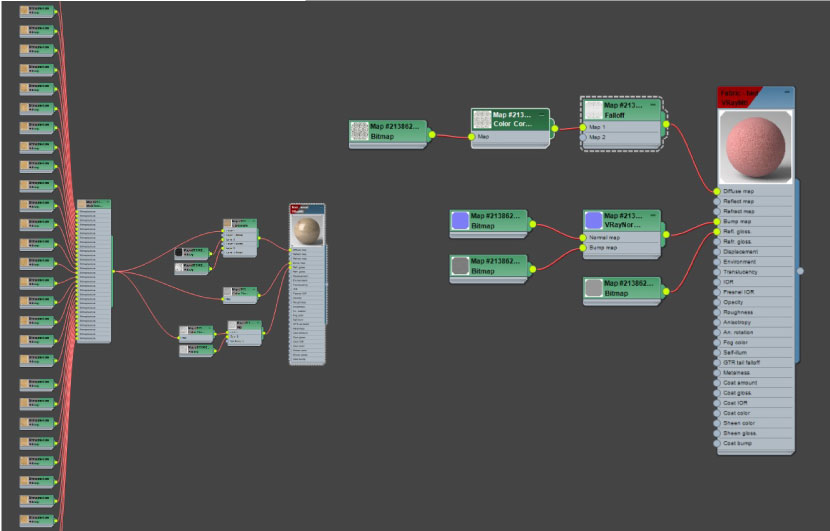 Texturing materials.
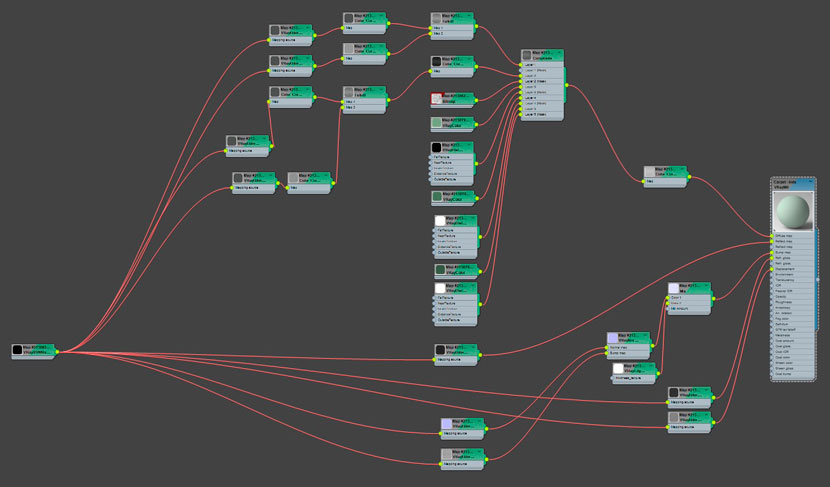 Texture map.
Render settings
To control the intensity and temperature of light sources during or after rendering we should use Brute force as the primary engine, then go to the render setup and add V-Ray light mixer to the list. And add V-Ray denoiser to get rid of the noises and artifacts. Then add V-Ray wire color in case of using it as a mask and selection tools later on in the post-production stage if needed.
For secondary engines, use light cache and Subdivs value of 1000 for the start point and increase it if you need more samples to reach noise-free render.
Go to the image sampler section and select bucket type, start with the min Subdivs value of one and max Subdivs value of six and increase the max if needed. And for the bucket width, it's good to put values between 12 to 20 depending on the final render resolution. The smaller values make the rendering faster.
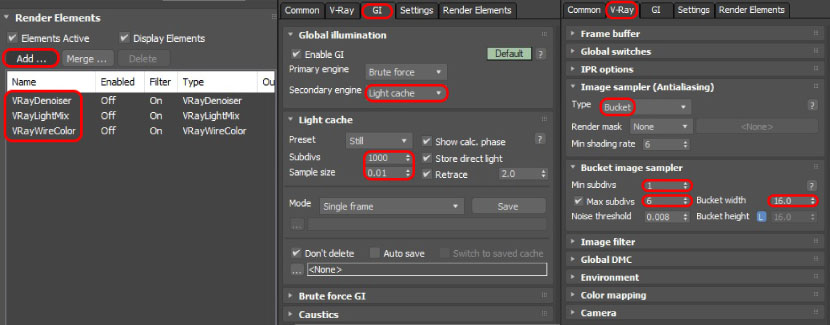 Render elements.
Post-production and color correction
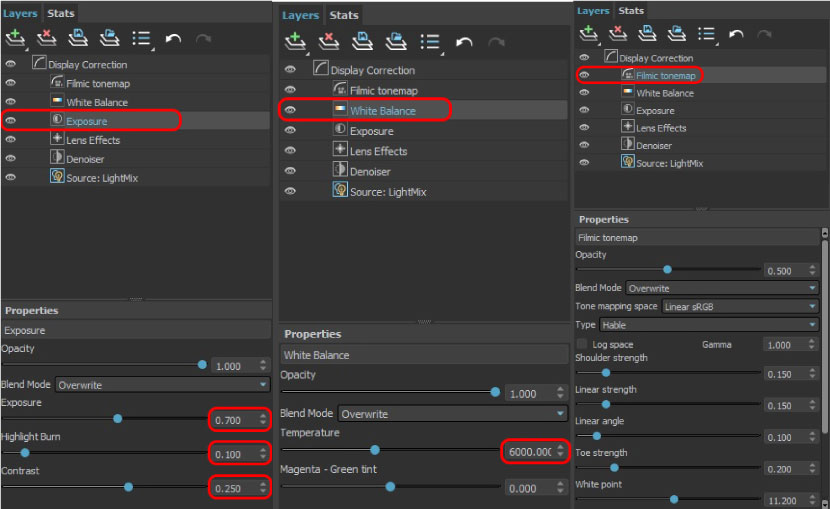
After all, use the frame buffer to adjust color correction and brightness control.
Add exposure to the list. Generally, the highlight burn should be decreased to 0.1 or 0.2 and increase the contrast a little bit. Then, to adjust brightness, play with exposure value. Then add white balance for controlling the image temperature, and also add Filmictonemap and play with the options until the image looks good.
In the end, if you want to work more on your final renders, bring them to photoshop or other editing software and do the rest of the post-processing there. I think frame buffer has all the necessary capability, and it could save time so you can adjust colors and brightness during render time, no need for other editing software.
Thanks for watching!
We thank Arash for sharing his tips and tricks with our Rebus community. Check out more of Arash's work on his different channels:
Want to share your work with our community too?
Contact us at 이 이메일 주소가 스팸봇으로부터 보호됩니다. 확인하려면 자바스크립트 활성화가 필요합니다.and tell us about your favorite project.
>> Read more articles on our blog
