Wednesday, September 15th, 2021 by Pablo del Amo
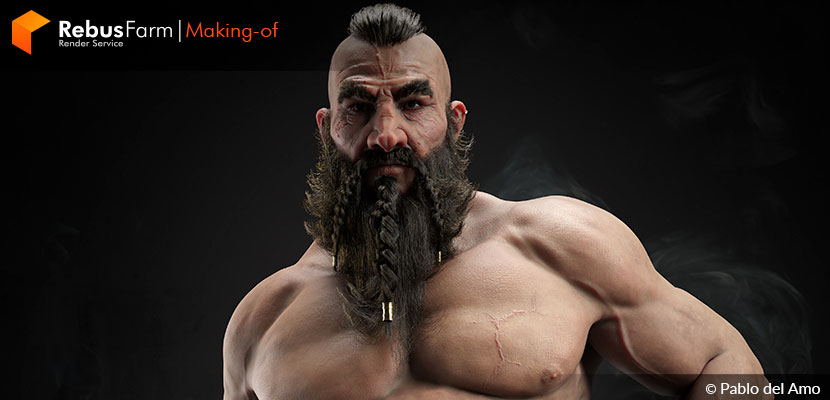
Pablo del Amo, character artist, is taking animation to the next level, allowing his new character projects to be functional for cinematheques and movies with the use of great attention to detail and to the human anatomy. The creation of 'Dwarf' is a clear example of quality and functionality; perfect to use as a cinematic asset with proper retopology for being rigged and animated.
Now, Pablo himself tells us a bit more about how the dwarf 3D character model came to life in this 'Making-of' edition:
I started with this character at the end of a project in which I was working as a character artist for a videogame. I wanted to do a different job, one in which I could abuse polygons and textures and create a high-quality work that could be at the same time functional for cinematheques and movies, so I started this adventure with my dwarf design.
SCULPT
As usual, I soaked myself in references for a few days and started sculpting our protagonist. I first created a simple, low-poly mesh that could move easily and left it bare torso with the intention to create a character in which the anatomy could be seen well. With the help of the references, I then went on to define all the muscles and landmarks.
When I already had a good symmetrical base and in the shape of an 'A' I moved on to the face and defined it by increasing the polygon count little by little, also symmetrically.
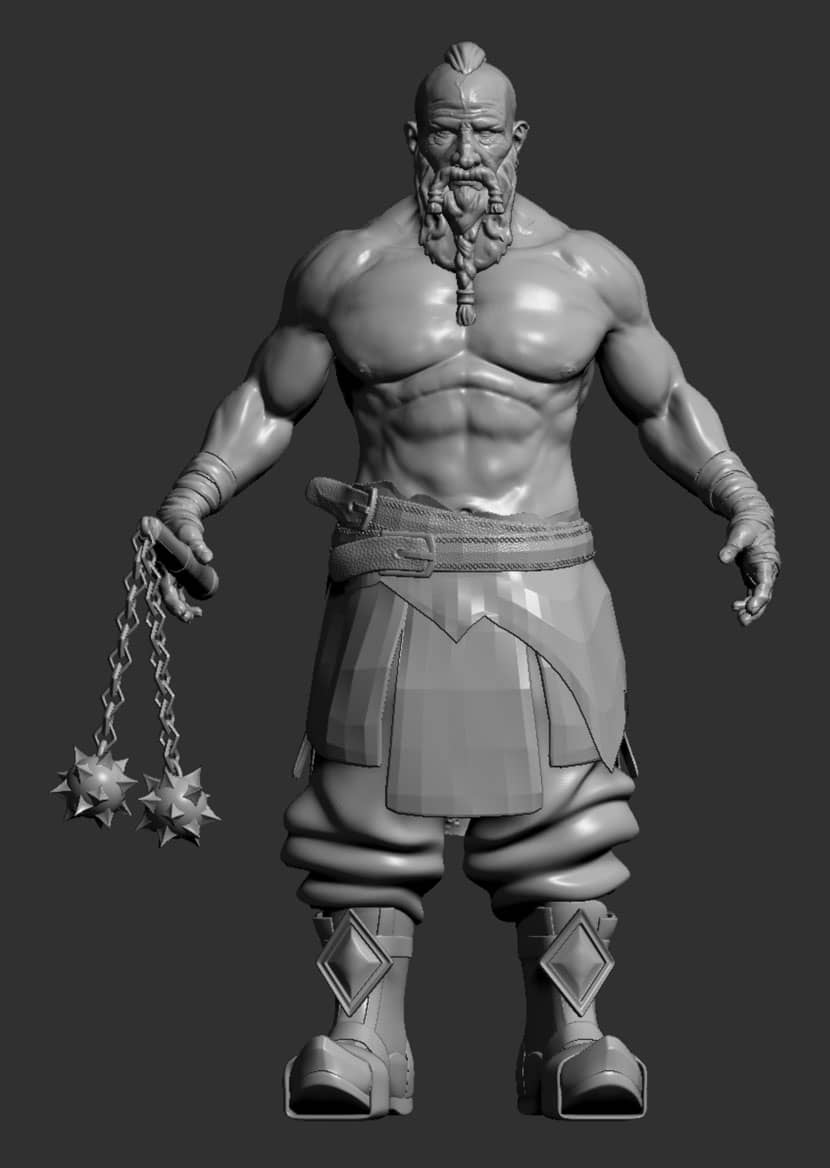 Sculpting and definition of muscles and landmarks.
RETOPO
Once I had some good forms and everything was anatomically correct, I took him to Maya to make a retopology. Here I united the body with the head to generate what would be my final 'low' mesh, then I projected based on subdivisions, the detail of the ancient Maya and posed the character.
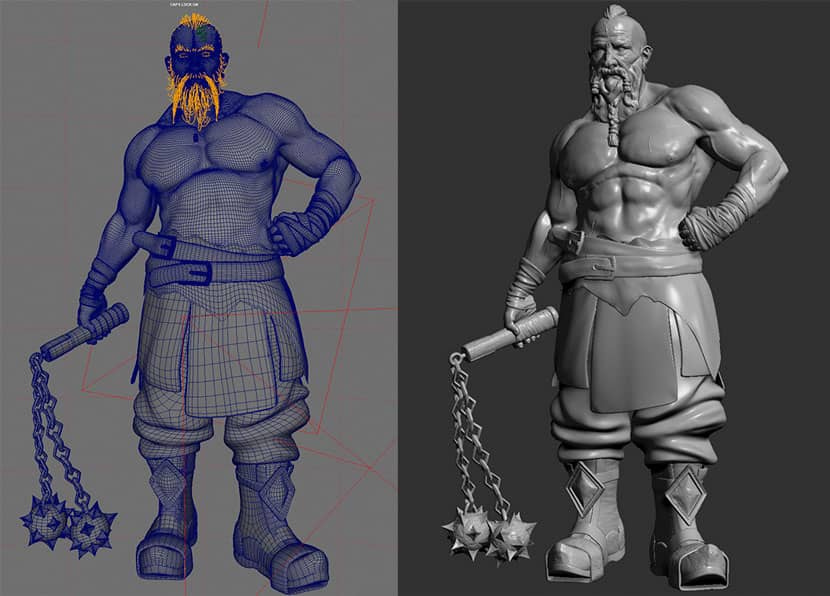 Retopology of the 'Dwarf' done in Maya.
DETAIL SCULPT
I imported the new geometry in ZBrush and given the subdivisions to be able to project, I began to break the geometry to generate a good organic feeling and finished generating all the large-scale details next to the new pose of the character.
When putting myself with the smallest details I used layers, such as pores, etc.
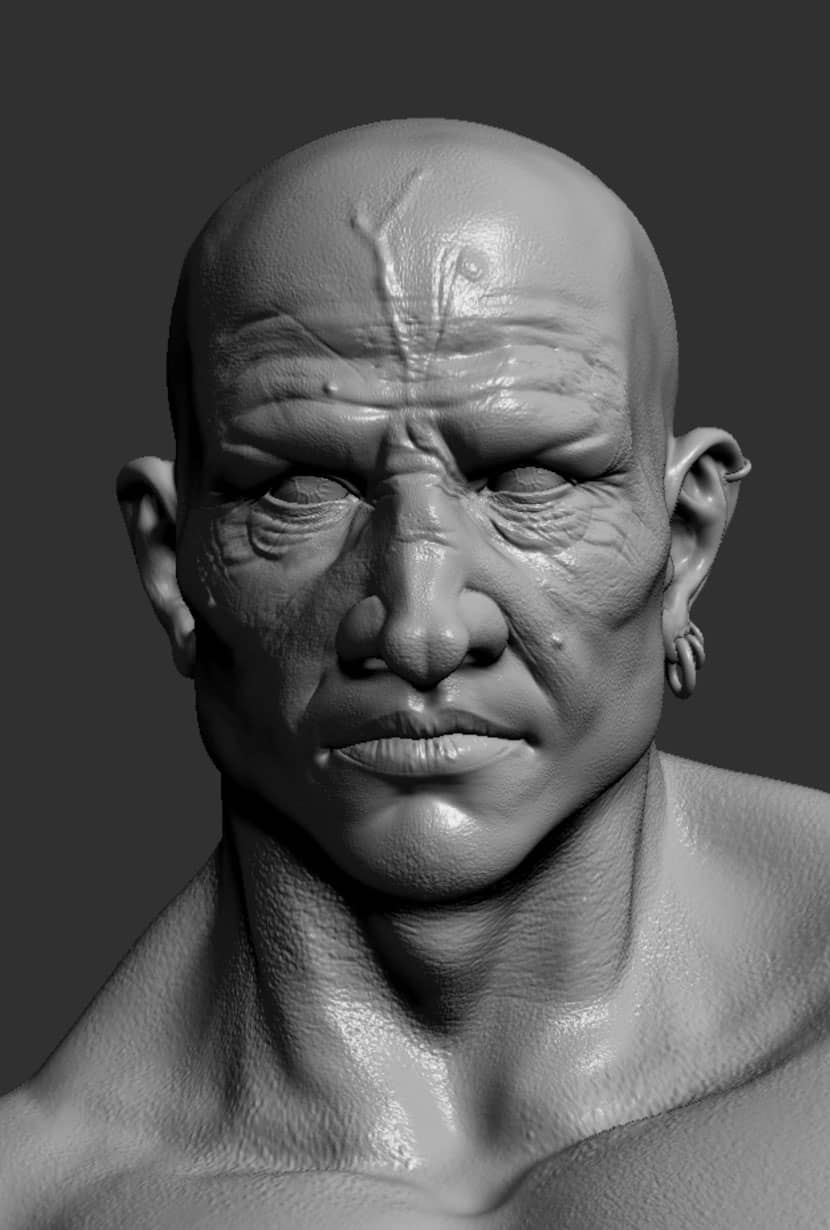 Detail on the organic finish of the head sculpting.
UVS AND BAKE
After having all the sculpting finished with all its details, I took the mesh back to Maya to generate the UV mapping in which I used several UDIMs to generate high-quality textures. With the UV's already generated, I imported it on top in ZBrush and got it ready with Bakeo. I used ZBrush for the Normal and Displacement maps, and with the normal ZBrush, I generated the rest of the maps in Substance Painter.
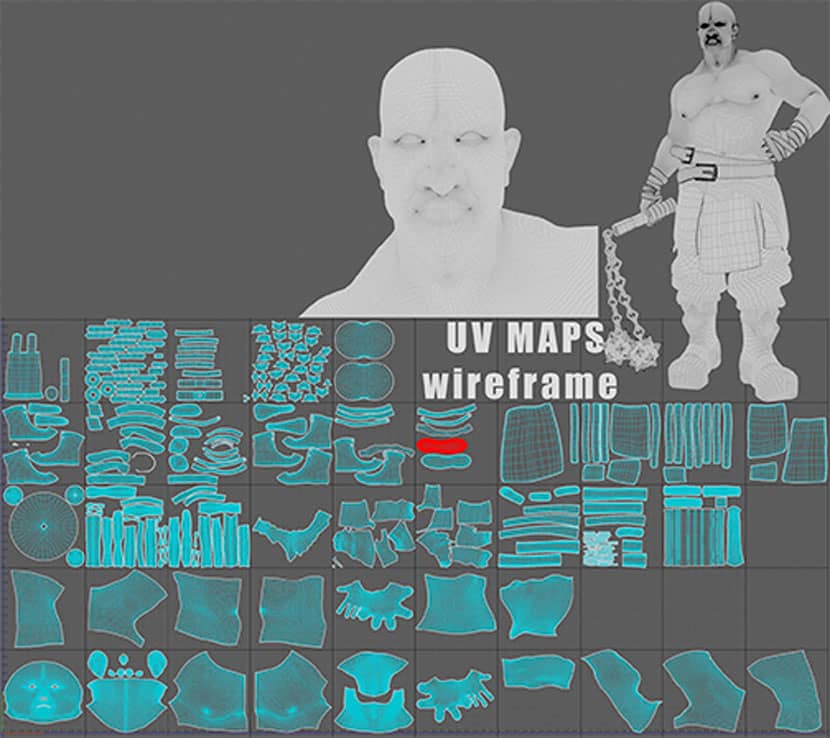 UV mapping for high-quality textures.
TEXTURE
For the texture I used Substance Painter, the textures are hand-painted, especially the skin in which I put a significant amount of hours.
The UDIMs workflow allowed me to generate great 4k textures.
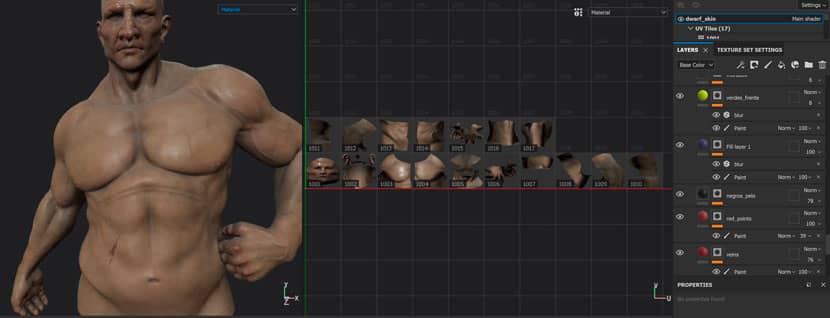 4K textures made in Substance Painter.
XGEN
Having finished all the textures I started to work with the hair, using the one I sculpted in ZBrush as a reference. All the hair was created with Xgen and its guide system, and for the braids what I did was make them into geometry and transform their edges into Xgen guides, thus being able to generate them in a simpler way.
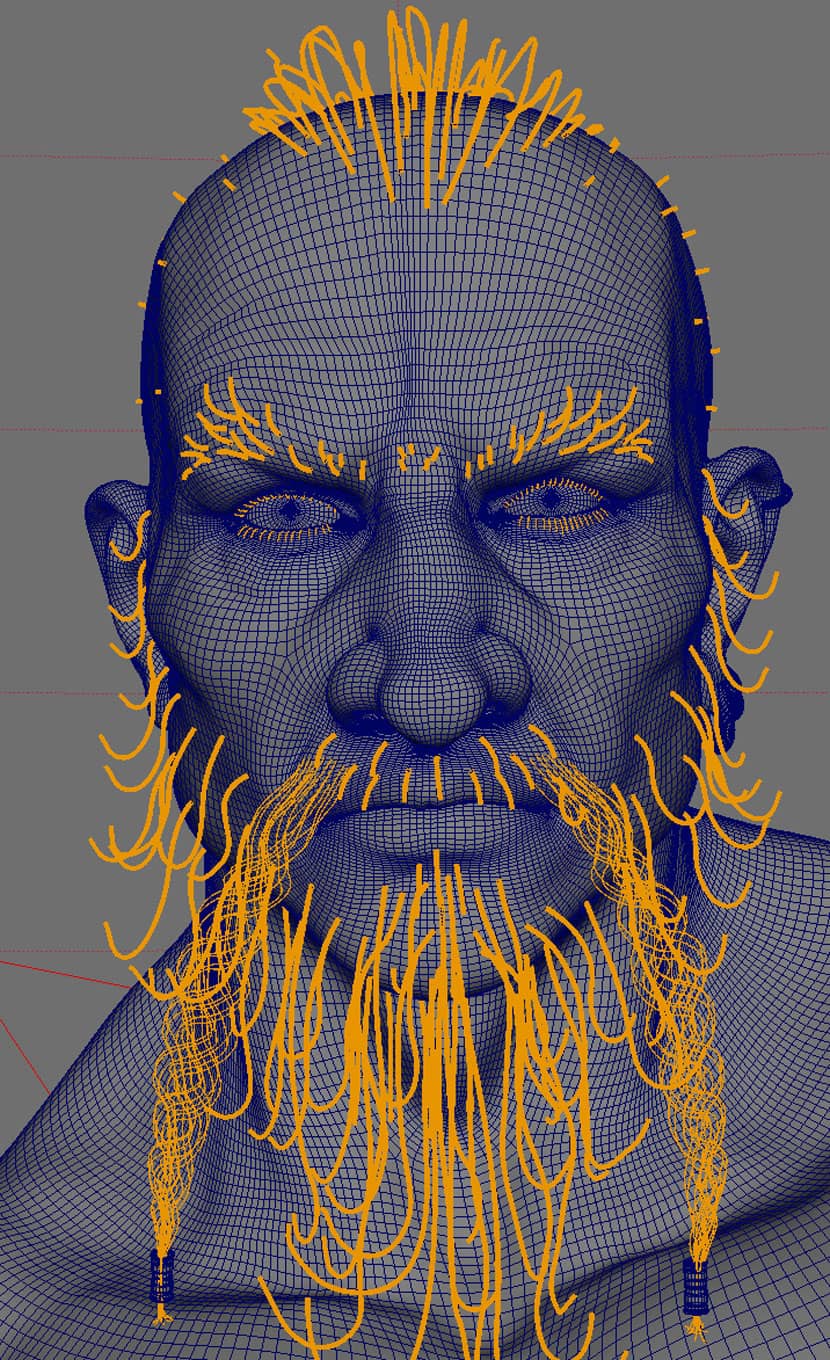 Hair for the 'Dwarf' created with Xgen.
RENDER
As for the render, once the lighting was done and the cameras were placed, I used the Arnold of Maya to get the final renders. Later, I went through photoshop and added the background there to have the final result.
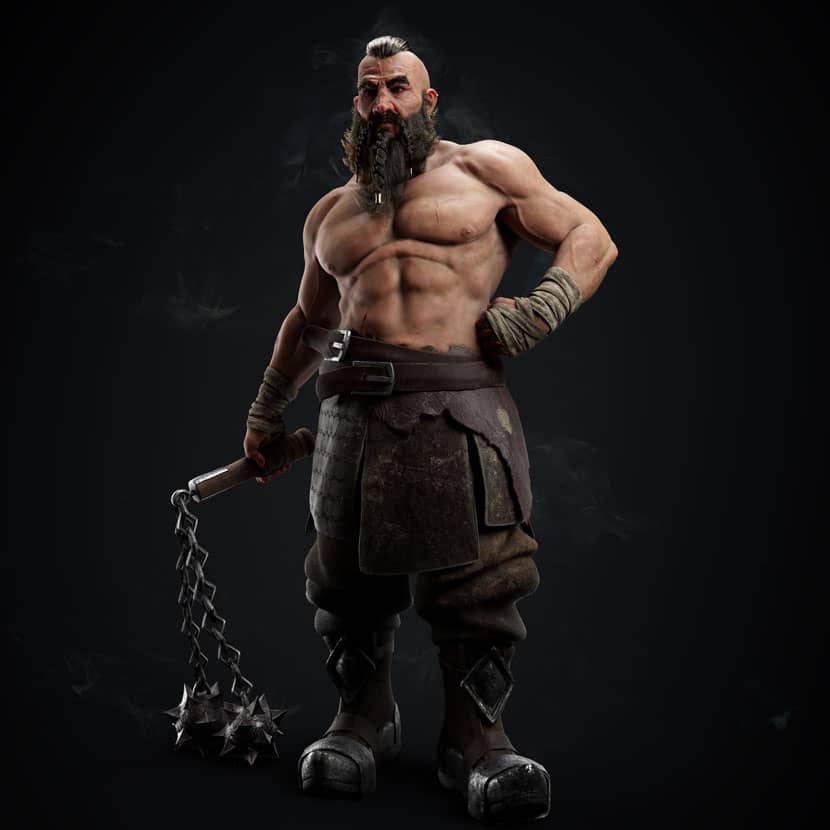
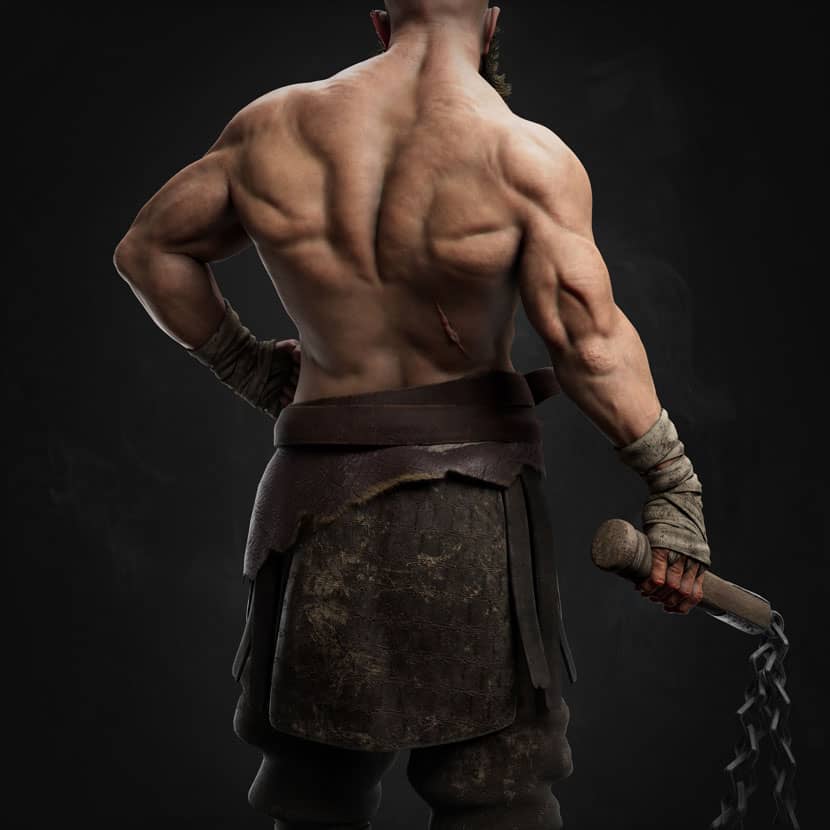
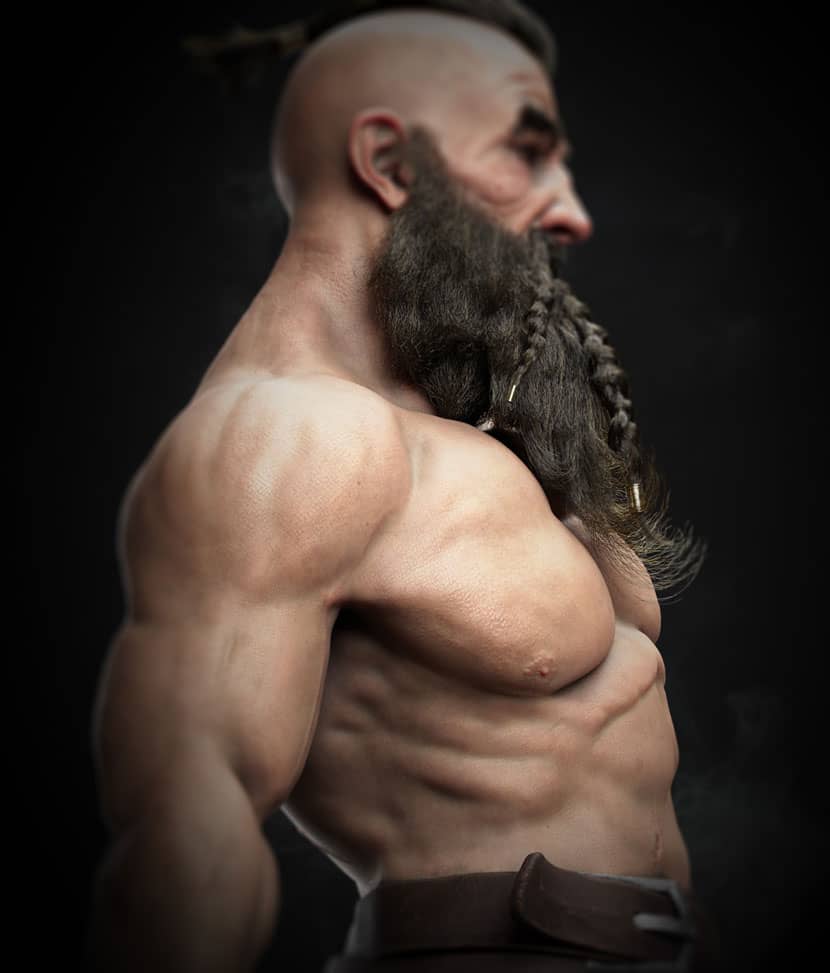
We thank Pablo for sharing his experience in creating this amazing character with our RebusFarm Community. If you haven't seen more of Pablo del Amo's work, be sure to check out his social media channels:
Want to share your work with our community too?
Contact us at Este endereço de email está protegido contra piratas. Necessita ativar o JavaScript para o visualizar.and let us know a bit about your favorite project.
>> Read more articles on our blog
Get started with your own renderings
