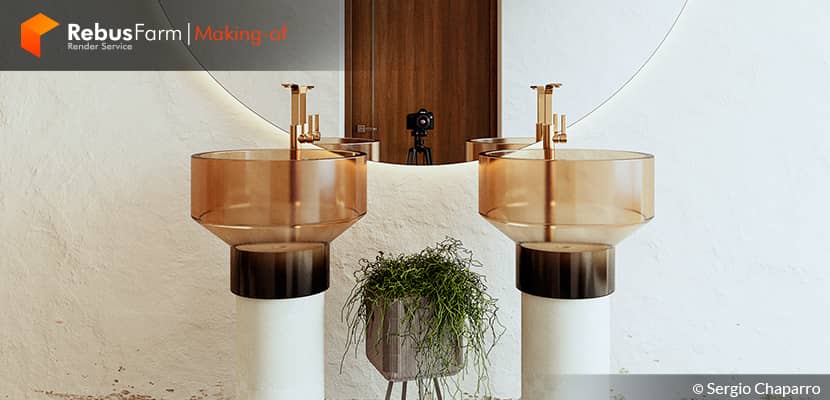
It is rare to find very beautiful images for small spaces like bathrooms in the architectural visualization field. Sergio Chaparro, an architect and 3D artist from Mexico, has recently shared a pretty nice set of 3D photographs from his Cozy Bathroom project. In this making-of article, you can earn some tips from his workflow which is mainly focused on the great effort during the 3D process than post-production in Photoshop.
About me.
Hello to all the 3D community!
My name is Sergio Chaparro, an architect and 3D artist originally from Mexico and for me, the 3D world means everything. Since the first class of rendering and modeling that I took in college in 2009, I realized that this was what I wanted to do for a living for the rest of my life.
Representing an idea, capturing it in Graphics, and taking it to the final point of a photograph, is the objective I have to make my clients fall in love with their project. It is a great pleasure to continue representing all those artists and users of V-Ray for SketchUp, the software on which I have worked for almost 10 years and I continue to learn day by day.
I greatly appreciate the RedbusFarm team for their attention to my work and for their invitation to participate in this "Making-of" of my recent project "Cozy Bathroom". I hope it will support the whole community and give some tips to the readers.
The Project.
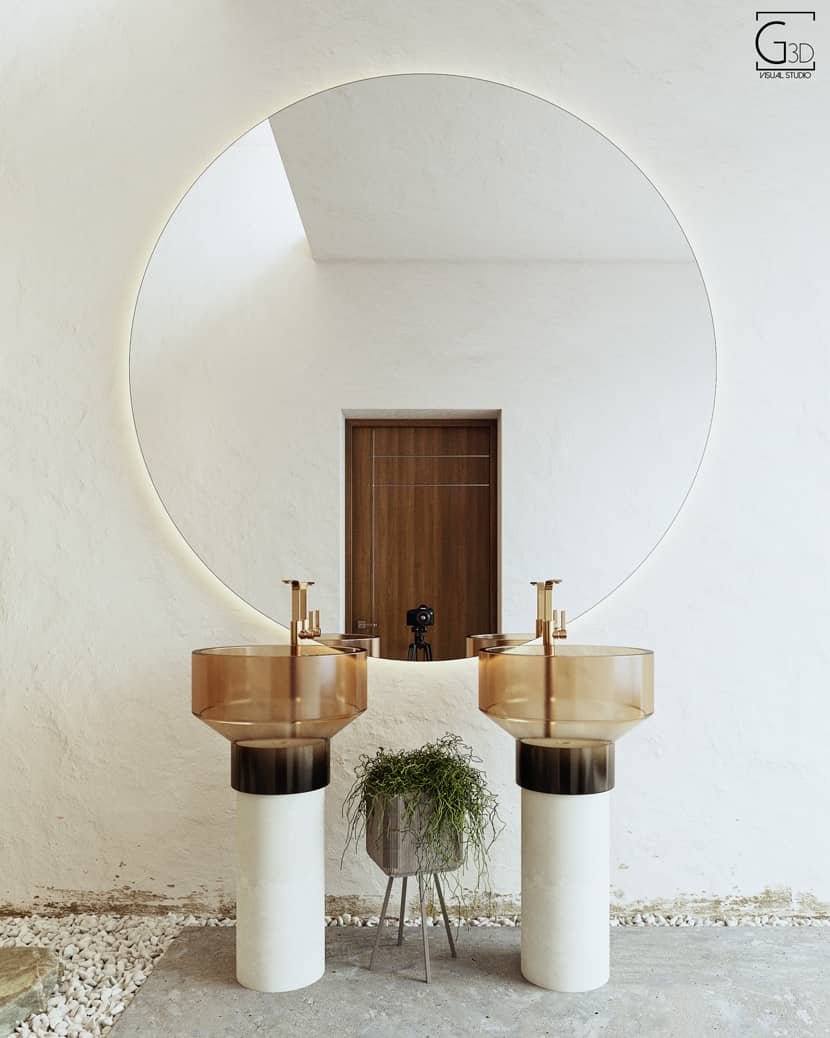
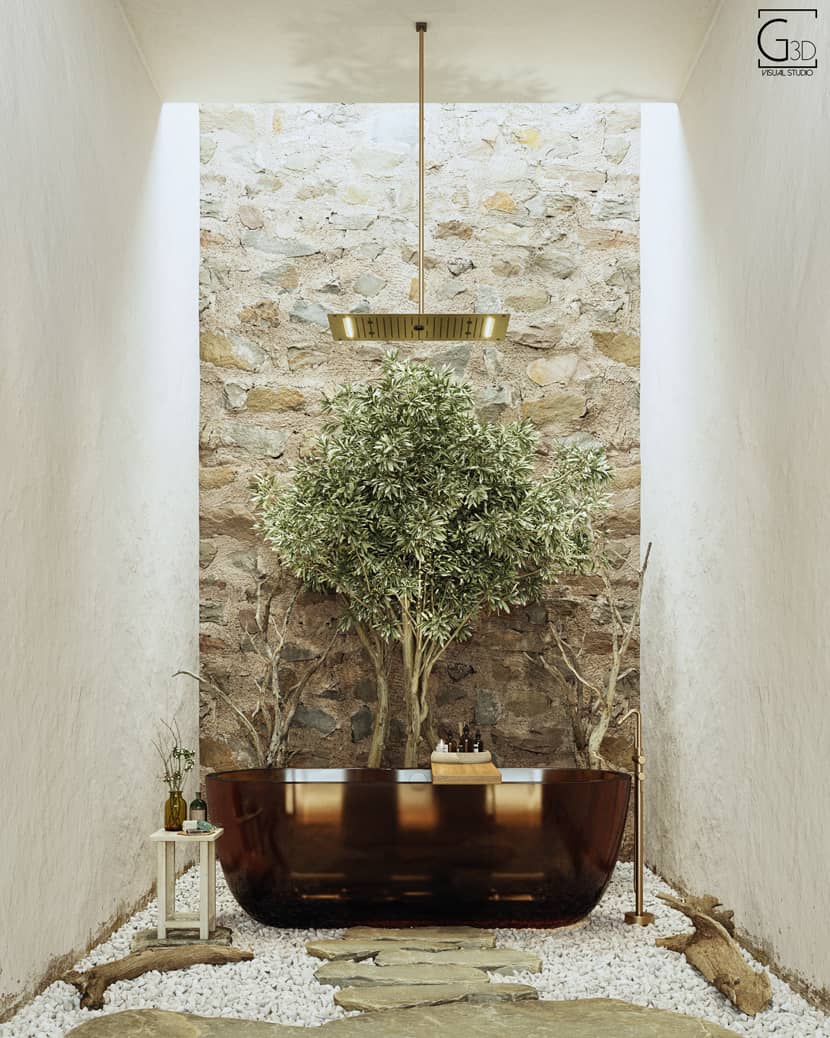
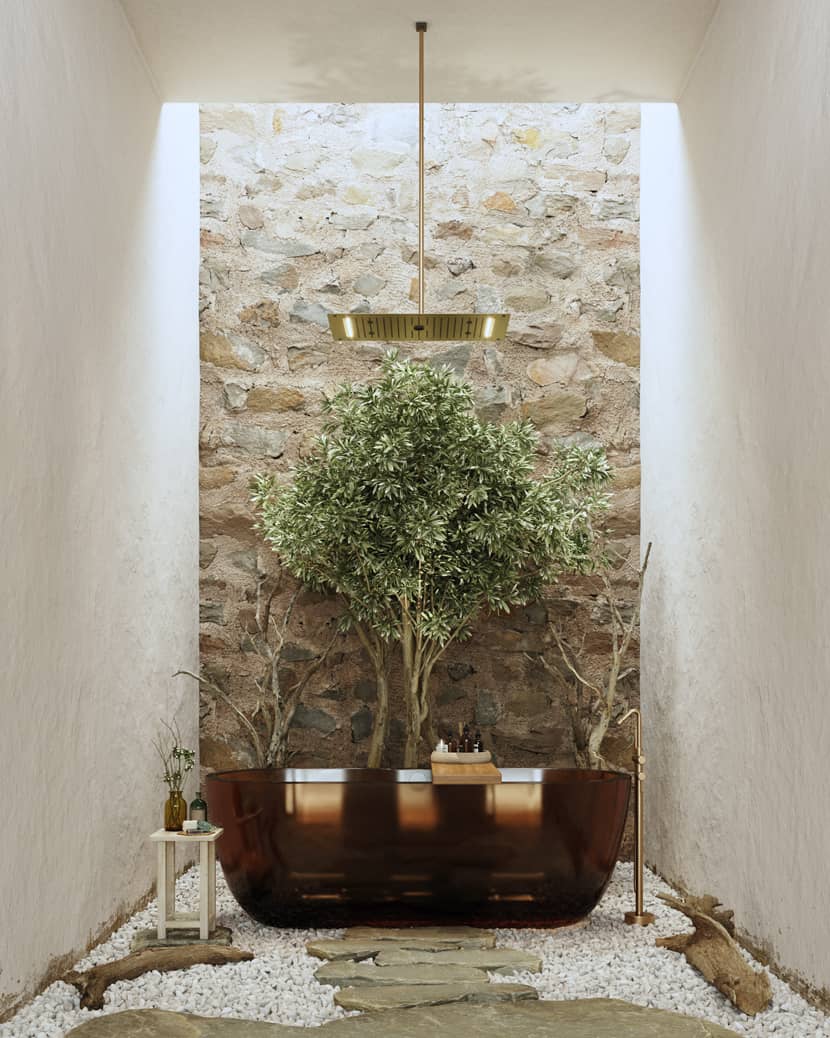
"Cozy Bathroom" was born as a result of covering my client's needs. A space like a bathroom should be taken seriously since it is considered our "2nd room", a space that must generates relaxation, tranquility, and above all peace.
Lighting and materials play a vital role in the development of this project. All mixed with a touch of Mediterranean style, playing with the colors of the furniture and the architecture itself to generate a pleasant contrast.
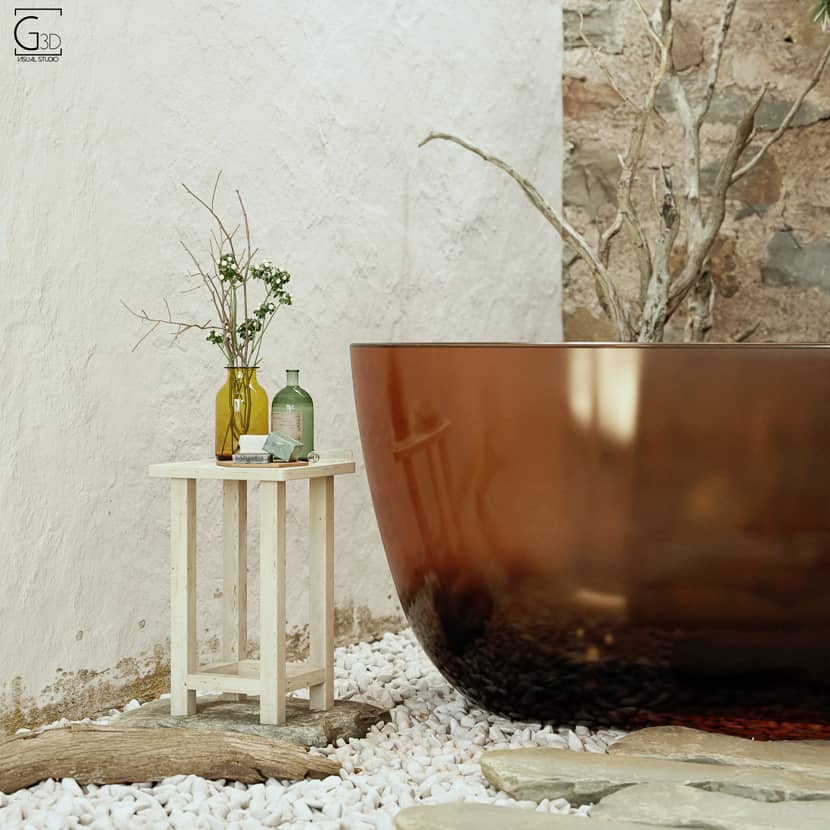
The natural touch can not be missed by integrating elements such as rock footprints that direct the way to the bathtub. Small stones, logs, and vegetation it is possible to transmit a feeling of extreme relaxation.
The space speaks for itself, when contemplating the images immediately a feeling of tranquility is provoked, as well as the desire to be there. Therefore, the design, furniture, and colors form a subtle but precise harmony.
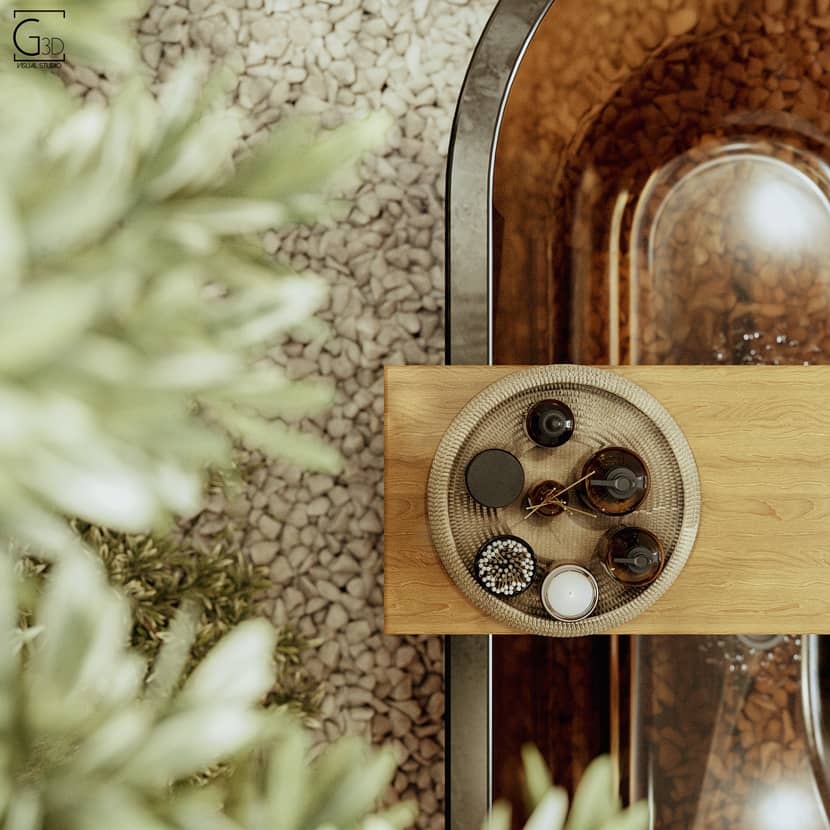
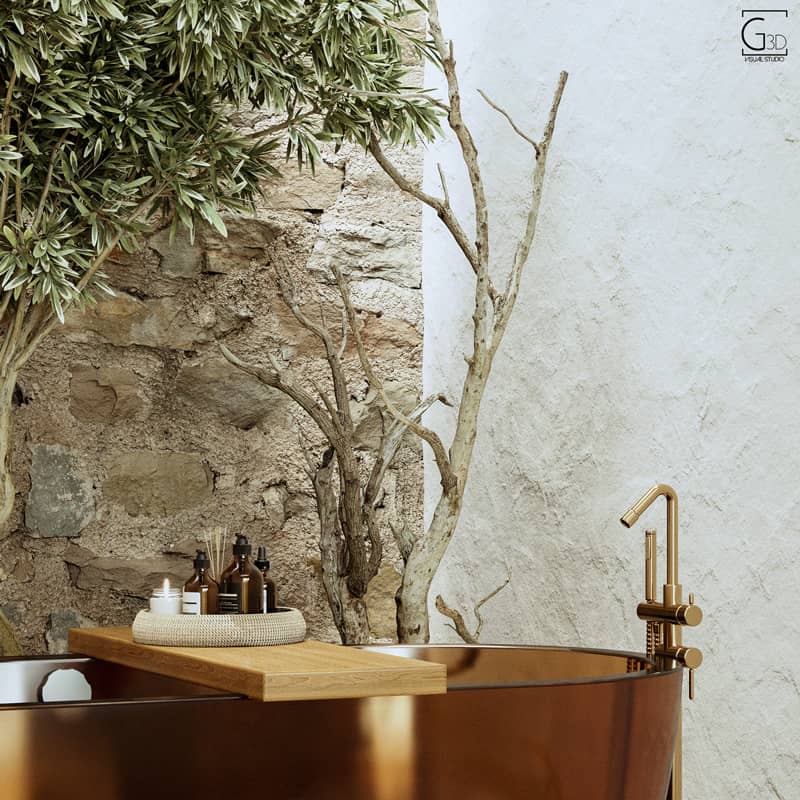
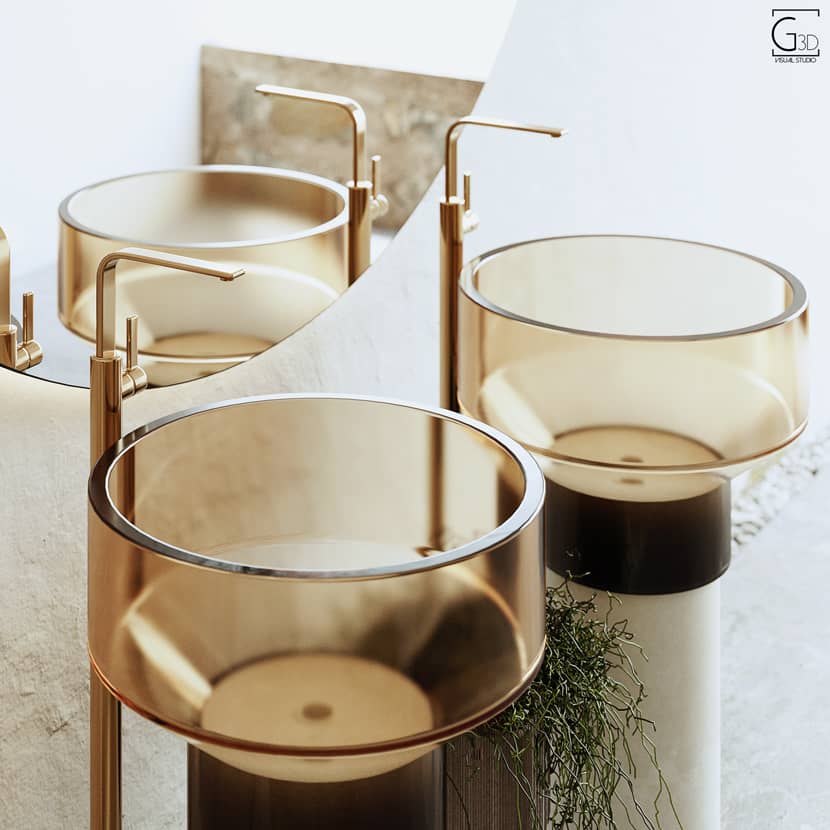
For the complementary package of images, some close-up and detailed shots were taken to contemplate every corner of the space, in order to explore each element of the project.
Tools.
Our main working tools for the development of this project are SketchUp for modeling and V-Ray 5.2 rendering, only with a very subtle touch of post-production in Photoshop.
Camera.
I worked in Camera Exposure with a value of 12 to obtain better lighting inside and without forcing artificial lighting with high values.
Lighting.
Natural and artificial lighting play an important role in this project due to the type of materials and colors that were applied.
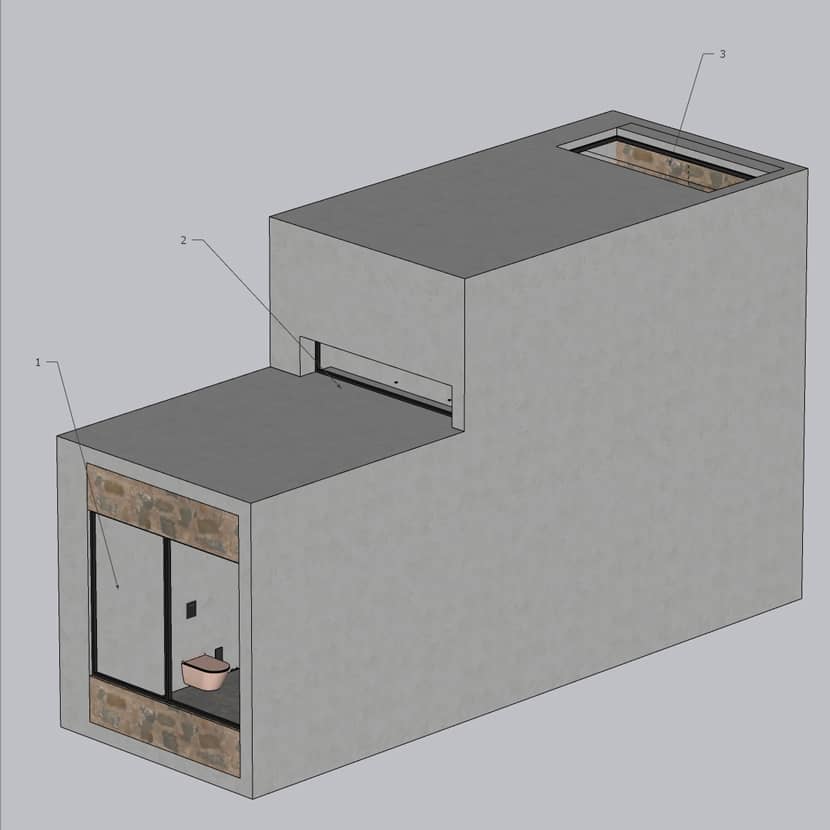
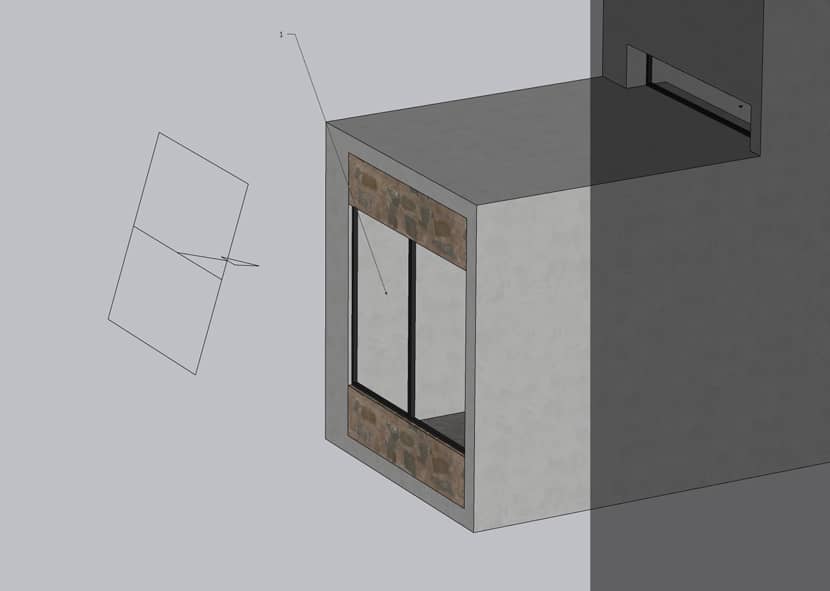
This space has 3 accesses of natural lighting. (1) as the main entrance of light, (2) as a support light, and (3) as a detail for the space of the bathtub.
The Global light was generated by working with a Dome Light in conjunction with an HDRI-type "Overcast" to achieve powerful and homogeneous lighting. In the same way, we support ourselves with a "Rectangle of Light" in the main access (1) whose objective is to point more light and highlight the shadows a little more.
The rectangle has an intensity at a value of 5 in units by Default and a Directionality value of 0.6. This light should not overshadow the general lighting, it was used only for support.
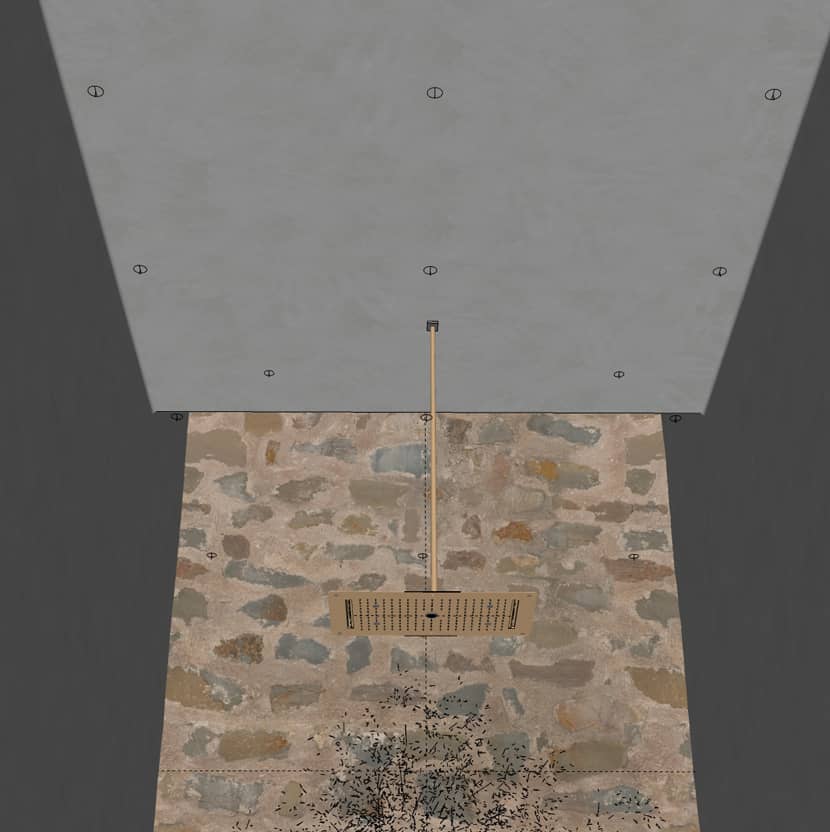
In the inner part, I placed small "Rectangles of Light" in a "Disc" type shape, whose value in Directionality goes from 0.7 to 0.8, the intensity must be subtle and its main function is to highlight certain areas of space without affecting the global light.
Framing & Composition.
In this project I worked with two image formats, Vertical (Aspect Ratio 4:5 with a dimension of 2000 * 2500) and Square (Aspect Ratio 1:1 with a dimension of 2500 * 2500).
The visual field depends on how close or far we want the image and it is important to not deform or flatten the image. In the general renders 1 and 2 I worked with a visual field of between 30° to 35°.


The Renders of Details were worked with a field of view from 20° to 25°.
Depth Of Field.
The effect of the Field Blur helped me a lot to highlight the details of the materials in a better way. Furniture had a more "Artistic" purpose and the renders that were worked with this effect have an initial feature "Defocus" of 0.33 to achieve a subtle but effective blur.

Materials.
Light complements materials and vice versa. We need to understand that to obtain a good render it is necessary to analyze the relationship that exists between light and materials.
The textures used in this project are PBR Materials, which have great potential to highlight the details with the help of their maps. In this case, the material that stands out the most from the project is the stone wall in the background.
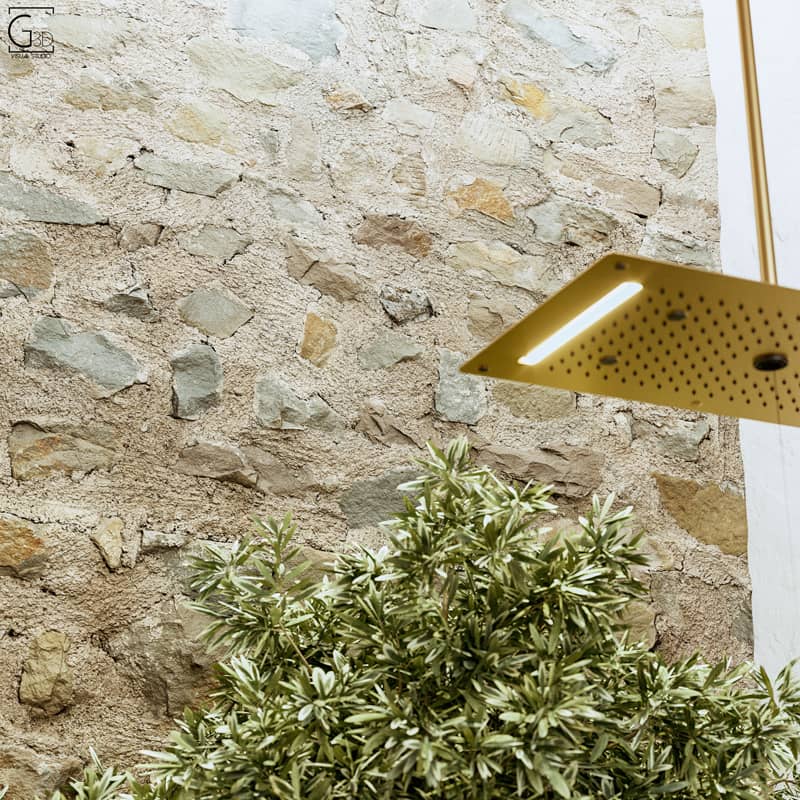
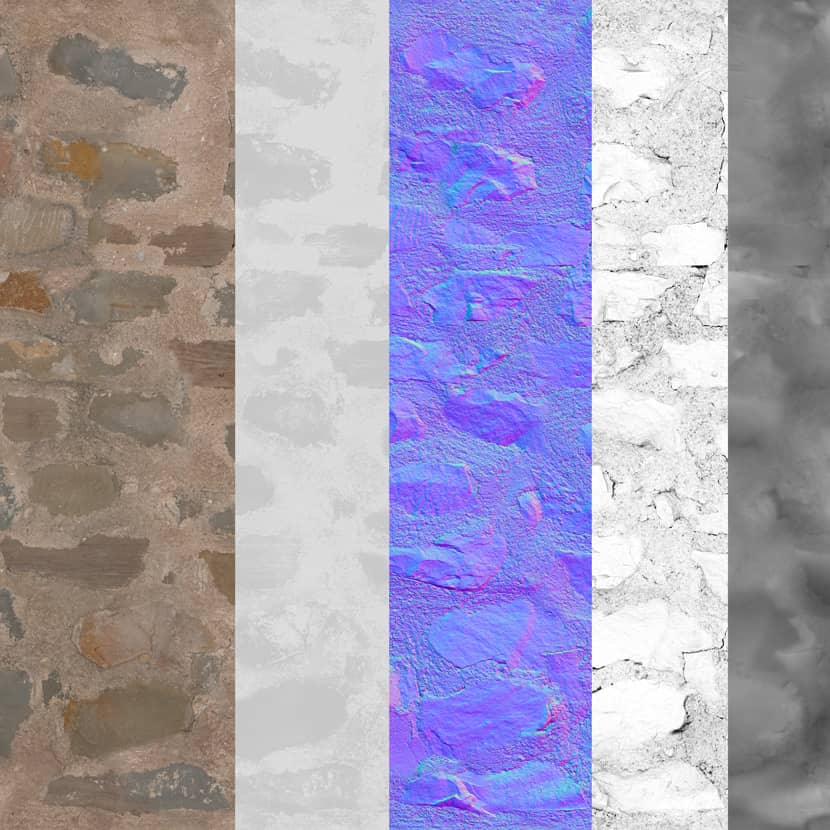
Some recommended pages for downloading and buying textures are Textures.com and Quixel and a pretty nice video tutorial that perfectly explains what's PBR materials and how you can generate them.
Environment.
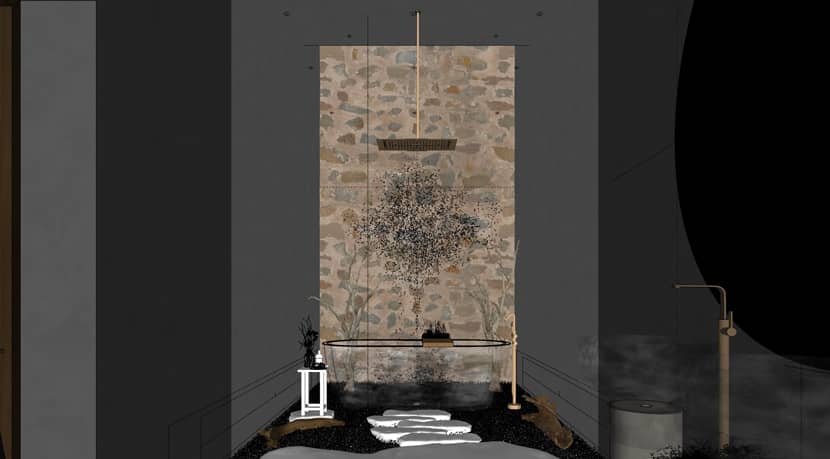
It is well known that SketchUp is a program that has a low geometry limit. Therefore, the ideal is always to work with models in PROXY or VRSCENE format, with the aim of handling the lowest possible load of geometry and avoiding the program's limits and lags.
The elements that we observe in this project are VRSCENE elements, and 3DS Max files that can be read by SKP files as long as they have the same extension. They are distinguished by having a peculiar representation of points and lines.
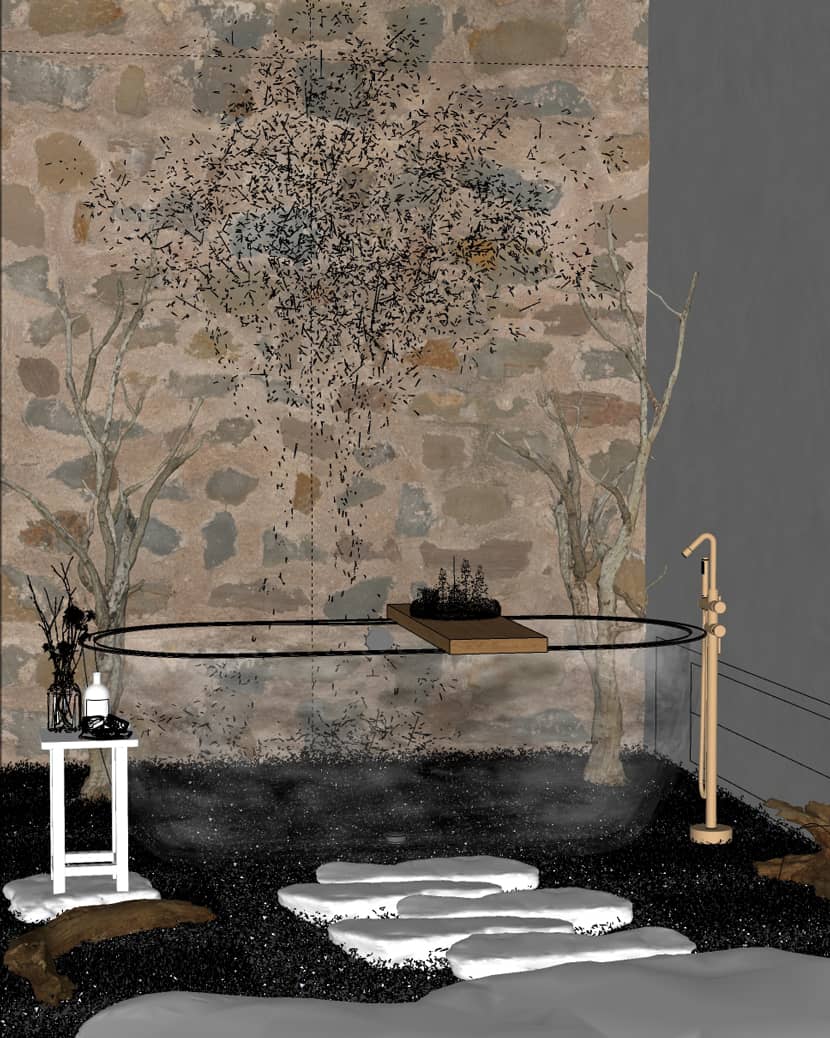
I also used some blocks from the most current CHAOS COSMOS library.
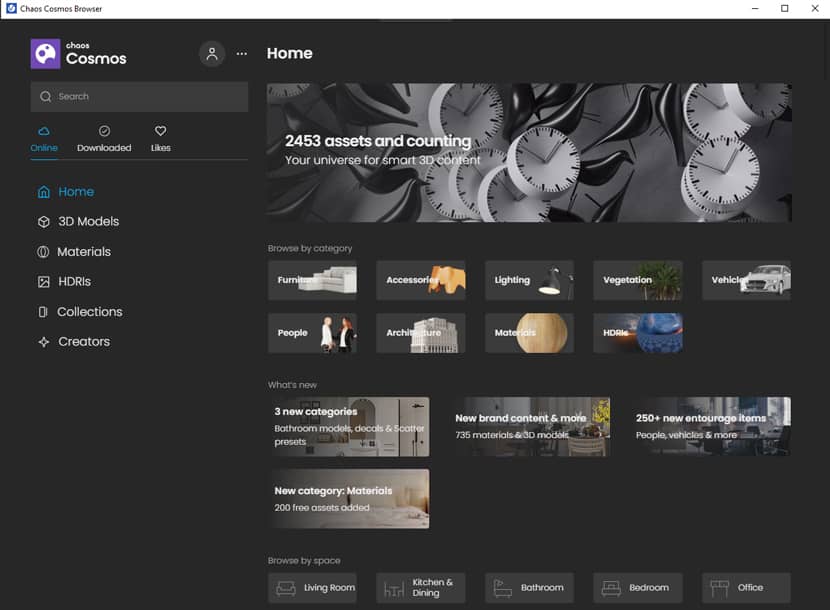
Placing Chaos Cosmos assets in your scene is an easy and friendly user process which you can watch below:
Final Configuration.
It is well known that render engines have become very simple and friendly to work. That is why there is NO "magical" configuration with which you can make spectacular renders.
- For a lighting test render, a "LOW+" type quality is sufficient.
- For a Material Test Render, it is recommended from quality type "Medium" to "Medium +".
- For a FINAL Render, it is recommended to work with a "High" type quality.
It is important to take into account the factor of the computer equipment with which we are working. If we have low components, the render will take longer than expected, so we need to invest in good equipment to be able to work smoothly and faster.
Post-Production.
We have one goal, to ensure that the render is produced well from its source program so that the use of Photoshop will be as low as possible.
The post-production that I handled for my images is more in V-Ray working directly from the Frame Buffer (Render Window) with the LAYERS: Exposure - Curves - LUT´S.
The values to work will depend on the type of environment, materials, and lights.
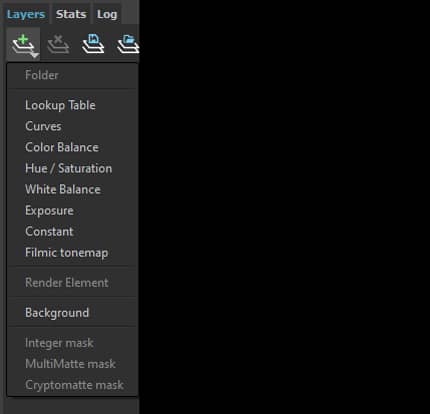
As you can see below there is no big difference between Raw Image and Photoshop.
 Raw Image
 Photoshop Post-Production.
Practically the use of Photoshop is to regulate, very slightly, the brightness and contrast of the image and for placement of the entity logo. Beyond that, my goal is to achieve excellent production from V-Ray and only polish some details with Photoshop.
It was a real pleasure to be able to share with you a little of the methodology I worked on for the production of my images. Hoping that this document will be helpful to all of you. I share with all of you my social media channels so that you can contact me and be able to answer any questions you might have.
Many thanks again to the entire RebusFarm Team and the VWArtclub 3D community for supporting our work.
Best regards,
Sergio Chaparro
Check more of Sergio's work on these channels:
Want to share your work with our community too?
Contact us at Esta dirección de correo electrónico está siendo protegida contra los robots de spam. Necesita tener JavaScript habilitado para poder verlo. and tell us about your favorite project.
Get started with your own renderings
