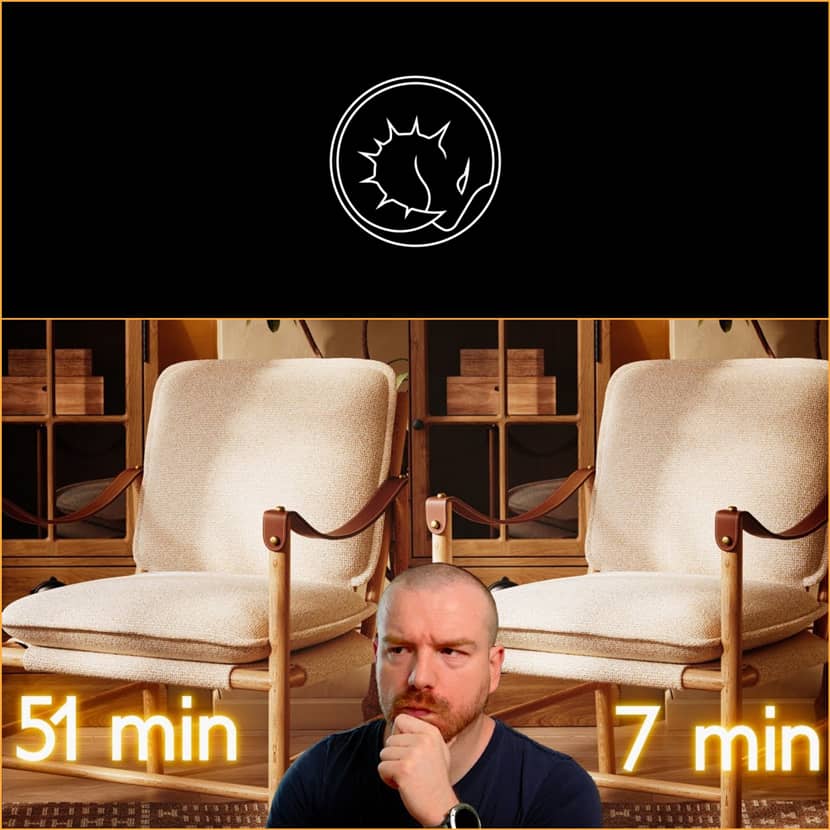
Imagine slicing your render times from an hour to just seven minutes without compromising on quality. RenderRam's Vjeko Kiraly has just shared a breakthrough workflow that might completely transform the way you render in Corona and V-Ray. In his latest tutorial, he unveils a smart combination of denoising, resolution trickery, and post-production that slashes render durations by up to 15 times while actually enhancing image quality!
Let’s dive into how it works.
The 7-Minute Magic Render?
Vjeko kicks off by comparing two renders: one taking 51 minutes, the other only 7. Surprisingly, the 7-minute version doesn’t just hold up—it looks sharper, more detailed, and cleaner, especially in areas like wood grain, fabric stitching, and even small lettering. The secret? A combination of Intel’s AI denoiser and clever upscaling/downscaling.
The Updated Workflow.
Here's the step-by-step trick to render faster without losing detail:
1. Swap Your Denoiser
Forget the old Corona High Quality denoiser. Instead, switch to Intel CPU/GPU AI Denoiser. According to Vjeko, it's leagues ahead in quality and doesn't blur or distort textures like older algorithms.
- Set the denoiser amount to 0.85 (instead of the default 0.65)
- Skip setting a noise limit; just eyeball a short render duration (like 7 minutes for a scene that used to take 60)
2. Crank Up the Resolution
Double your resolution. If your final output is 2000x2000 pixels, set your render size to 4000x4000. This feeds the denoiser more data and reduces the chance of artifacts.
3. Filter & Render
- In Corona, go to System > Image Filter and set it to Tent, which matches Intel’s AI training.
- V-Ray users don’t need to worry, V-Ray auto-applies compatible filtering with Intel AI Denoiser.
4. Post-Production Downscale
Once rendered, open the image in Photoshop:
- Downscale it to 50% (back to 2000x2000).
- Use Bicubic Sharper resampling for best results.
Voilà! You now have a crisp, noise-free render in a fraction of the original time.
Why It Works.
The power lies in the combination of AI denoising and resolution management. By rendering at a higher resolution, you quadruple the data the denoiser can work with. Then, downscaling sharpens the image, hides minor artifacts, and boosts perceived detail. It’s like magic, but with real technical backing.
Vjeko even tested this on an Evermotion scene originally taking over an hour to render. After applying this method, the same scene finished in just 7 minutes with better detail retention, including sharper text, plant elements, and micro shadows.
Results & Tradeoffs.
- Sharper images
- Enhanced detail perception
- Massive render speed gains (up to 15x faster)
- Slight tone shifts or bump reduction may occur, but usually nothing critical.
Some users even reported reducing a 1.5-hour render to just 3 minutes. While the method isn’t flawless, the speed-to-quality ratio makes it a must-try.
Final Thoughts.
This workflow isn't just a trick, it's a complete mindset shift in how we think about render efficiency. Whether you’re working on interiors, exteriors, or sci-fi shots, Vjeko Kiraly’s technique proves consistent and effective across the board. You only have to try it today and see if you can revolutionize your rendering pipeline.
Watch the Full Video.
🎥 Watch the full video by RenderRam to see the side-by-side comparisons and follow along step-by-step:
RenderRam is a YouTube channel with useful tips, tricks, and tutorials.

