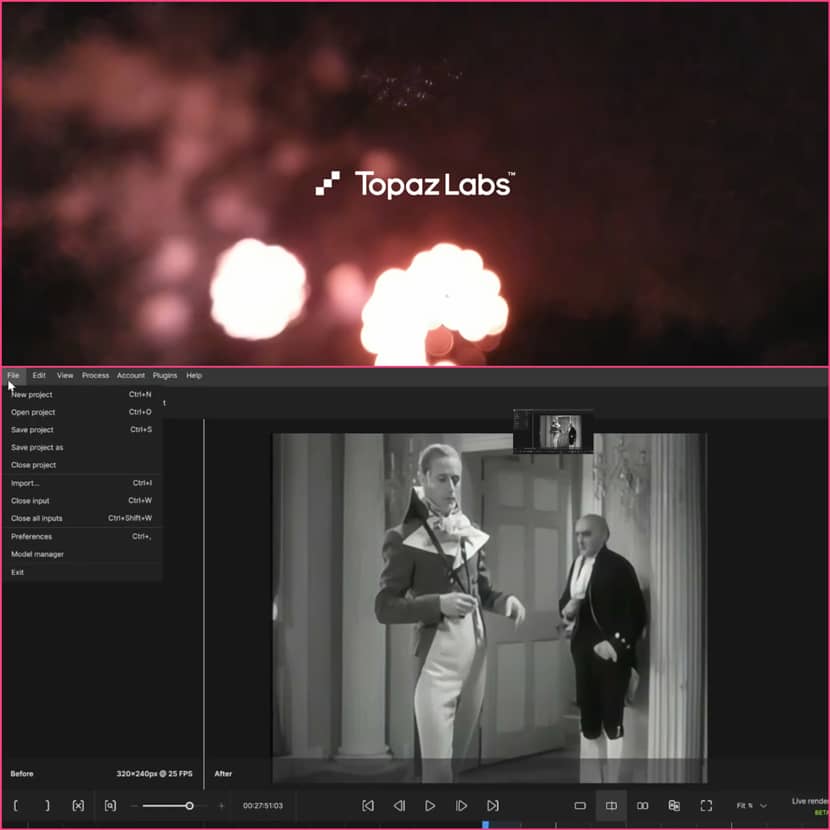
Bringing old, low-resolution videos to life was impossible until Topaz Labs Video AI made it a piece of cake. With advanced AI models, Topaz allows you to upscale, denoise, and refine videos to achieve impressive results. Let's explore how to transform a 320x240 pixel video into a crisp and high-resolution one by upscaling it 4x while addressing common artifacts and imperfections!

Step 1: Setting the Stage.
Low-quality videos, such as those captured on early mobile phones or VHS tapes, present unique challenges. Topaz Labs Video AI simplifies the process with various AI models designed for different video types.
Eample Project.
A segment from the classic film The Scarlet Pimpernel was chosen for this tutorial. The goal? Transform a compressed, low-resolution clip into a clear and visually appealing video.
Step 2: Choosing the Right AI Model.
Topaz Labs offers various AI models tailored for specific use cases. For this project, the Nyx AI model was selected, as it excels at enhancing older films and VHS footage by flattening compression artifacts while preserving sharp edges and fine details.Create a cylindrical object to represent the vine’s body. Apply the Path Deform Modifier to align it with the control spline. Enable Auto Stretch for dynamic length adjustments. Reduce geometry complexity by optimizing segments to balance detail and performance.
Step 3: Fine-Tuning the Enhancement.
The tutorial highlights the importance of adjusting parameters for optimal results.
Step 4: Adding a Second Enhancement.
The software also allows users to stack enhancements for even finer control.
- The Theia AI model was applied as a secondary enhancement, adding subtle sharpening and compression fixes.
- A small amount of artificial noise was reintroduced to eliminate the flatness caused by compression removal, resulting in a more organic and visually appealing output.
Results: Before and AfterThe transformation is striking. Compression artifacts, soft edges, and pixelation plagued the low-quality original. After applying the enhancements, the video boasts sharp details, smooth edges, and balanced textures. Whether for nostalgic purposes or professional projects, Topaz Labs Video AI proves its value.
Key Takeaways.
Conclusion.
Topaz Labs Video AI is a game-changer for anyone looking to breathe new life into low-resolution footage. Its intuitive interface and powerful tools make video enhancement accessible to both professionals and hobbyists, and we overall consider it a value-for-money solution, probably on of the best related to upscaling videos.
Check out the video tutorial on how to enhance your low-quality videos:
Topaz Labs is a software development company that applies artificial intelligence to edit photos and videos. It was established in 2005 and is dedicated to providing its users with state-of-the-art techniques in image processing to improve image quality brightness, enhance resolution, and hence give users the ability to reduce noise levels in given media files. Their products, including Topaz Photo AI used for photography, Gigapixel AI for enlargement of images and videos, and Video Enhance AI used in film making, are famous among photographers, filmmakers, and artists.
Get a €25 free trial for high-speed rendering now!