Wednesday, August 11th, 2021 by Alex Coman
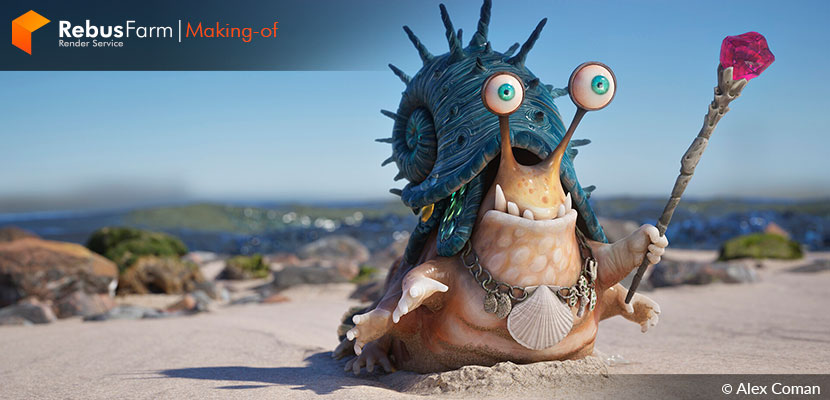
Change is good, sometimes moving and changing what you do with your life can take you on new adventures and discover talents and passions you never knew you had. A perfect example of this is the recent change of interests of artist and architect Alex Coman. Taking him away for a while from the architectural industry, this new adventure has brought him to be immersed in the gaming world.
In this Making-of edition, Alex will walk us through the process of his awesome 3D recreation of the 'Sluglord'.
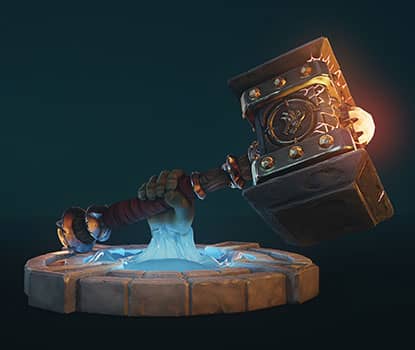
Hello everyone! I am Alex Coman, I've been in the 3D industry for about 15 years, and for the better part of it, I've been working in archviz and product viz. About a year and a half ago I decided to branch out a bit and work on game-ready models, based on concepts that I found appealing. I started with some fan art of World of Warcraft weapons, like the Doomhammer and the Twin Blades of Azzinoth then moved to 2D concepts. Fast forward a little bit, and I came across Justin Gerard's Sluglord and I fell in love with his quirkiness and also the clueless look on his face (of the slug, not of Justin's hahaha). All the process was done on the twitch streams I do over at Twitch TV.
 |
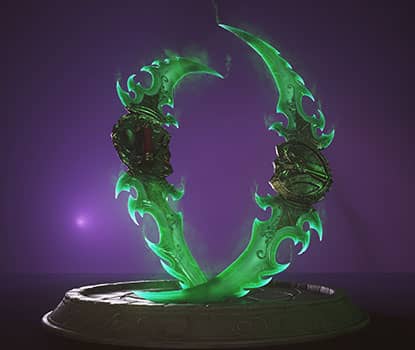 |
Doomhammer and Twin Blades of Azzinoth by Alex Coman
Reference and idea gathering
I usually start every project by making the basemesh in 3ds Max. I examine the concept as thoroughly as possible, keeping proportions and general shape. These are later to be tweaked and actually sculpted in ZBrush.
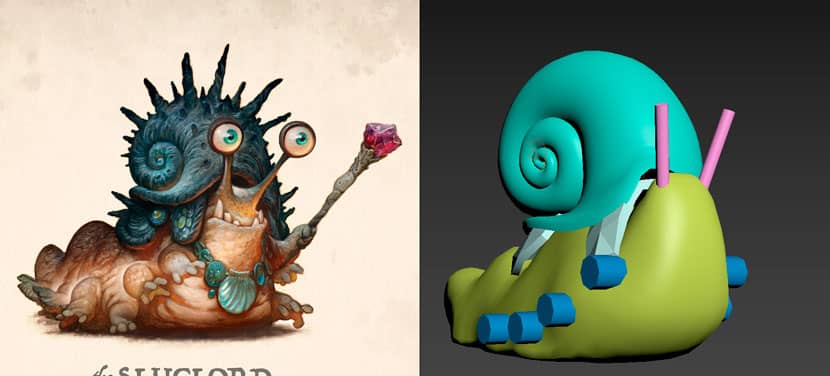 Original Sluglord by Justin Gerard and new basemesh in 3ds Max
Before getting the basemesh to ZBrush, I searched for references for slugs, shells, skin, corals, hands, animal teeth, etc. In this part of the project, ideas emerged, such as evolving hands, from baby hand in the back to adult hand in the front, replacing the unclear concept necklace with corals, adding a beach scene, etc. In my opinion, it's very important to spend AT LEAST a few hours on each project to search for references, related to all the parts of the creature, character or prop you are making.
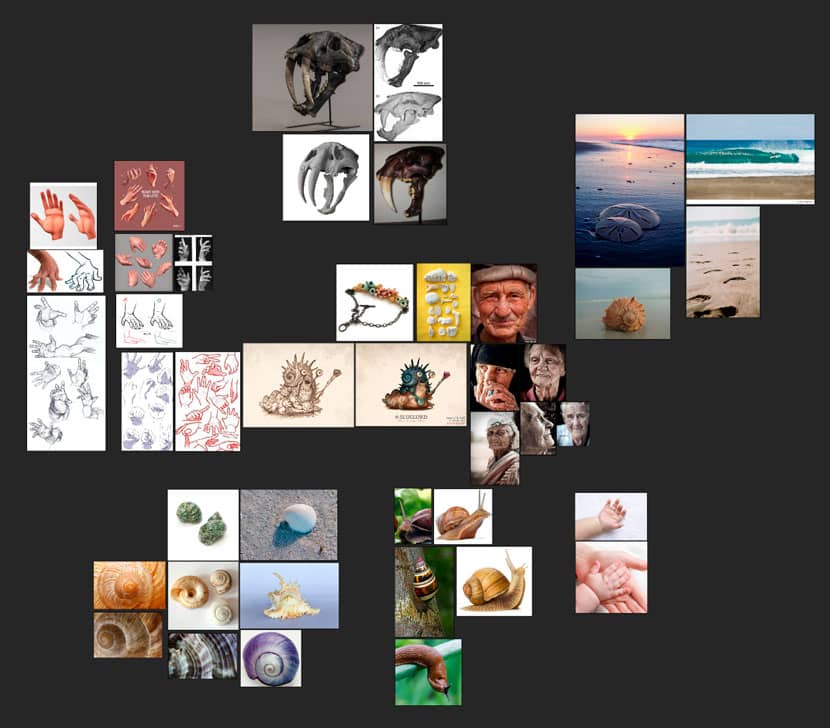 Visual references related to the 'Sluglord'
Sculpting in ZBrush
This was a pretty straight forward process. Using all the references gathered, I started pushing and pulling on the silhouette, dynameshing when there was not enough detail in the mesh. After setting up a good silhouette on the body, before adding all the details, I tried to Zremesh to get a clean start. That failed miserably, so I pulled up the trusty Topogun 3 beta and made a basemesh by manually doing retopo. This actually allowed me to use the lowest subdivision of the mesh as a low poly version when I finished the sculpt and also provided a good experience in the ZBrush viewport. If you are using multiple mesh resolutions when you navigate in ZBrush, it dynamically switches to the lowest one, providing a great sculpting experience.
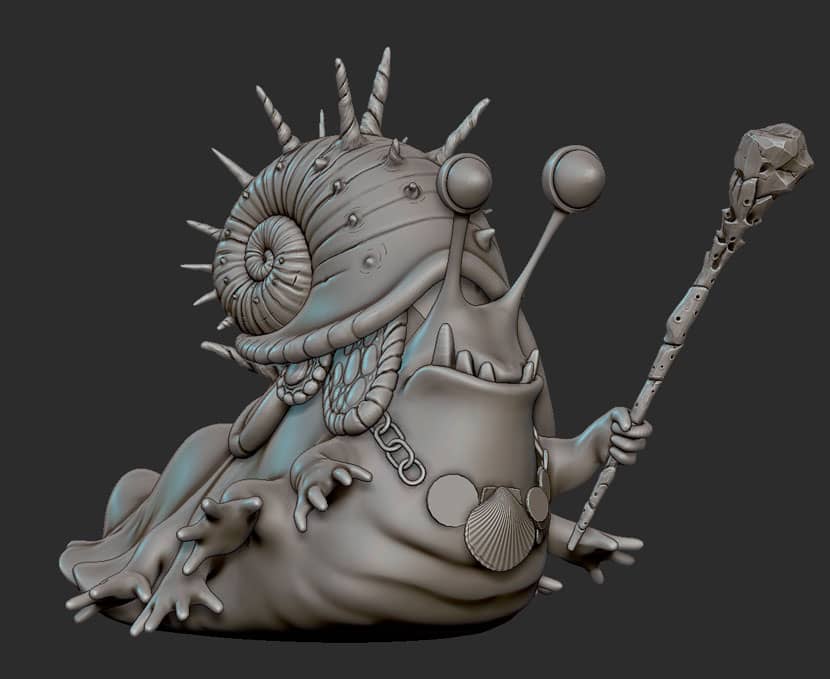 Silhouette and model sculpture in ZBrush
Using all the references I had, I sculpted the high poly. It was a fun process putting in all the fat folds on his belly, his slug protection on the back, the pointy shell, the staff, all his armor. It was especially fun to model all the hands and making a transition from baby to adult hands.
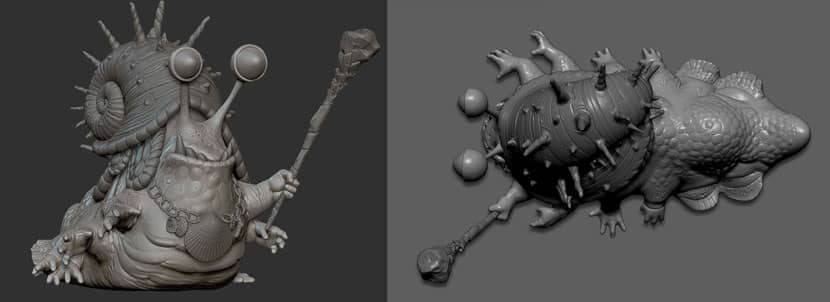 High poly organic modeling of the 'Sluglord'
Prepping the model for game-ready
Having the high poly done, it was time to do retopo. For the slug's body I just did small tweaks, and then proceeded to tackle all his props. After finishing the low polys in Topogun, I used RizomUV to unwrap. I split it into two 4k maps, one for the body, and one for all the accessories. Here's the result, after baking the high onto the low, a preview render in Marmoset with a SSS shader on the slug already, just for preview.
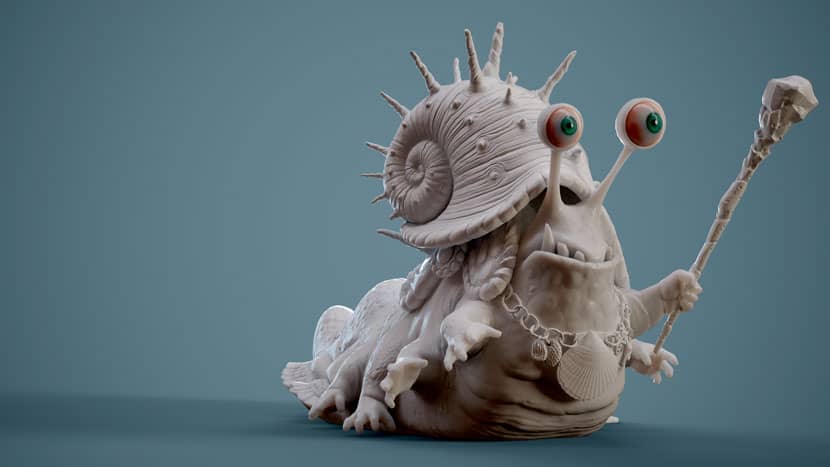 Preview of the final render on Marmoset
The Beach
To get inspiration for the beach scene, I used the references I gathered, made a quick basemesh in 3ds Max and grabbed some rock scans to be used as background props. I proceeded to sculpt the slug trail and also the water trails between the rocks, for a more realistic appeal, then added set dressing like small rocks and shells. I didn't intend for this to be a full environment so I just made what should be visible. For the initial water trails, that have visible tiling, I just used a photo found on Google, converted it to an alpha map to use it to have the general shape of the sand. I did not worry about visible tiling, because the camera is so close to the ground in the beach scene.
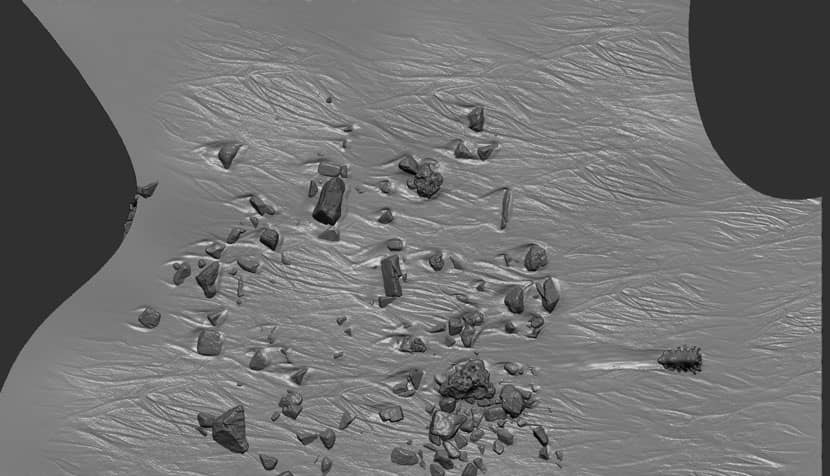 Basemesh of the beach scenery made in 3ds Max
Texturing
For baking, texturing and also rendering, I used Marmoset Toolbag 4. It was always in the back of my mind to paint stylized textures on him, but even before that, I would need a good texture base. Using the references and of course, the concept, I started adding color and detail.
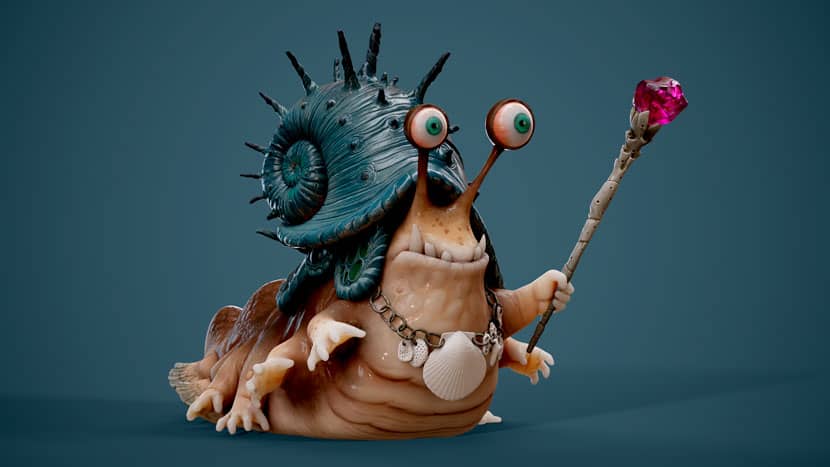 Texture, color and detail, added in Marmoset Toolbag 4
After finishing the base textures in Toolbag 4, I took the Slug into 3DCoat for the stylized paint. I used 3DCoat because it has excellent painting tools that are great for stylization, for example, jitter hue, which helps a lot with achieving the stylized look. In the pictures below you see the progress between one hour of painting and then the finished textures.
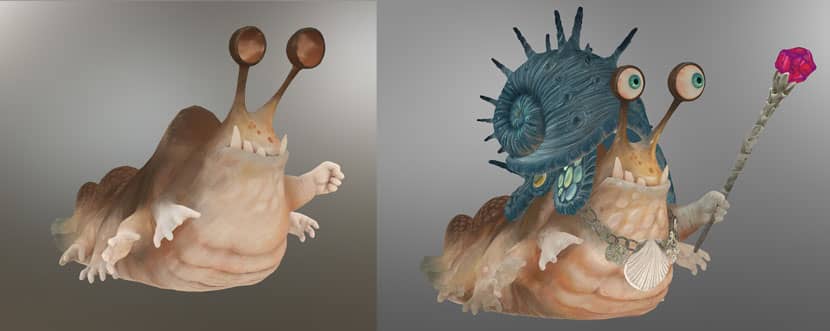 Stylization and final details for texture
Lighting
The studio lighting was rather simple, I found a good hdri in the Marmoset Toolbag 4 library, then I added a Backlight for the SSS effect on the hands and eyes, a Fill light to accentuate the face and a Rim light to show off the specularity and for a bit of SSS effect as well.
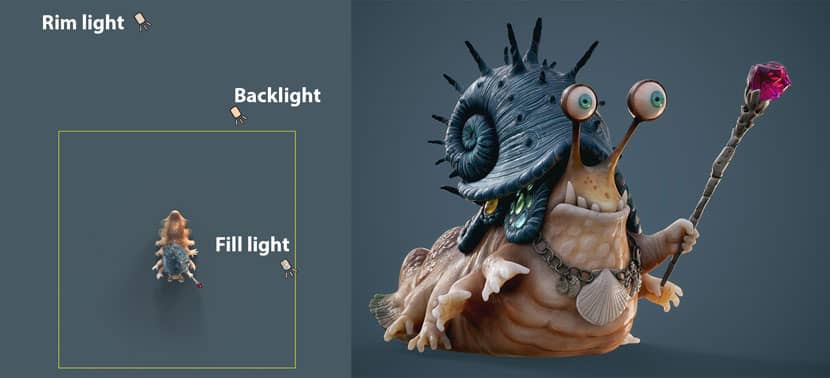 Lightning design for the final piece
For the beach scene, I had a similar approach but also added some helper lights to emphasize his eyes and the general shape of the face, plus a direct light as a sun in the dawn scene.
I did not use any postproduction on the images except for what Marmoset Toolbag has to offer in the camera controls such as contrast, brightness, a curve editor, vignette, etc.
Alex, thank you so very much for taking the time to share your tricks and expertise with our RebusFarm community, we are always glad to share amazing talent with the world. If you haven't seen more of Alex's work, be sure to do so, we leave you here with all of his channels.
Want to share your work with our community too?
Contact us at Esta dirección de correo electrónico está siendo protegida contra los robots de spam. Necesita tener JavaScript habilitado para poder verlo.and let us know a bit about your favorite project.
>> Read more articles on our blog
