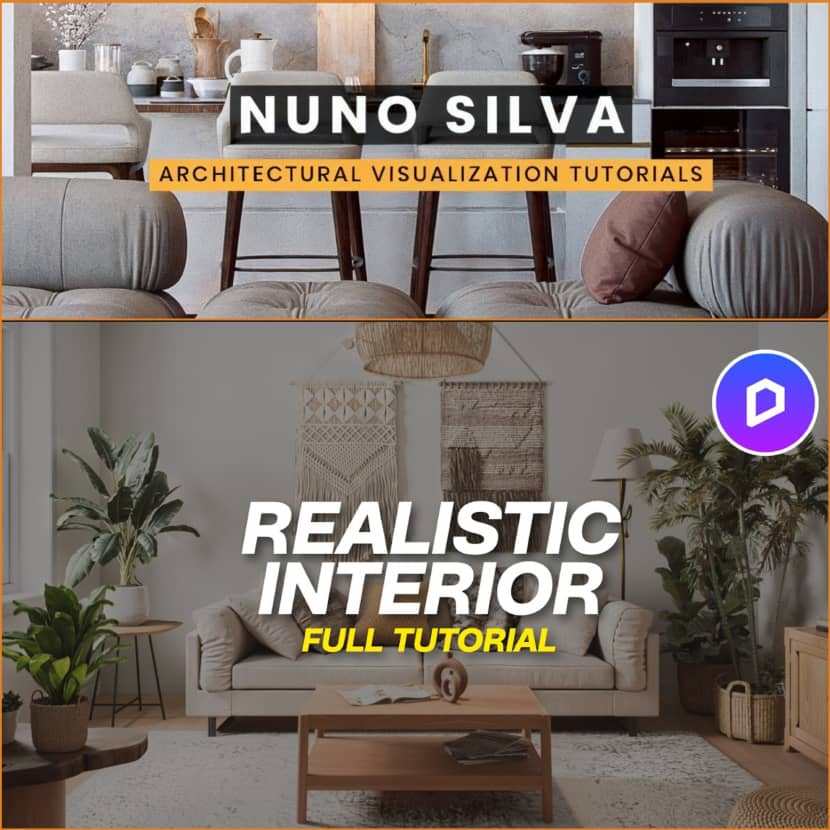
In this extensive tutorial, Nuno Silva shows techniques for creating a realistic interior design using D5 Render, from getting inspired to the final output. Check out the article as well as the video tutorial and keep learning!

In this extensive tutorial, Nuno Silva shows techniques for creating a realistic interior design using D5 Render, from getting inspired to the final output. Check out the article as well as the video tutorial and keep learning!
Inspiration & Style Setup.
Inspiration is the basis of every design process. Nuno utilizes Leonardo AI to point out the style of the space. He submits an image and uses prompts to get more designs coming his way. For this project, he decided on a boho-style interior, which is most associated with natural materials, semi-precious stones and represents comfort.
The following process involves the use of this image as a guide that is created through the application of an artificial intelligence platform. Because the image is not magnified or reduced in the appropriate proportions, Nuno “emulates” the sizes through the lens, emphasizing on the spirit of pictures rather than the correct proportions in the image.
3D Modeling: Rooms Construction.
Then Nuno goes ahead to 3D modeling. Here’s the breakdown of the steps:
This kind of framing gives an opportunity to create a clean and organized structure for the interior design.
Composition & Camera Setup.
The next important step is positioning the camera and choosing a shot in the D5 Render. Nuno also shows how to import the 3D model and how to set the position of the camera. As he aims for a real-world camera, he sets the ratio of the aspect as 4:3, which is known as the standard ratio. With the proper shortcuts, he changes the focal length to 30mm, in order to provide more of the floor for an exciting composition. Finally, to contain exposure to the pictures, he turns off auto-exposure and uses his hand to adjust the exposure level.
Lighting The Scene.
Illumination is very critical in any interior rendering. Nuno begins with the application of an HDRI image to control the lighting in the interior space. He turns the HDRI so he doesn’t have direct sunlight coming into his shot, and he achieves a white-balanced shot.
As the scene is still cinematographically rather dark, he brings in a rectangular light by the window. The ability to regulate the size of the light as well as its brightness makes him transform the room’s atmosphere in a way that makes it seem like it has natural light. He also adjusts the camera's exposure to get the best shots with the light in the environment.
Adding Color & Materials.
As for now, before placing furniture, Nuno, first of all, puts the primary colors in the scene to create the proper atmosphere. For the walls, he has selected a medium white color, the floor is painted in light brown color to resemble the oak floor that will be laid soon. This step is essential, since the base color selected is standardized, in this sense, the final materials to be applied to the room.
Admitting 3D Models Into The Scene.
When the position of the lights and arrangement of objects is decided, creators can place 3D models into the scene. Nuno has access to Scout by Asset AI to enable the process of searching for the right assets as well. Concerning the above-said tool, the user can upload an image, and Scout will search different 3D model libraries and look for similar items.
This saves much time needed for browsing, which reduces the workflow time by far. With Scout, Nuno identifies and downloads models that can help achieve the concept he has in mind for the premise.
Working With Special Materials.
Once the 3D assets are placed in the scene, he demonstrates some advanced material techniques: Once the 3D assets are placed in the scene, Nuno demonstrates some advanced material techniques:
Final Touches: Surface Decals.
To make the scene as realistic as possible, Nuno then paints various marks on the surface of the car, such as dirt and water stains, among others, and also a painting of scratches on the surface of the car is also done. These minor irregularities bring an organic feel and natural look to the render. Making sure that the decal does not totally obscure the frame of the picture, he reduces the size and increases the opaqueness of the decals and strategically places them where they would blend with the overall picture.
Conclusion: The Final Render.
To achieve this, I rendered this image for quite a good amount of time with Pte Software and D5 Render in such a way that one could get a realistic interior scene without having to edit the image afterward. The reflection of light, composition and use of material in this scene becomes representative of its uniqueness.
Check out the video tutorial and learn how to create a realistic interior scene using D5 Render below:
Nuno Silva is a Portugal-based 3d artist and content creator dedicated to helping artists across the internet.