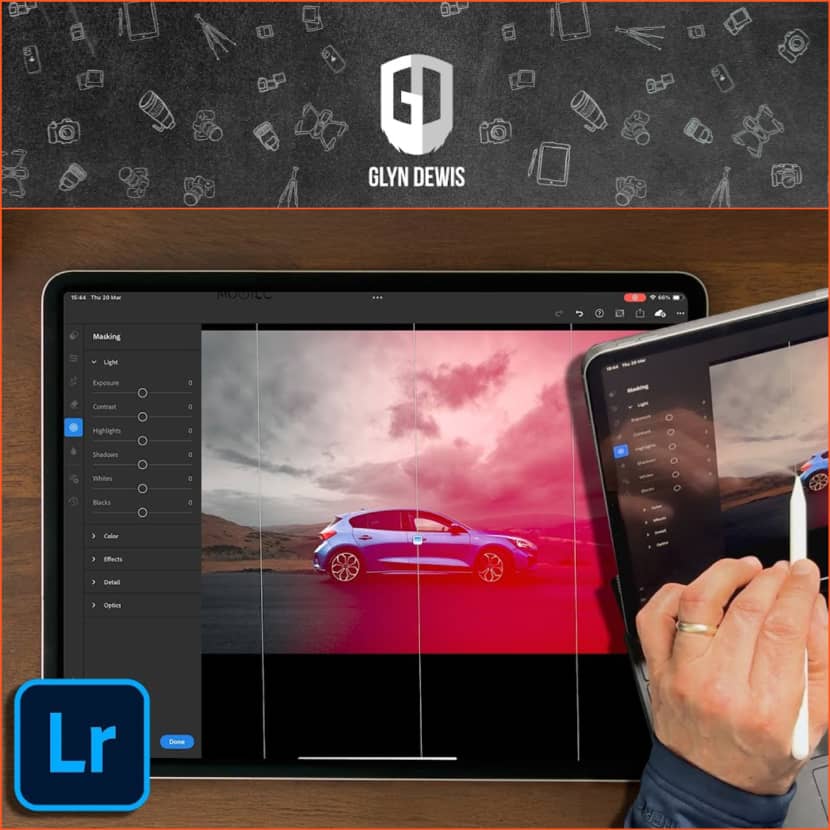
British photographer, educator, and author Glyn Dewis returns with another hands-on, down-to-earth tutorial. This time, he dives into the powerful world of Lightroom Mobile, showing how a photograph taken casually with an iPhone can be transformed into a striking image using nothing but an iPad, a stylus, and some coffee shop creativity. If you're looking for ways to optimize your mobile editing process or simply want to elevate your on-the-go photography game, this one's for you. Take a look and give it a try!
In this feature, Glyn walks us through his entire mobile editing workflow, taking a straightforward photo of a car and turning it into a dramatically lit, "magazine shot" all while sitting in a café.
A Mobile Mindset.
For Glyn, the magic of mobile editing is its accessibility and immediacy. Capturing the image with his iPhone and jumping straight into Lightroom Mobile on his iPad, he begins by adjusting his environment.
Before editing, he enables Reference Mode on the iPad’s display settings to ensure color accuracy, calibrated using a Calibrite device. This ensures that what he sees is what he’ll get when syncing later with his desktop setup.
Cropping and Straightening.
The first practical step is cropping and straightening the image. Glyn sets a cinematic 16:9 aspect ratio and corrects a subtle tilt using Lightroom’s crop tool. It’s a quick adjustment that immediately frames the car more dynamically and sets the tone for the rest of the edit.
Removing Distractions with AI.
Next up: those distracting painted road lines. Using Lightroom Mobile's Generative AI Remove Tool, Glyn demonstrates how to clean up the background seamlessly. He selects the area, and the AI offers three realistic versions to choose from, then he selects the best and moves on without missing a beat.
Applying the Signature Look.
Glyn then applies one of his own custom Lightroom presets: “Dark and Moody.” The preset desaturates most of the colors while allowing reds and oranges to glow, creating that signature Glyn Dewis atmospheric feel. Subscribers to his newsletter can grab this preset for free from his website.
Fine-Tuning Colors.
With the preset in place, Glyn moves into the Color Mixer, manually adjusting hues, saturations, and luminance levels to refine the look, burnt yellows, vibrant blues, and subtle greens that match his vision.
Masking Magic.
Lightroom Mobile’s masking capabilities take center stage in the next phase:
- Sky Mask: Selected automatically, then refined through inversion and subtraction for better accuracy. Dramatic clouds are enhanced using Dehaze and desaturation.
- Car Mask: Similarly selected and refined, allowing targeted adjustments like increased clarity, exposure, and subtle warm tones.
- Linear Gradient on Car Front: Helps balance the exposure across the car's body for a more cohesive look.
- Radial Masks on Wheels: Brings out the brake discs and red calipers, adding sharpness and contrast where it matters.
Adding Depth with Lens Blur.
To pull attention to the car and enhance the composition, Glyn adds a Lens Blur to the foreground road. The result? A soft, cinematic focus that naturally leads the viewer’s eye toward the subject.
Final Touches on Desktop.
Once home, Glyn syncs the mobile edits with Lightroom Desktop. He:
- Refines the color inconsistency in the car window by adjusting hue and saturation.
- Uses Object Masking to treat problematic highlights in the background.
- Adds a subtle vignette to draw the eye.
- Brightens the center of the car using a radial gradient intersected with the car mask, taking advantage of Lightroom Classic’s more advanced tools.
Conclusion.
This detailed walkthrough shows just how powerful and practical Lightroom Mobile has become. With just an iPad and a stylus, Glyn starts a professional-grade retouching session anywhere—from the road to the café—and wraps it up at home with a few desktop refinements.
As he puts it: "I love how this gives us the opportunity to make constructive use of our time when we’re out and about."
For more detailed information on Glyn's new, fresh and full of tips workflow, check the video tutorial below:
Glyn Dewis is a photographer, educator, and best-selling author based in the UK. He is a Photoshop World Dream Team Instructor, KelbyOne instructor, Sony Alpha Creator, and Westcott Top Pro. Glyn regularly presents at events around the world covering all aspects of photography and post-production. He is the founder of the 39-45 World War II Veterans Portraits Project and serves as an ambassador for The Veterans Charity, an organization supporting veterans in immediate need.
You can explore more of Glyn's work at glyndewis.com, watch his tutorials on YouTube, and follow him on social media @glyndewis.

